
My Modified Flax Sweater (with Cables!)
With a few simple cables, I enhanced one of my favorite patterns! Here’s how I modified the Flax sweater that I knitted for my son.


The Flax Sweater
Tin Can Knits, a collaboration of two Canadian knitters, is an excellent source of patterns, especially for beginners. Their patterns are clearly written, contain multiple diagrams and links to tutorials, and are almost always seamless to help with ease of construction.
Their most popular pattern, Flax, is a simple pullover. This unisex sweater is constructed from the top down and available in 19 sizes. You can recognize a Flax sweater by the simple garter stitch panel that runs down each sleeve. It’s a lovely touch that adds balance to the cuff and collar and adds interest to what is otherwise a very simple sweater.
Have you knit a Flax sweater yet? Over 20,000 projects have been added to Ravelry already!
My Modified Flax Sweater
Because it’s so simple and well-written, this pattern is excellent for knitters who think they may be interested in designing knitwear. Knit a couple Flax sweaters so that you understand all of the steps and design elements, then start to add your own touches. (If cables aren’t your thing, consider lace.)
This is a great way to get into pattern designing! It helps you understand how small changes affect the overall garment.
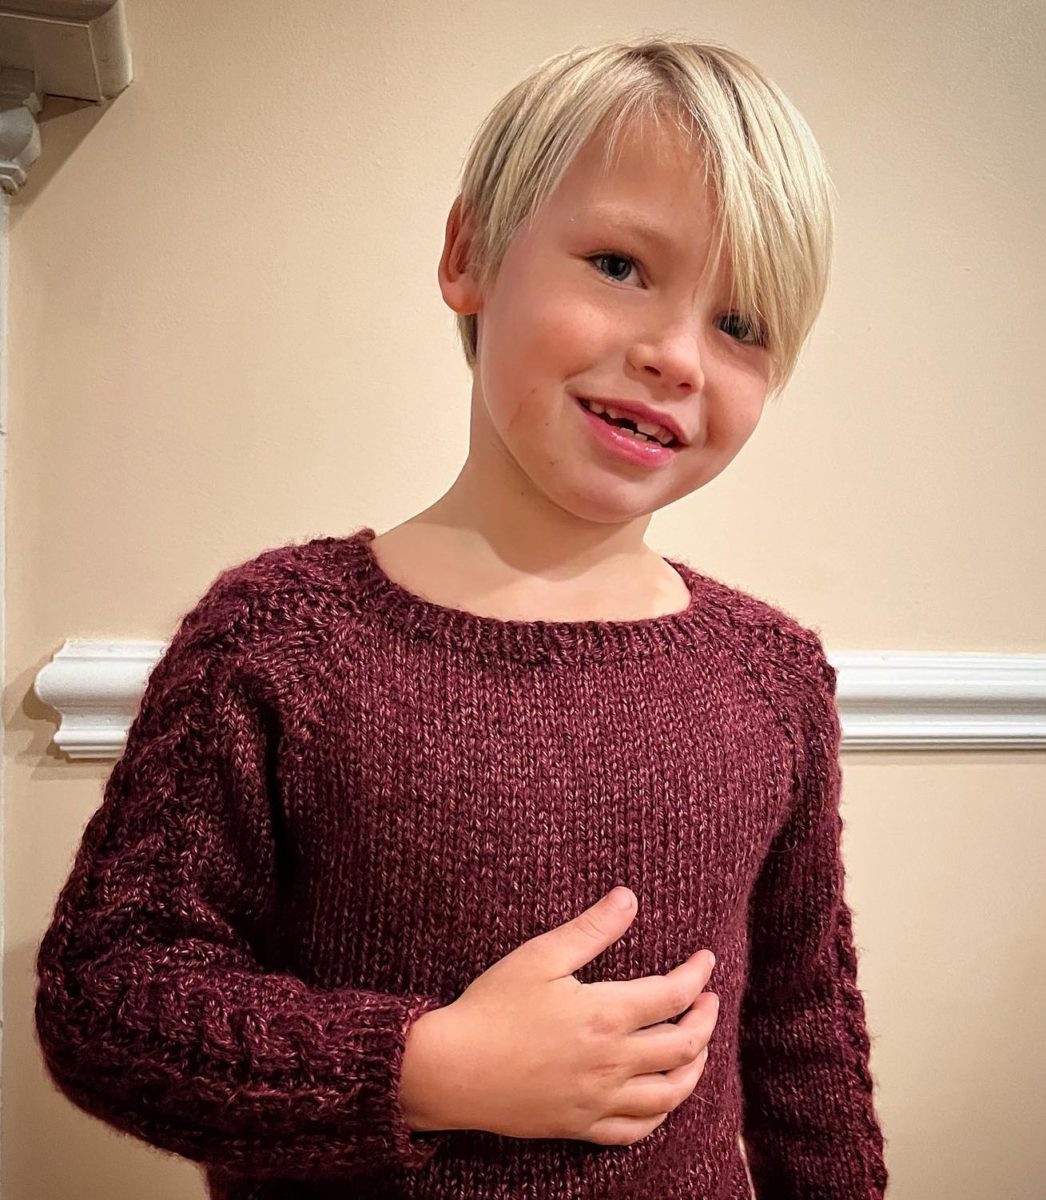
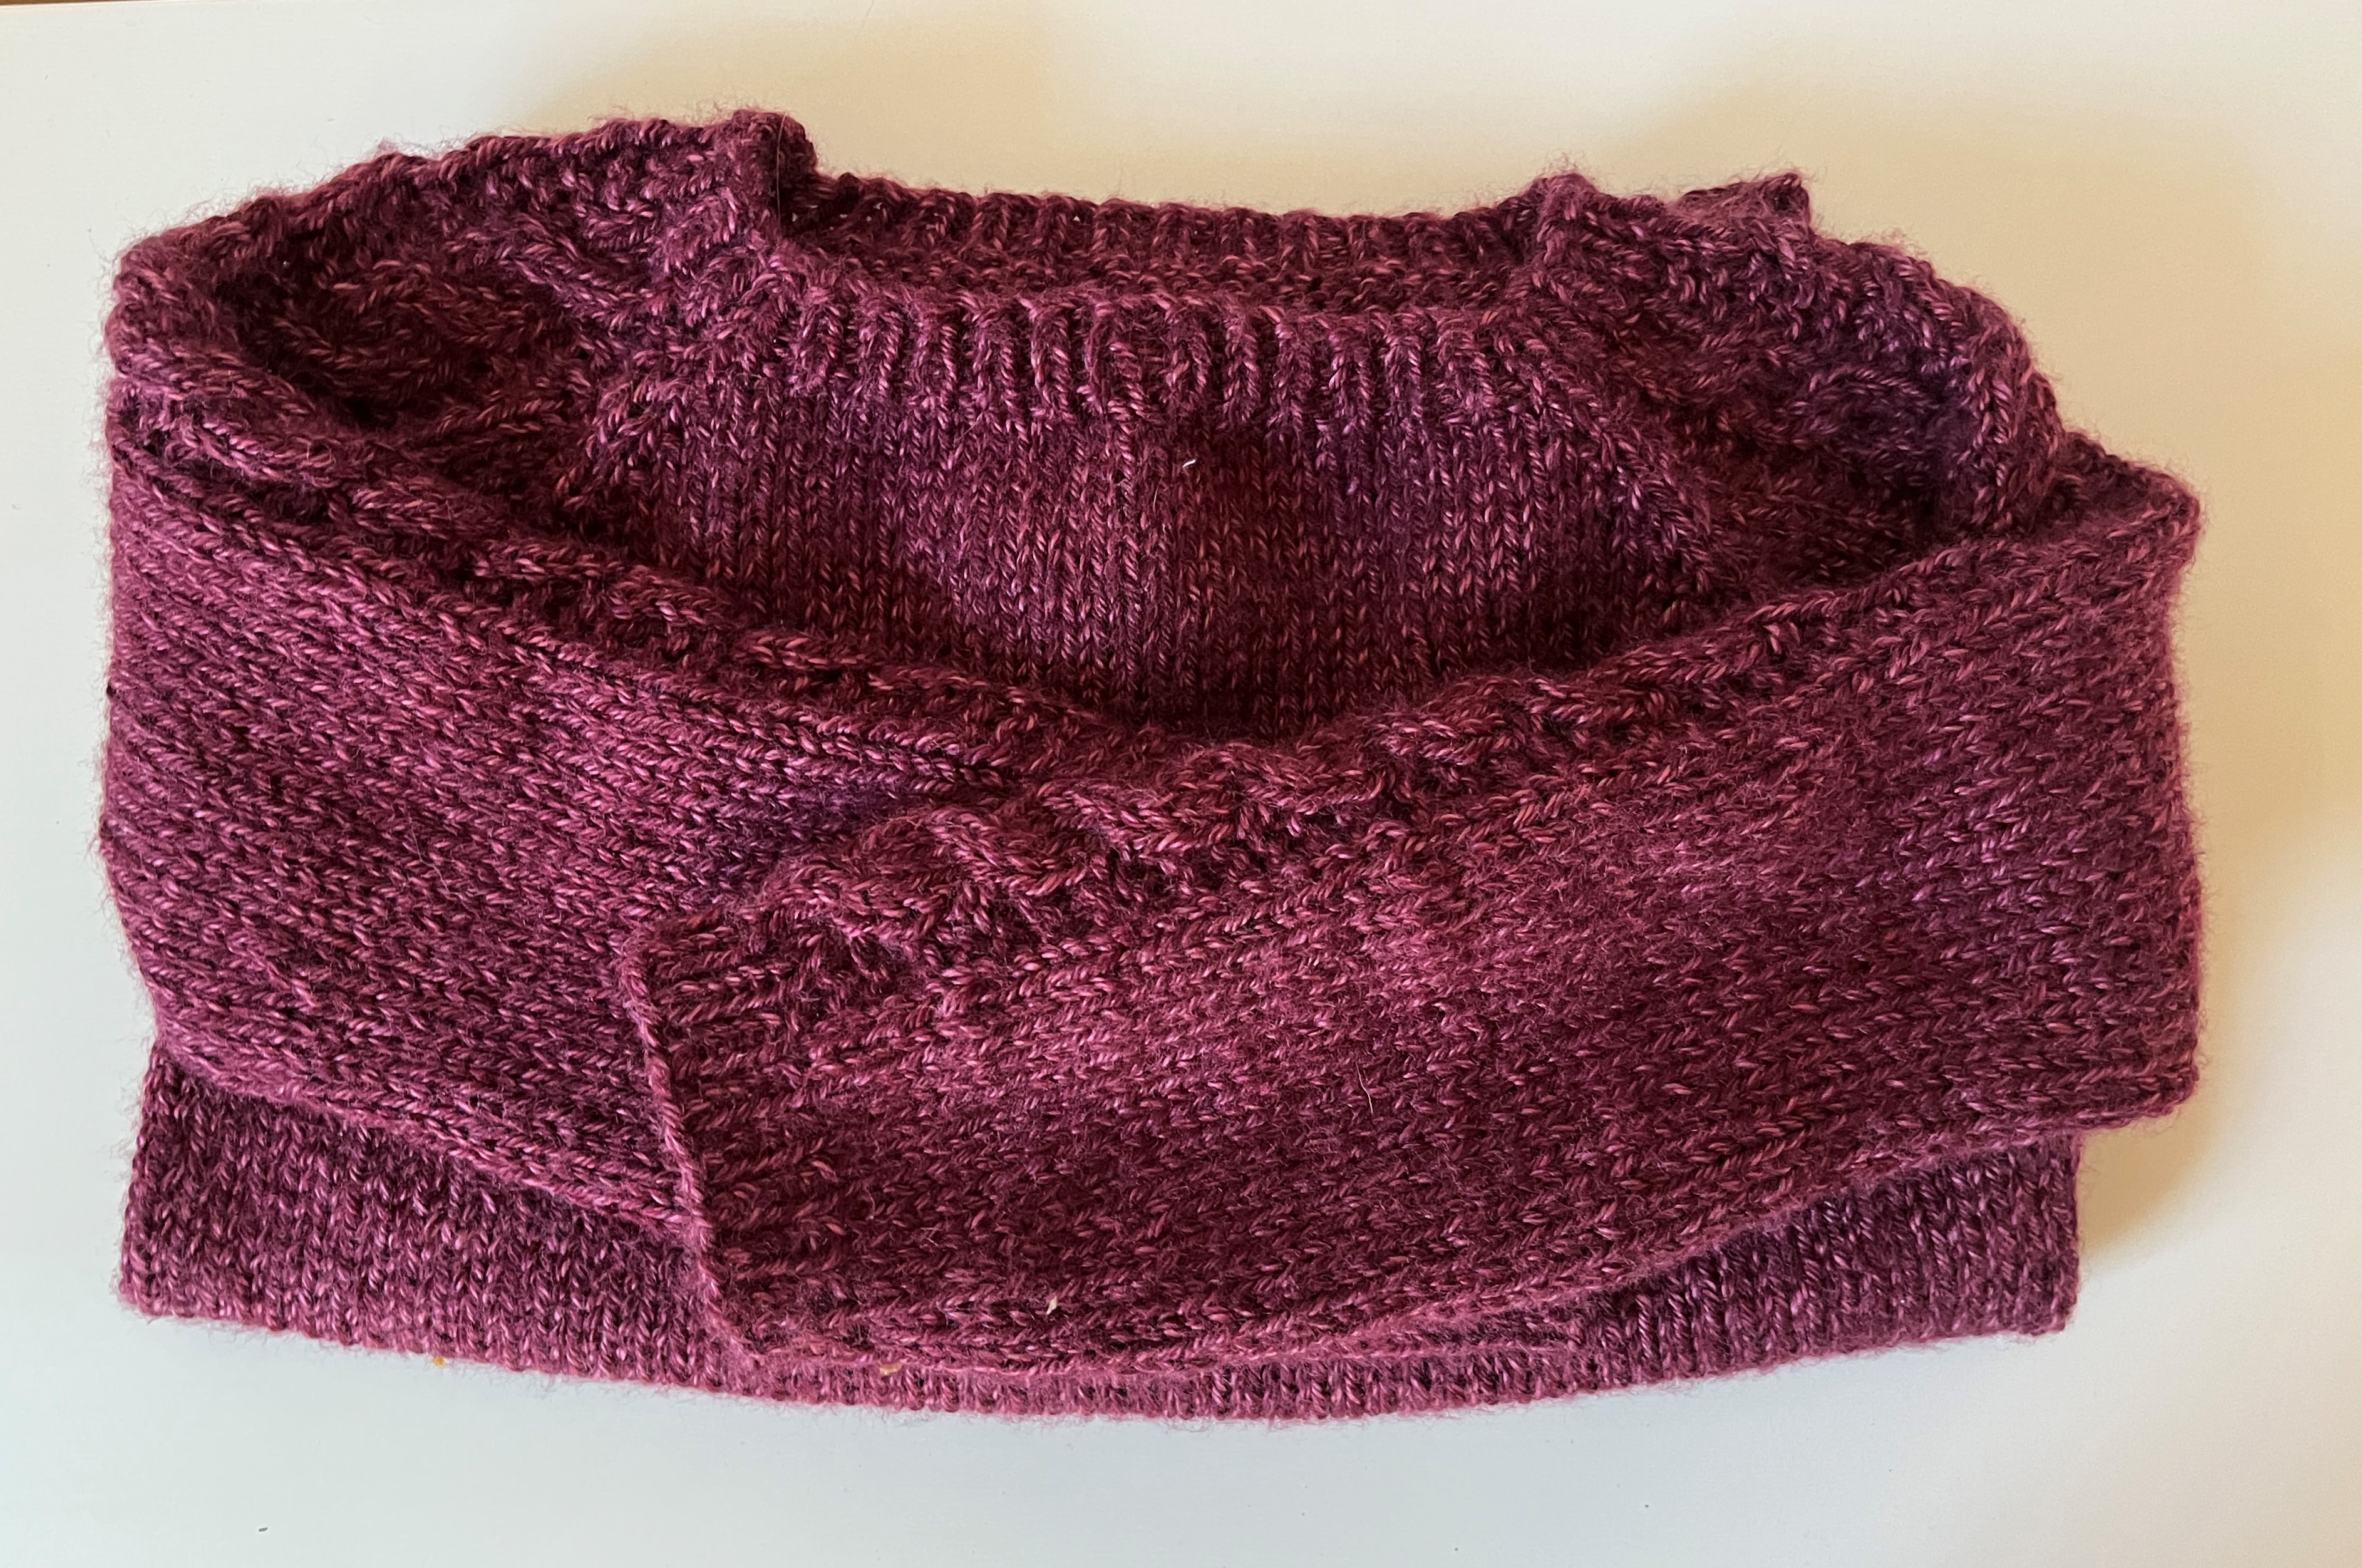
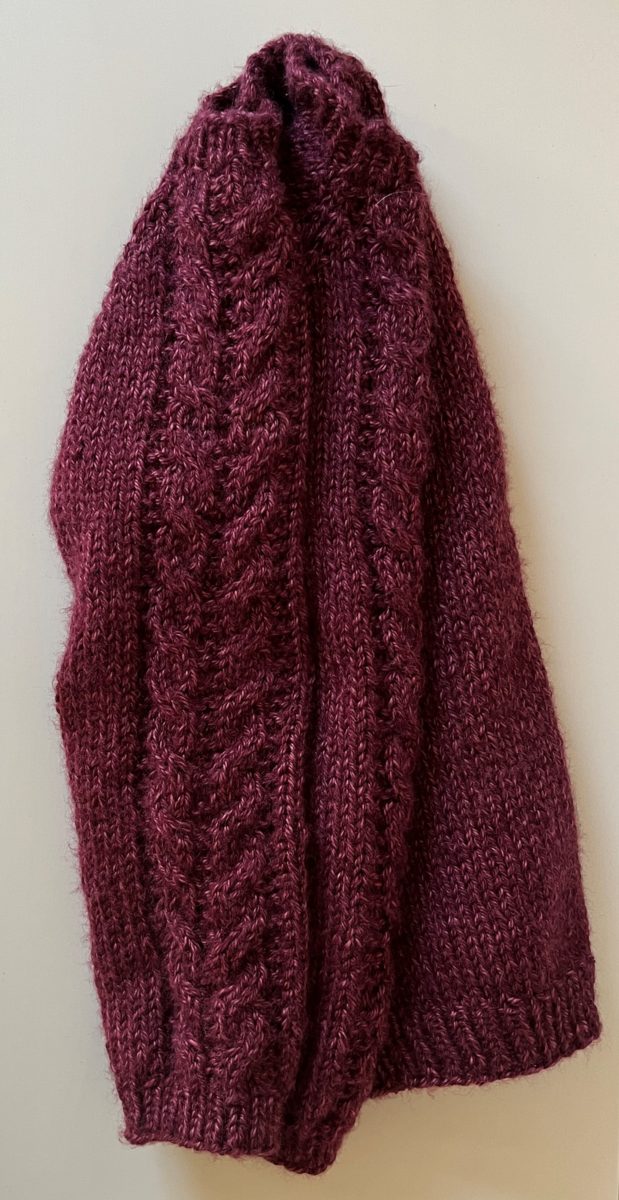
I modified this Flax sweater by replacing the garter stitch panel with a cable panel. I used two cables (C2F and C2B) with garter stitch as a “background.” The overall effect is similar to a staghorn cable, but a bit more delicate.
This version is knit with Lion Brand Heartland Yarn in Badlands. I used the recommended needles (US #6/4.00mm and US #8/5.00mm) and followed the rest of the pattern for a children’s size 6-8.
Adding Cables
These cables are repeated over 6 rows and 14 stitches, which will work for children’s sizes 6-8 and 8-10.
Row 1 – k 14
Row 2 – p2, k4, p2, k4, p2
Row 3 – k14
Row 4 – p2, k4, p2, k4, p2
Row 5 – k2, C2F, k2, C2B, k2
Row 6 – p2, k4, p2, k4, p2
I repeated these 6 rows down each sleeve.
Depending on size, the garter stitch panel on each sleeve may have 10, 11, 12, 13, 14, 15, 16, 17, 19, or 21 stitches!
If you’re adding cables, check that you have enough room. Smaller sizes may work best with a single cable, while larger sizes may need multiple cables to adequately fill the panel. Use garter stitch to separate cables and fill the panel.
One Comment
Pingback: