
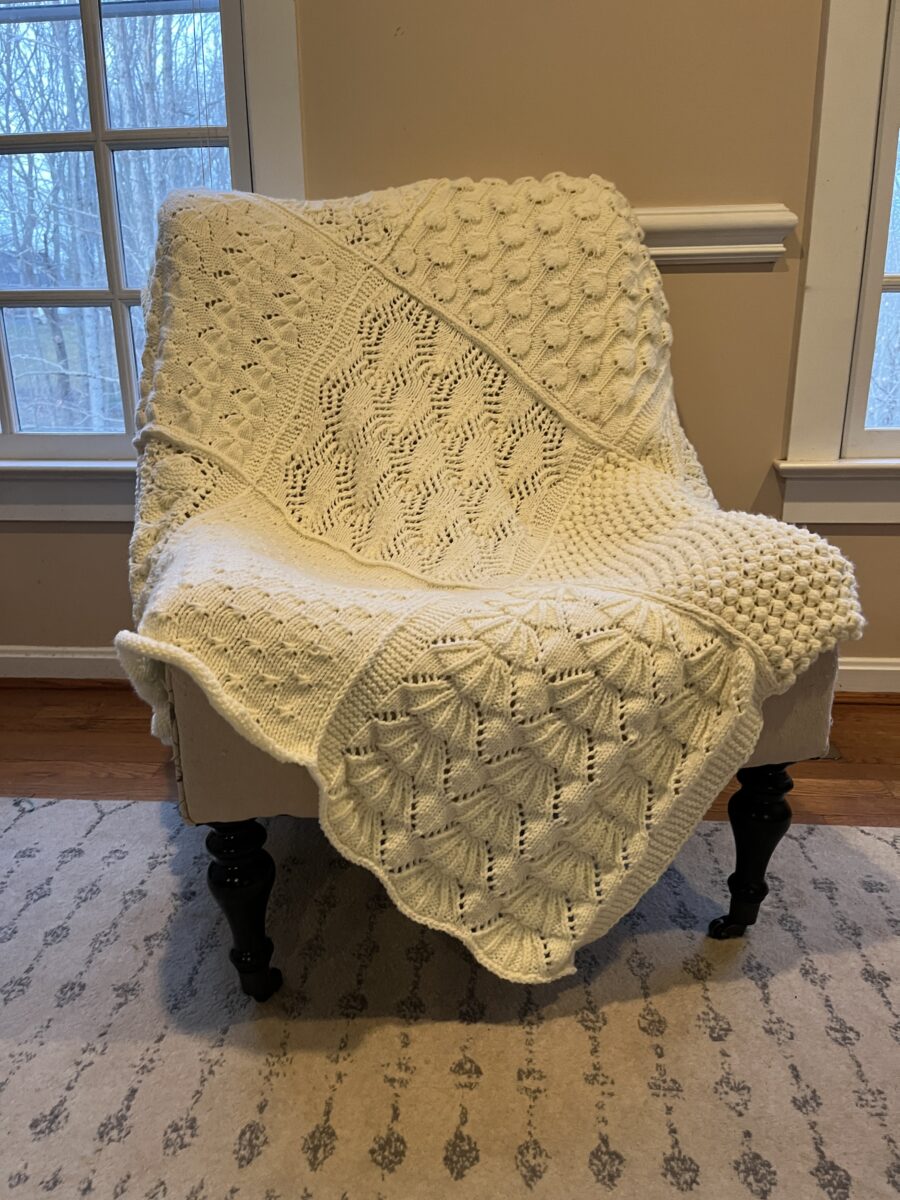
Winter Stitch Sampler Knit Along Wrap-Up
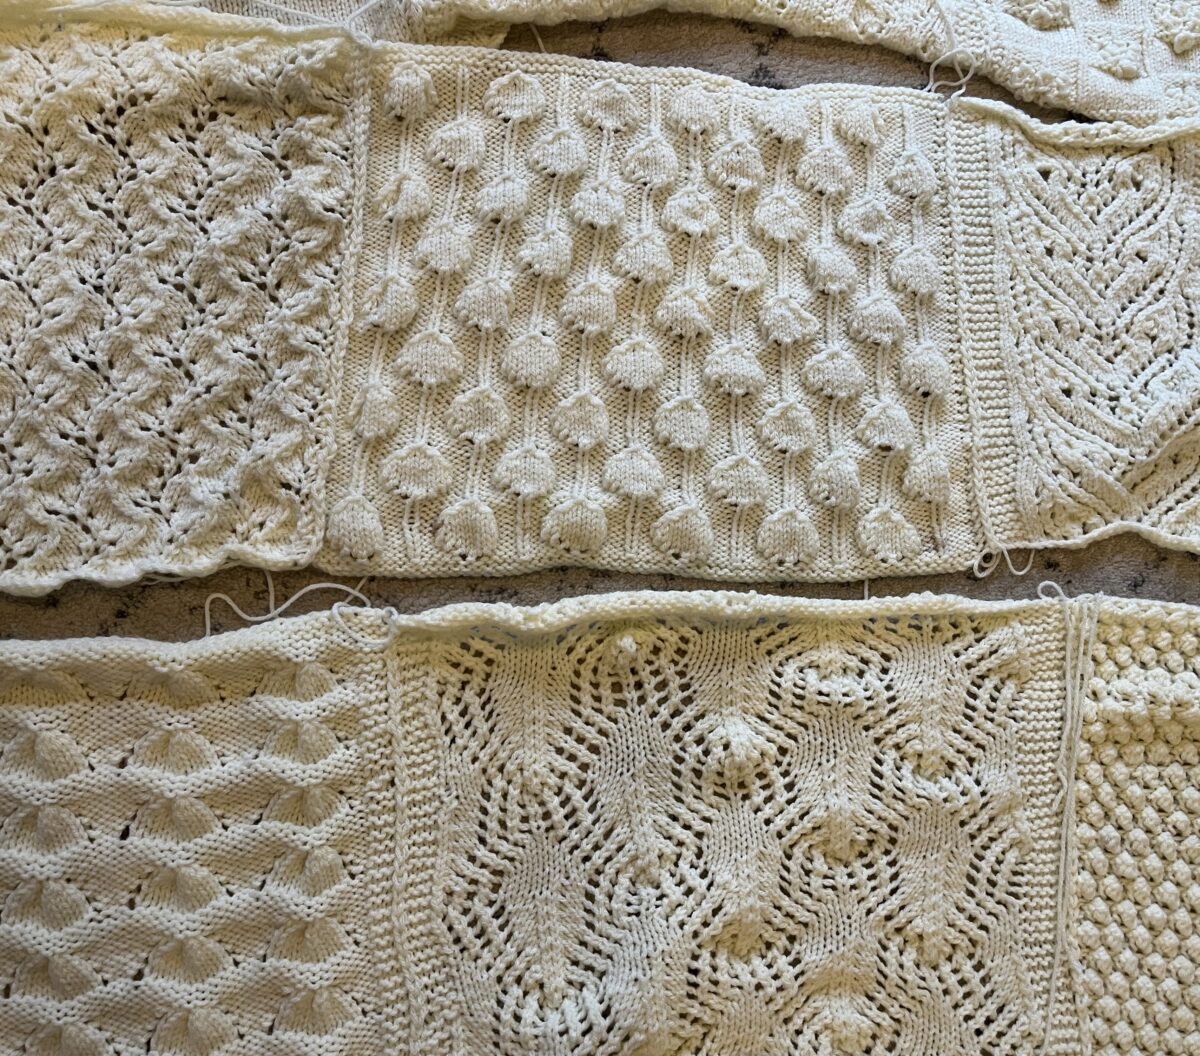
Welcome back to the Winter Stitch Sampler Knit Along! You’ve knitted 12 panels, but you aren’t done yet! It’s time to join them!
Just getting started? Visit the Winter Stitch Sampler Knit Along main page here
or download the free pattern in its entirety here.
Like your choice of yarn or choice to stitch-swap, this is an opportunity for you to make your version of the project unique. I’ll show you the methods I used (AKA “the pattern”), but, like every other step in this KAL, I encourage you to do what is best for you and your work!
First we’ll block, then we’ll assemble the pieces into one beautiful blanket.
Blocking
Before we can get started with assembly, the panels need to be blocked. I encourage waiting until the end of the KAL for this step because the stitches all have different amounts of stretch and drape. (Many folks have been blocking already and that’s okay! You may just find you need to re-block.)
Even knitters who aimed to work to the 15″ x 15″ guidelines may find that some blocks seem bigger or smaller than others. If that’s you, you need to find the sweet spot in your panels before blocking.
I stacked all of my panels up, one at a time, lining up the bottom left corner. This gave me a good idea of the variety of sizes I was working with.
Next, I put the “small” panels in a pile and the “large” panels in a pile. The leftovers became my middle or average pile. I noticed I had only a few outliers and they were within a centimeter of my middle pile.
Using a blocking mat and pins, and using one of the average panels as a guide, I pinned the outlier directly on top of the average panel, lining up the corners. Sometimes I had to force it a bit more than others.
While blocking boards do exist and would have worked perfectly for this project, I was unable to find one that would accommodate 15″ panels!
I used steam to block the panel, then let it dry completely before joining.
Beyond Blocking
Blocking can even out a lot, but sometimes it isn’t enough. If this is the case, you can get creative with assembly to make sure your final project is even.
If you have 4 panels that are too narrow or too wide, you can use them as the center panels for your blanket.
| 15″ | 16″ | 15″ |
| 15″ | 16″ | 15″ |
| 15″ | 16″ | 15″ |
| 15″ | 16″ | 15″ |
If you have 3 or 6 panels that are too wide, you can use them as the center row panels for your blanket.
| 15″ | 15″ | 15″ |
| 16″ | 16″ | 16″ |
| 15″ | 15″ | 15″ |
| 16″ | 16″ | 16″ |
Assembly
This is where it all comes together! It’s my least favorite part of the project, but it is so satisfying.
Planning
Determine the best placement for your panels. As I mentioned in the KAL introduction, I had my eye on a certain arrangement and ultimately I adjusted them a few times. I had to move a few panels before it felt “right” to me and you should do the same.
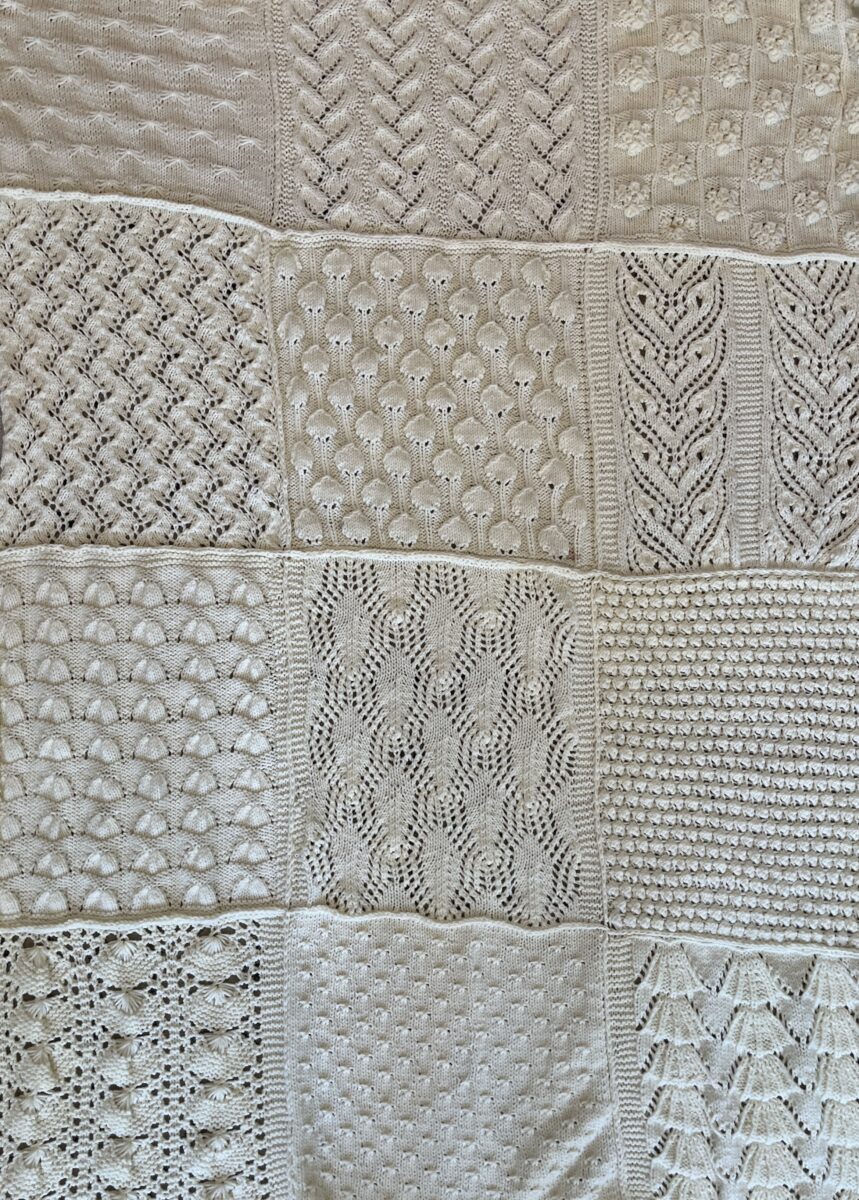
Find a big, open space and lay out all of your panels in a 3 x 4 rectangle. I used my kitchen table. Then I realized I needed more room and moved to the floor!
Turn each panel the way you want it to face. Some have fairly ambiguous “ups” and “downs,” but most of these patterns have a top and bottom as well as a right side. Be sure they’re placed correctly.
Well, how does it look?
If you need to, make some swaps. Keep adjusting until it is right! Then take a photo with your phone or write down the panel numbers/names so you don’t forget how you liked it.
If you used alternate stitches or different yarns, you’ll also need to consider what stitches and colors they are next to.
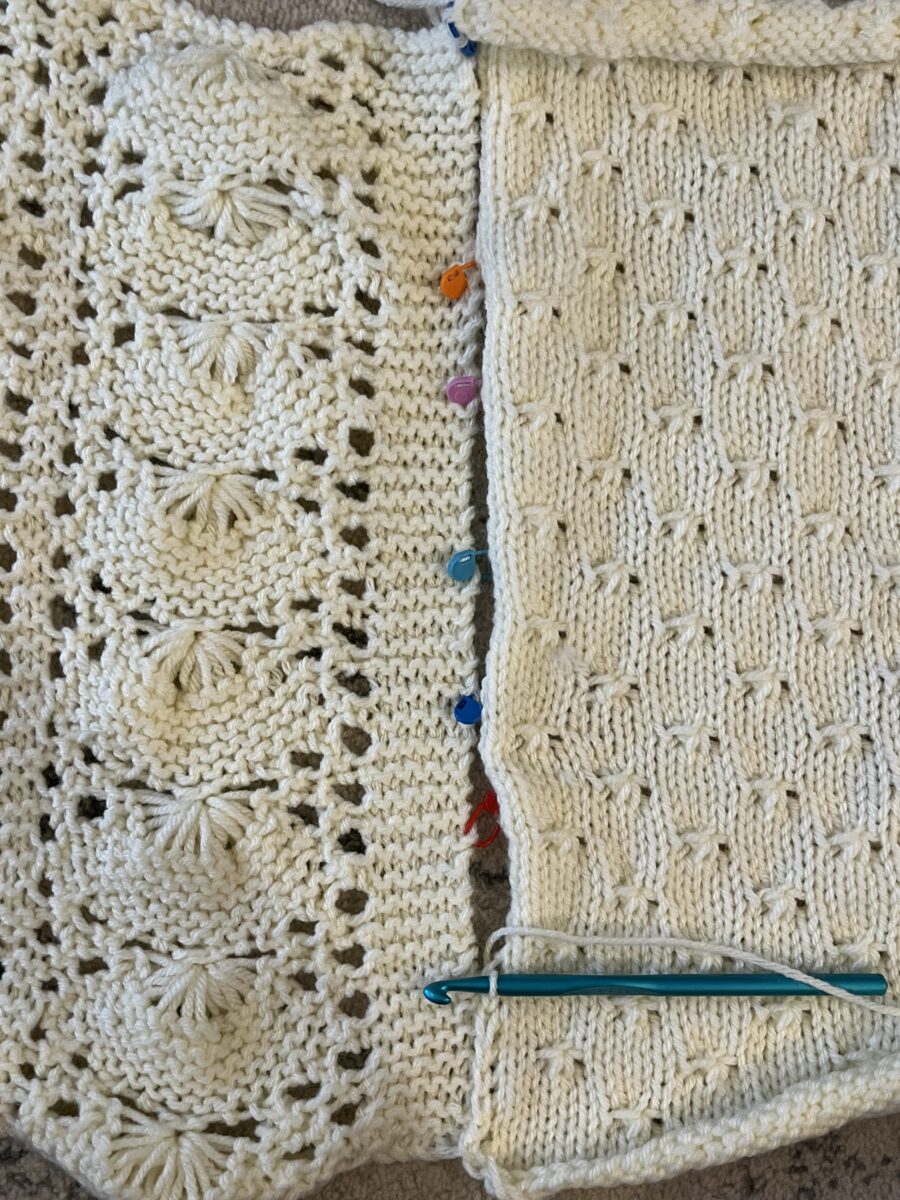
Pinning
Before you start seaming, pin your pieces together. I used stitch markers, but anything you have handy will work, even pieces of scrap yarn.
Fold each panel in half and mark the midpoint, then fold the ends in to the midpoint and mark the fold (quarter). Once you’ve done this for both pieces, you can pin them together at the marked points. This prevents bunching and uneven stitching.
Seaming
Next, determine your join method.
I think crochet seaming is an excellent method for joining the panels. It is fast and simple, it is forgiving, and it has a finished look similar to knit stitches, so it doesn’t look out of place.
Next, begin the assembly. I found that the easiest way to join the panels was to first seam vertically, creating a three-panel row. The direction you work determines the look of your seam. I seamed all of my verticals from bottom to top so that they mirrored the “Vs” of stockinette stitches.
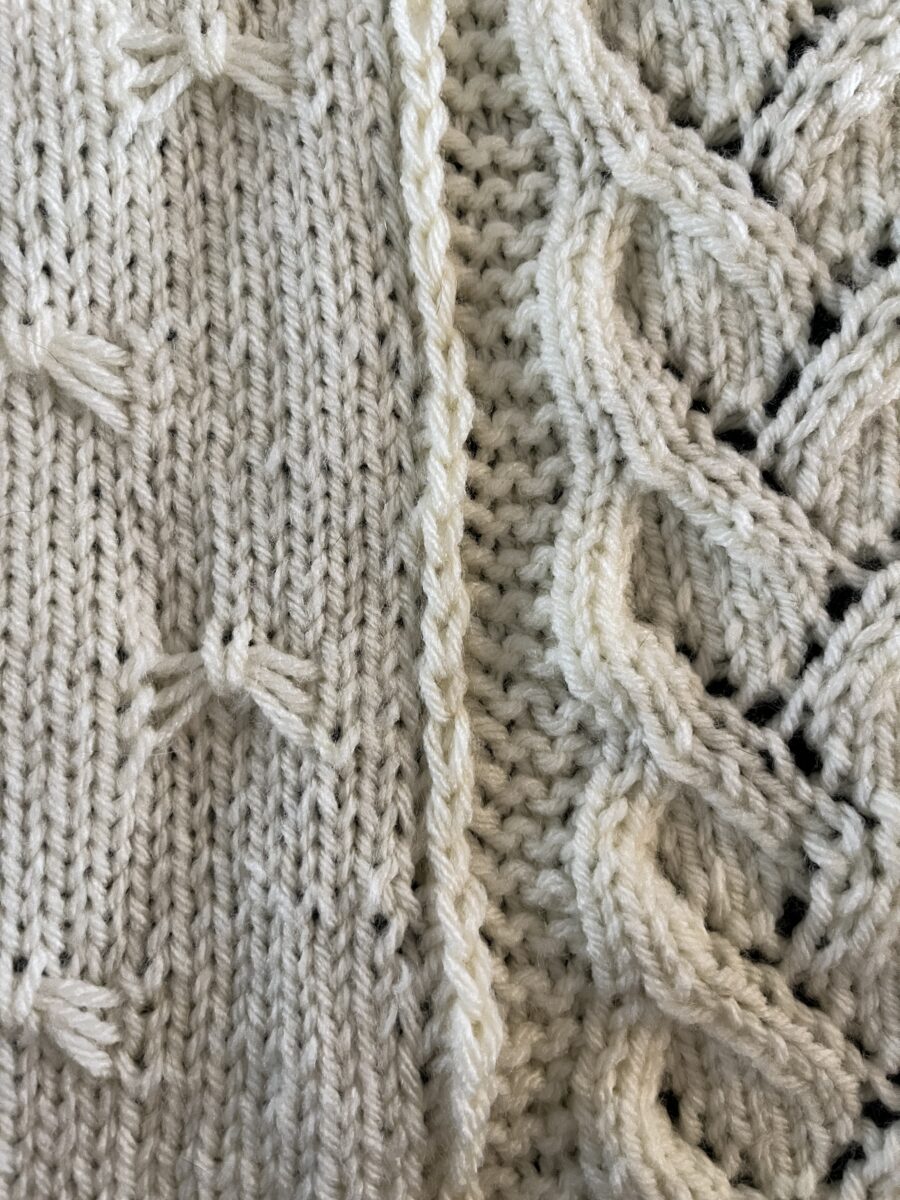
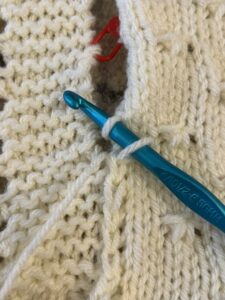
To get started with a seam, catch one loop from the panel on the right and one loop from the panel on the left. Wrap the yarn around the hook, then draw it through both loops. One loop remains on the hook.
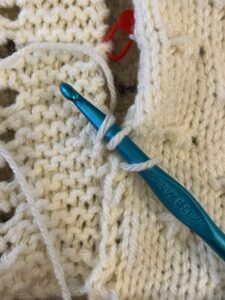
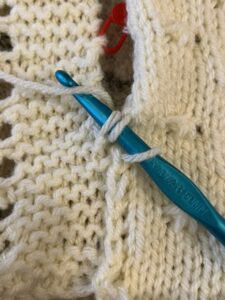
From the second stitch on, you will have a loop already on the hook when you begin. Catch one from each panel, wrap the yarn around the hook, and draw the yarn through three loops (one from each panel, plus the remaining loop from the last stitch).
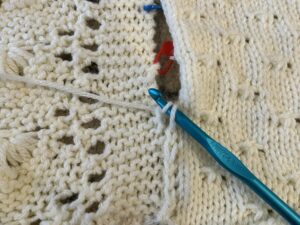

Continue in this manner until you reach the end. Snip your yarn and draw it through the last loop.
Need more help? Check out our crochet seam video tutorial.
Once you complete the vertical seams, you will have four 3-panel rows.
Working from right to left (or left to right), seam the 3-panel rows together.
Finishing
Block again, if needed.
If desired, add a border.
Enjoy!
Share Your Work
Please share your finished work! I love to see all the variations.
Ways to Share
🧶 Share in our Facebook group and see everyone’s work!
🧶 If you share on Instagram, tag me. (@atyarnslength)
🧶 And, of course, if you use Ravelry, you’ve probably already added the project. Be sure to update it with photos!
For information on future KALs, sign up for our newsletter!
I do plan to have a Fall 2023 Knit Along, too… I hope to see you there!


2 Comments
Janet Jungkuntz
Your KAL seaming the blocks together popped up on the Google feed just as I am thinking about how I will join a group of 8 inch knit squares together. what good timing! Thanks for the crochet method. I’ll use it.
Please keep me posted on your 2023 KAL project.
Holly
Perfect! I’m glad I was able to help. I love how simple it is and how the stitches really pop.