
Teacup Skirt [Knitting Pattern]
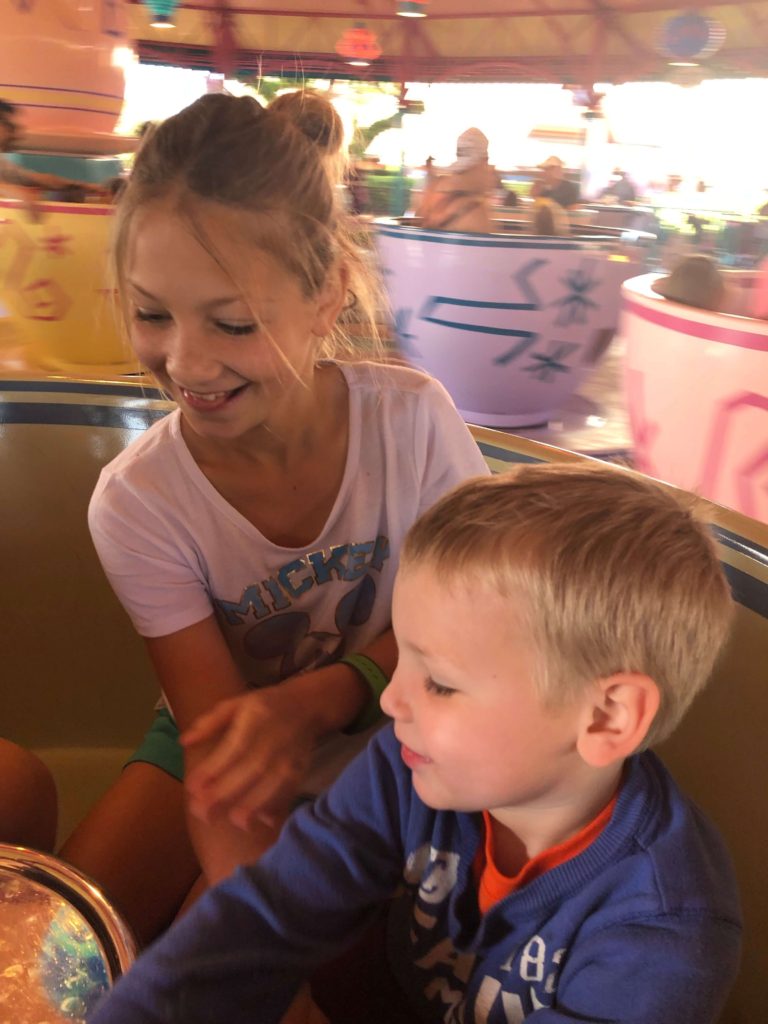
As travelers with young children across a six-year spread, it’s hard not to love Walt Disney World. It’s one of the few places where our family can spend the entire day together and not have to split up by age. The Mad Tea Party is not only an iconic attraction, but also one of our fondest memories. I tried to capture this pure, unadulterated joy in this fun, comfortable knit: the Teacup Skirt.
Download Pattern PDF | Add to Ravelry Queue | Pin on Pinterest
Teacup Skirt
Knitting Pattern
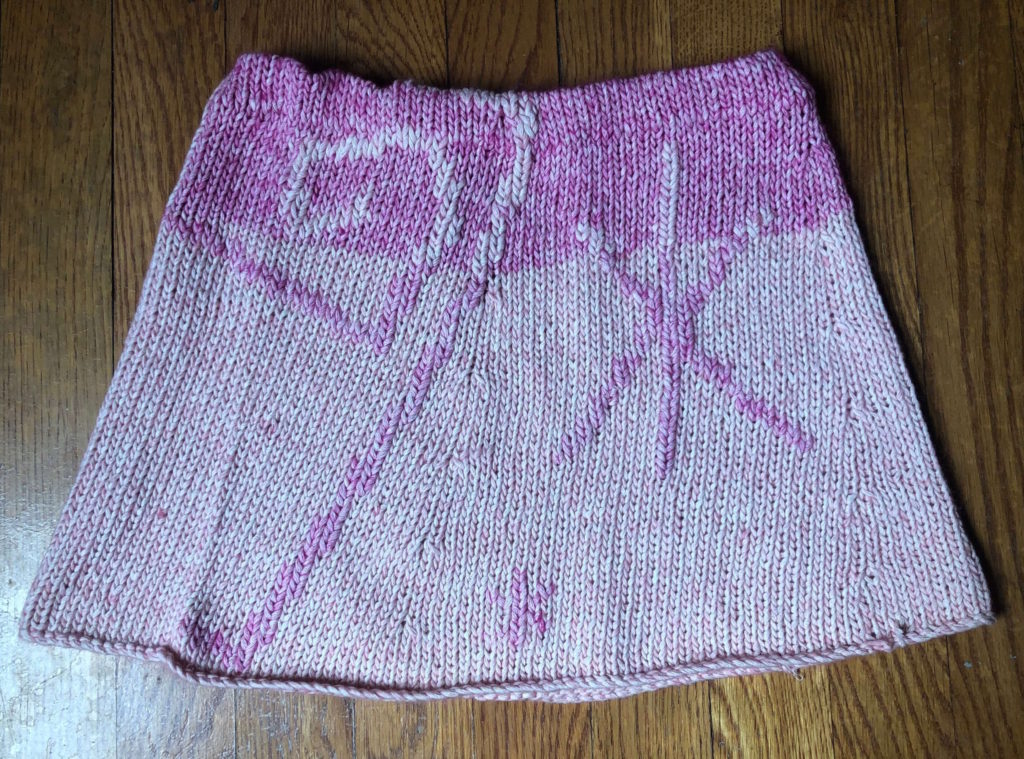
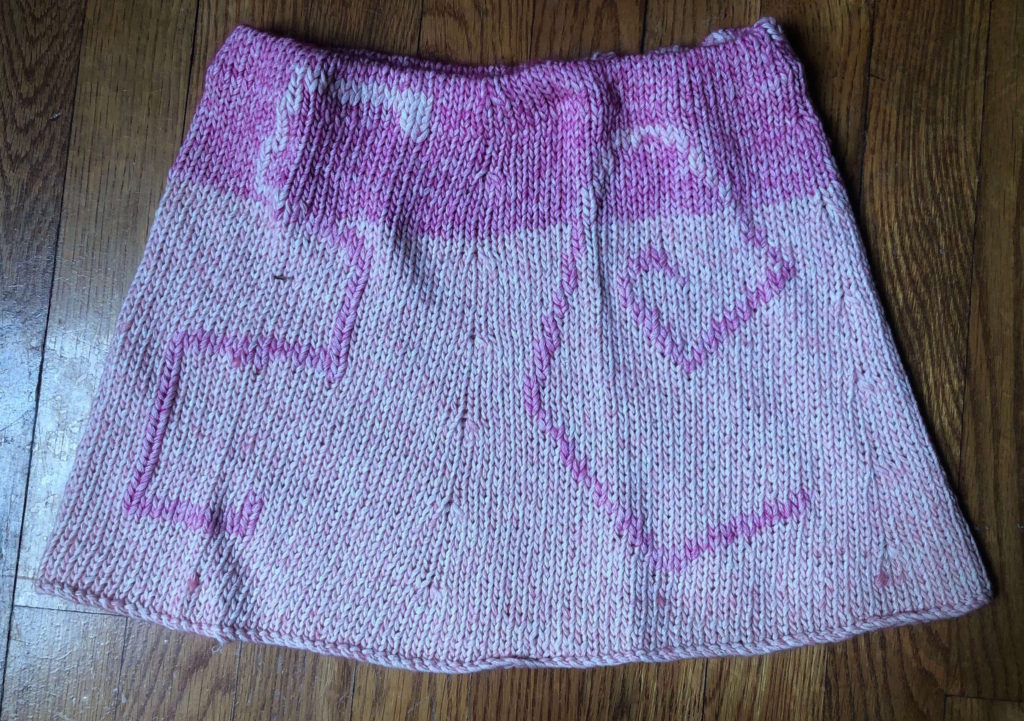
The Teacup Skirt Knitting Pattern is a nearly-seamless knit with bold, embroidered geometric designs. Whimsical and practical, it’s knit in cotton for summer or southern weather. Get ready to twirl!
To view our terms of use for all knitting and crochet patterns, see our Terms of Service.
Materials
Sizes:
child 2/4 – 20″ waist, 12″ length
child 6/8 – 23″ waist, 15.5″ length
child 10/12 – 25″ waist, 18″ length
child 14/16 – 28″ waist, 19″ length
adult M – 30″ waist, 21″ length
adult L – 33″ waist, 21″ length
adult XL – 36″ waist, 23″ length
adult 2X – 40″ waist, 25″ length
adult 3X – 44″ waist, 25″ length
Note that length is easily customizable.
Recommended Yarn:
Loops & Threads Coastal Cotton in Pink
1 (1, 2, 2, 2, 2, 3, 3, 4) skeins or 125 (200, 250, 300, 350, 385, 525, 600, 685) yards
Loops & Threads Coastal Cotton in Berry
1 (1, 1, 1, 1, 1, 2, 2, 2) skeins or 65 (100, 125, 150, 175, 200, 260, 300, 345) yards
Needles:
US #9/5.50 mm
Notions:
elastic (1/4″ or 1/2″ for child sizes, 1/2″ or 3/4″ for adult sizes)
finishing needle
large safety pins
sewing kit/needle and thread
stitch markers
Notes
Gauge:
18 sts x 24 rows = 4″ x 4″
in Stockinette stitch
Abbreviations
BO – bind off
CO – cast on
dec – decrease
k – knit
k2tog – knit 2 stitches together; single right-leaning decrease
m – marker
PM – place marker
RS – right side
ssk – slip 2 stitches knitwise, knit these 2 stitches together through back loops; single left-leaning decrease
st(s) – stitch(es)
St st – Stockinette stitch
WS – wrong side
Techniques Used
Duplicate stitch
Pattern
This skirt is worked in the round from the bottom up in one color at a time. The designs are embroidered on after the skirt is complete.
Instructions are provided for sizes as follows:
child 2/4 (6/8, 10/12, 14/16, adult M, L, XL, 2X, 3X)
Refer to waist size above for most accurate sizing.
Setup
Using Pink, CO 128 (152, 168, 184, 196, 212, 256, 284, 320) sts.
PM and join the round, using care not to twist.
Knit first round while placing markers every 32 (38, 42, 46, 49, 53, 64, 71, 80) sts. 4 markers placed.
Continue to knit in St st until work measures 1″.
Body
Next, work dec round as follows:
*ssk, k to last 2 sts before m, k2tog, slip m*
Now 120 (144, 160, 176, 188, 204, 248, 276, 312) sts remain.
Continue in St st, decreasing every 10 (10, 11, 11, 12, 11, 10, 10, 8) rounds until 80 (96, 104, 112, 120, 132, 160, 180, 200) sts remain.
At the same time, change to Berry when work reaches 7.5″ (9.75″, 11.25″, 12″, 13″, 13″, 14.5″, 15.5″, 15.5″) in length from hem (cast-on edge).
After your final decrease round, your work should measure 12″ (15.5″, 18″, 19″, 19″, 19″, 21″, 23″, 23″) in length.
Continue in St st for 1″ (1″, 1″, 1″, 2″, 2″, 2″, 2″, 2″).
Ensure that your skirt is at least 1″ longer than your desired finished length, then BO all sts.
Embroidery
If you find your stitches are uneven, block before this step.
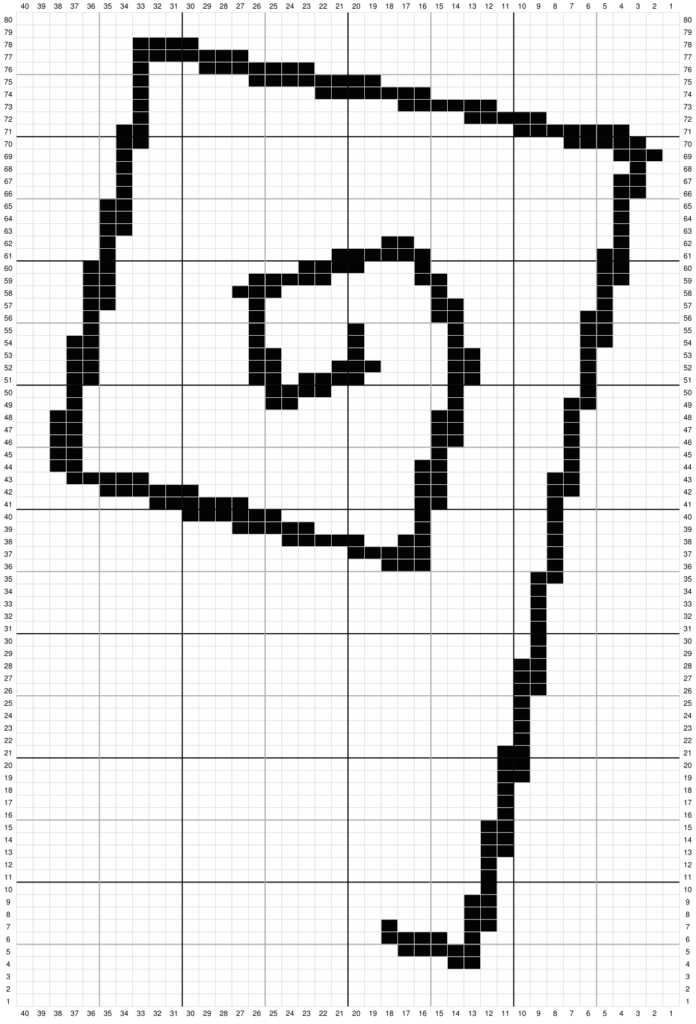
There is room for one design per skirt panel (4). Determine placement for each design before you begin, noting that they vary greatly in size. Use stitch markers to denote key stitches in the design (the ends and the corners, for example).
Use duplicate stitching to embroider the designs, working with Pink on Berry and Berry on Pink.
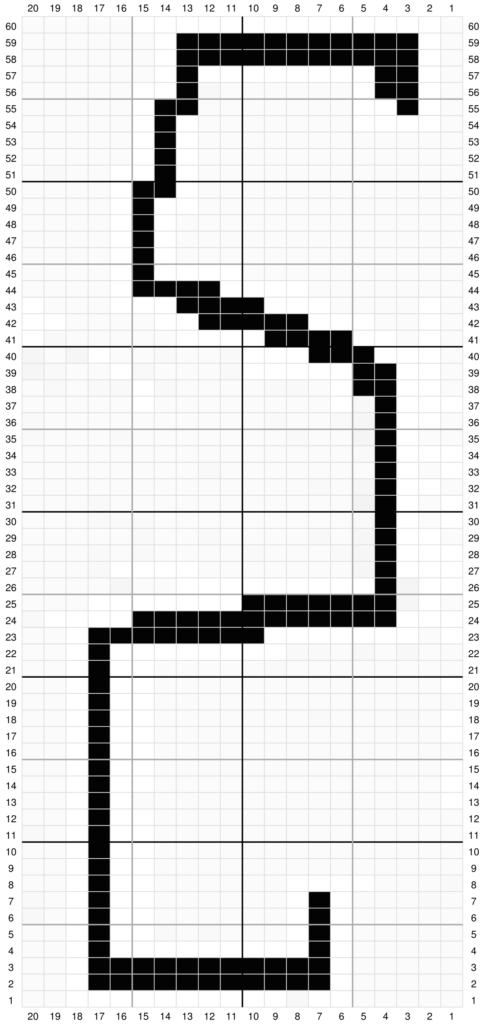
Charts

Waistband
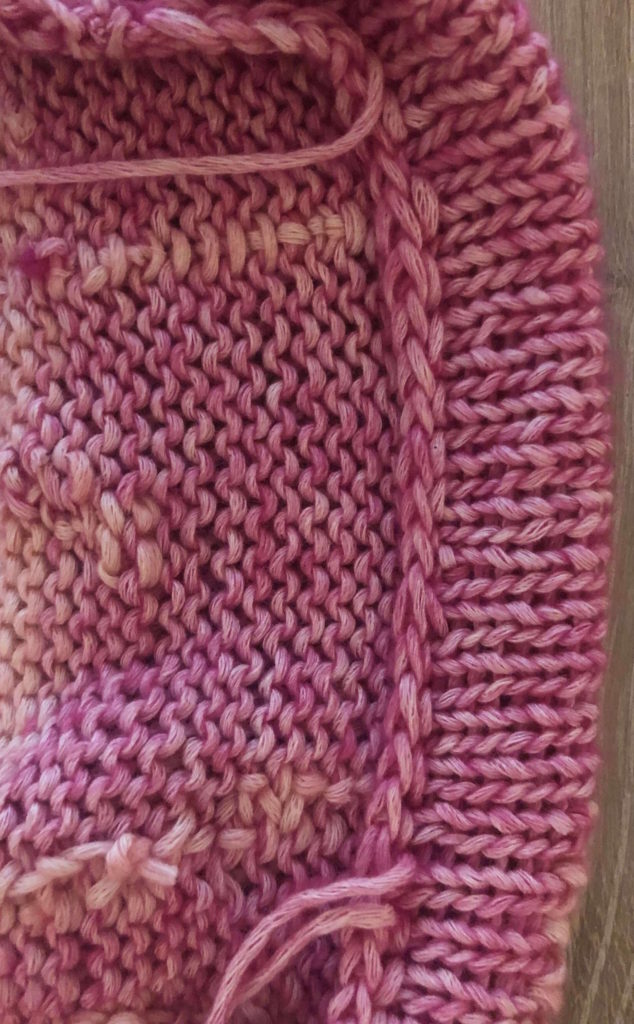
Fold the top inch of the waist over and in. (Hint: Mark the row at the fold with a basting stitch if you find it difficult to keep even.)
Pin into place with safety pins or stitch markers.
Sew the edge down to the waist, using invisible duplicate stitch seaming. Leave 2″ unsewn.
Invisible Seaming
To seam invisibly, use a duplicate stitch.
On the inside edge, position your needle at the center of the topmost V (closest to the hem on what is now the WS).
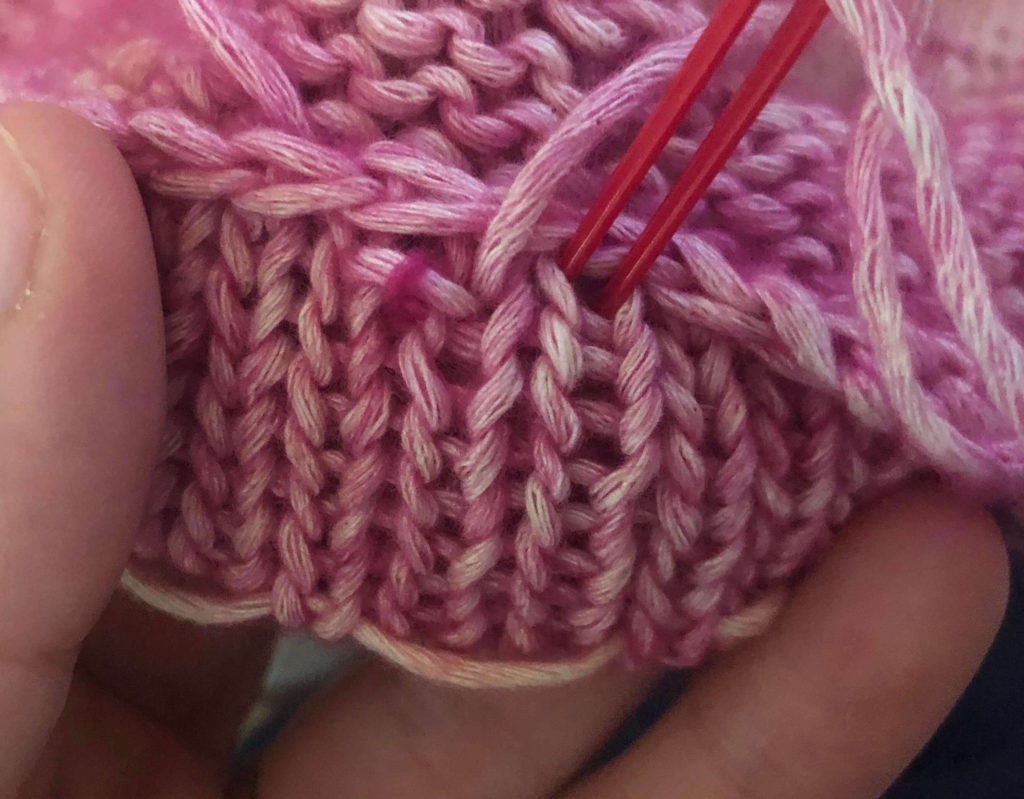
Push through the fabric and to the RS, ensuring your needle comes through at the bottom of the V, as if to make a duplicate stitch.
Follow behind the V on top this stitch, duplicating one side. Exit back through the hole that the needle came through.

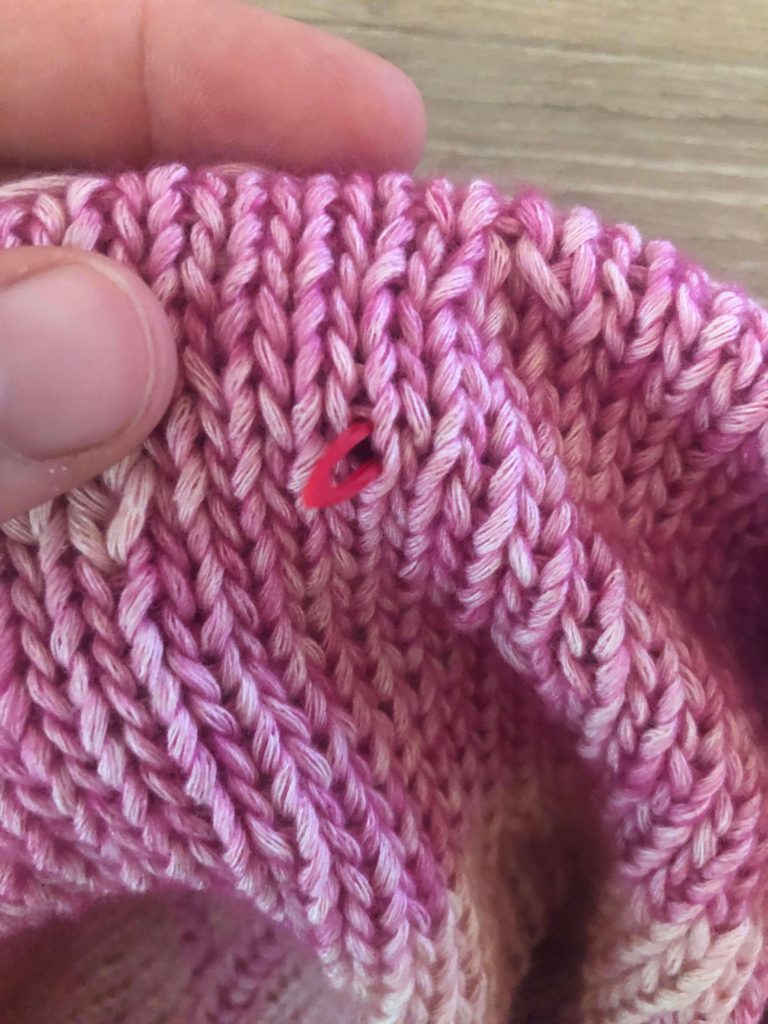
On the WS, move to the next V and repeat the stitch. If you encounter any contrasting color (RS), skip those stitches.
This technique will leave a dashed line on the inside of the waistband, but will be invisible on the right side of the work.
Inserting the Elastic
Checking for fit before you cut, snip a piece of elastic that is a bit smaller than the desired waist measurement. (This is typically 1-2″ of negative ease for children and up to 4″ for adults.)
Attach a large safety pin to the end of the elastic and use it to thread the elastic through the tube created by the hem.
Emerge on the other side and overlap both ends of the elastic. Sew together with needle and thread.
Finish sewing waistband seam with yarn.
Finishing
Weave in any loose ends. Block if desired.
Download Pattern PDF | Add to Ravelry Queue | Pin on Pinterest
One Comment
Pingback: