
Our Favorite Air-Dry Clay Recipe
We’ve tried a few different air-dry clay recipes, but this one takes the cake! If the grocery store is the only stop you can make today, you’ll still be able to secure the materials you need for this crack-free air-dry clay.
Materials
- 1 c. white glue
- 1 c. corn starch
- 1 T. vegetable oil
- 1 T. white vinegar
Steps
- Combine all ingredients in a non-stick pot or pan.
- Heat on medium-low while stirring.
- When the mixture changes and begins to look lumpy (sort of like cottage cheese), remove from heat and mix well.
If you overcook it, the clay will be tough and unwieldy.
If done correctly, it will still be a bit sticky when it’s ready. Use additional corn starch as needed when shaping and rolling. Just work it as if you’re making sugar cookies.

What You Can Make
Air-dry clay, as its name implies, doesn’t need to be fired in a kiln to harden. This means you can use it to easily make just about anything!
You can use cookie cutters to make ornaments. Poke a hole in the clay before drying it.
Cookie cutters also work well to make fridge magnets. Let the clay dry completely before gluing a craft magnet on the back.
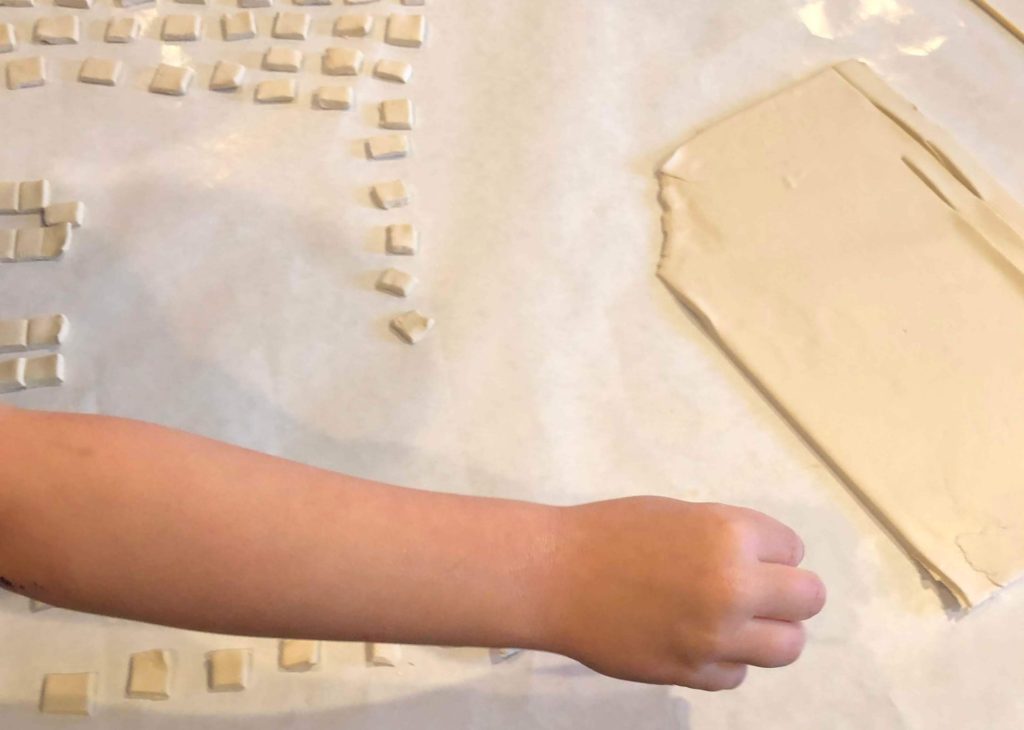
You can also shape air dry clay by hand to make figurines. Be sure to use wire or pipe cleaners to support arms, legs, or anything else that sticks out.
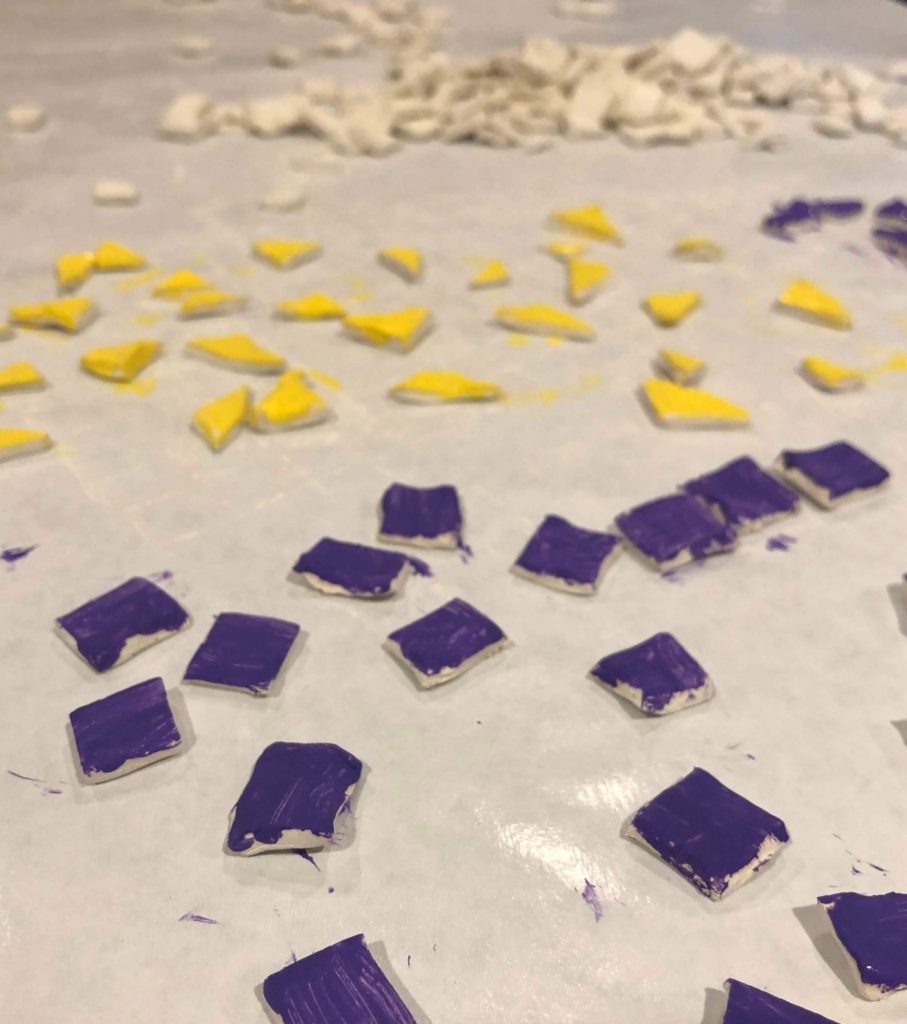
We used air-dry clay to make these mosaic flowerpots.
After You Make It
Allow your pieces to dry completely. This is usually overnight, but is certainly affected by humidity.
You can use any paint you have to decorate it, but use caution with watercolors. The additional moisture can affect the clay, particularly figurines.
Be sure to seal your work if you anticipate it will be exposed to any of the elements.
2 Comments
Pingback:
Pingback: