
Make Your Own Beeswax Wrap
I once attempted to make my own Burt’s Bees lip balm. I’m admittedly a bit addicted to it and didn’t think it could be that hard. It was. After my failed attempt, I was left with a bag of beeswax pastilles and realized I could put them to good use… by making my own beeswax wrap!
What Is A Beeswax Wrap?
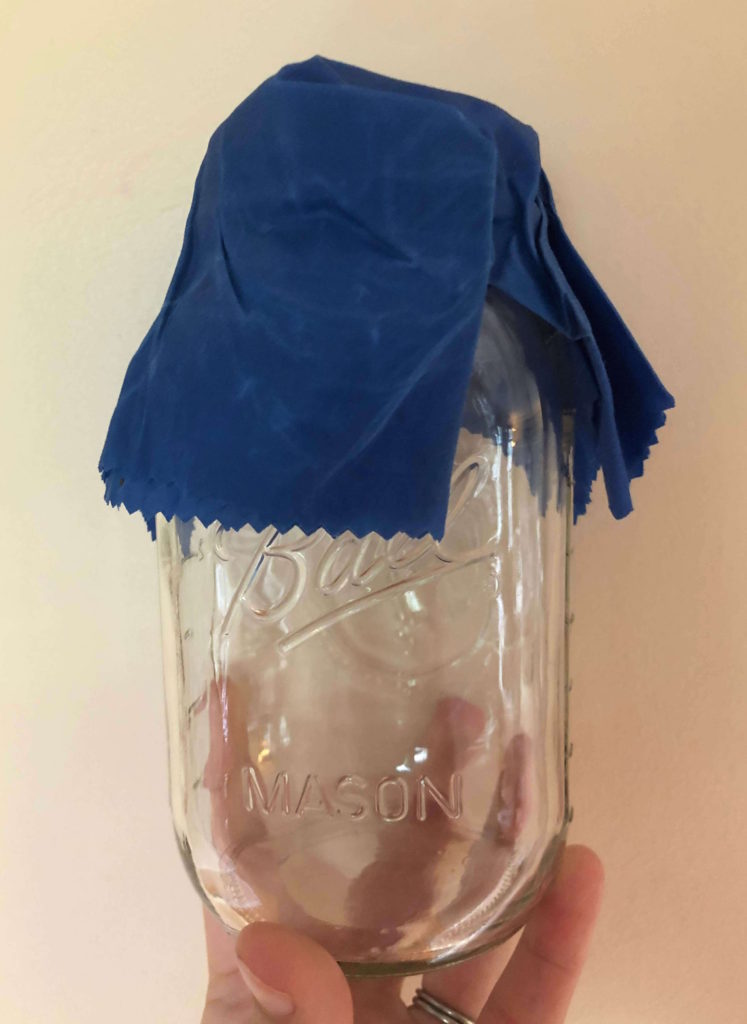
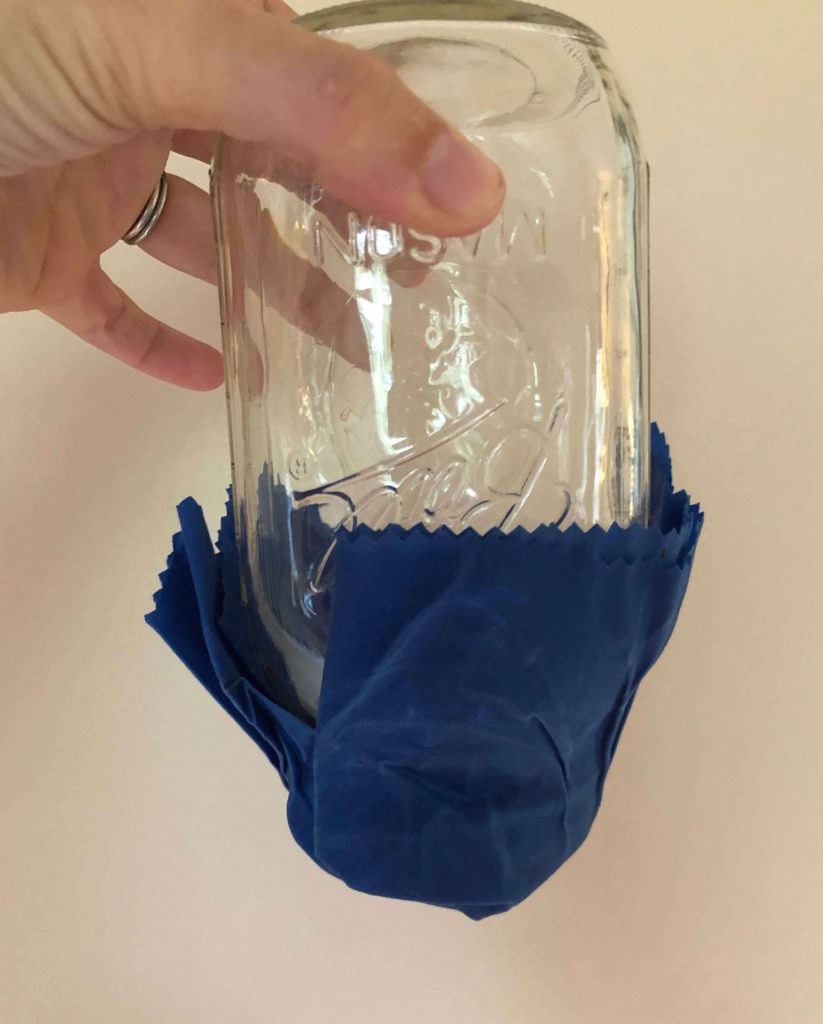
Beeswax wraps are a reusable plastic wrap alternative made of cotton and beeswax. You can use them to cover leftovers or to keep half of a lemon fresh till you’re ready to use it. However you use plastic wrap, beeswax wrap can work in its place!
Beeswax wrap makes a great gift, too. Printed fabrics make it easy to customize your wraps for the recipient.
Materials
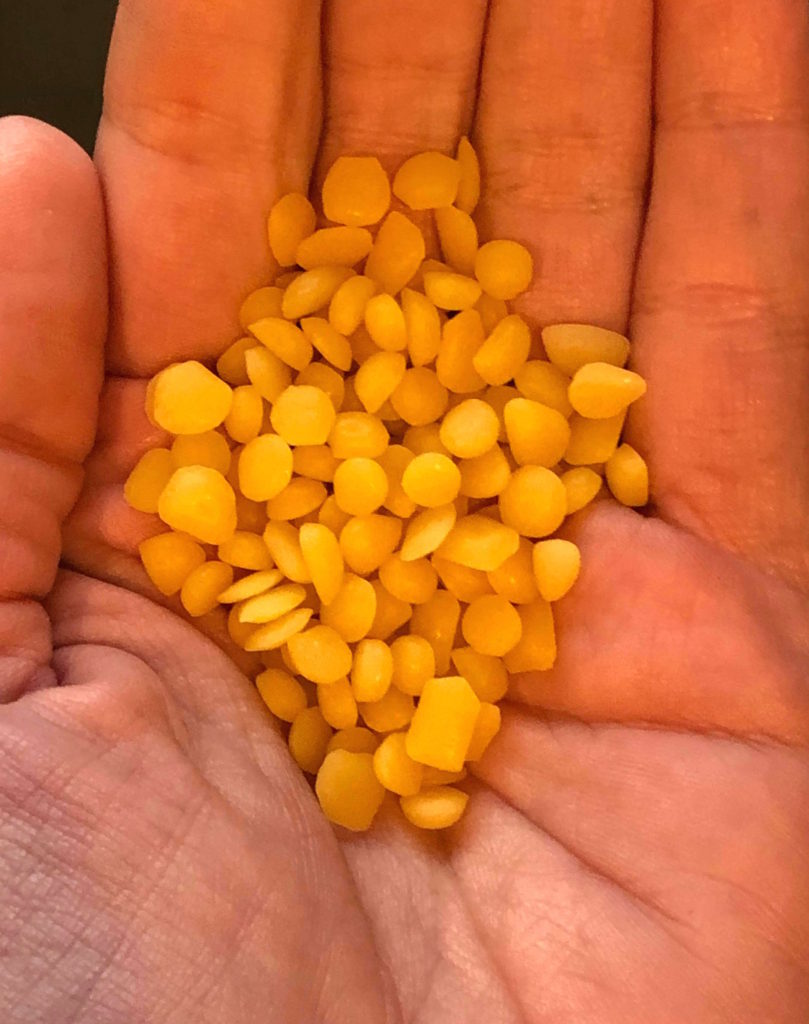
- beeswax pastilles (sometimes also called beads or pellets)
- cotton fabric
- pinking shears
- baking sheet
- parchment paper
- paintbrush (optional, but helpful)

Prep
Pre-heat the oven to the lowest setting (typically 170°).
Using the pinking shears, cut the fabric into the sizes you’d like. For snacks, think small (7″ or 8″ squares). To cover dishes, cut 13″ or 14″ squares. If you’re planning on using one to cover casseroles or roll out dough, 18″ x 22″ is a good fit if it can fit in your baking sheet.
Cover your baking sheet with parchment paper.
Make
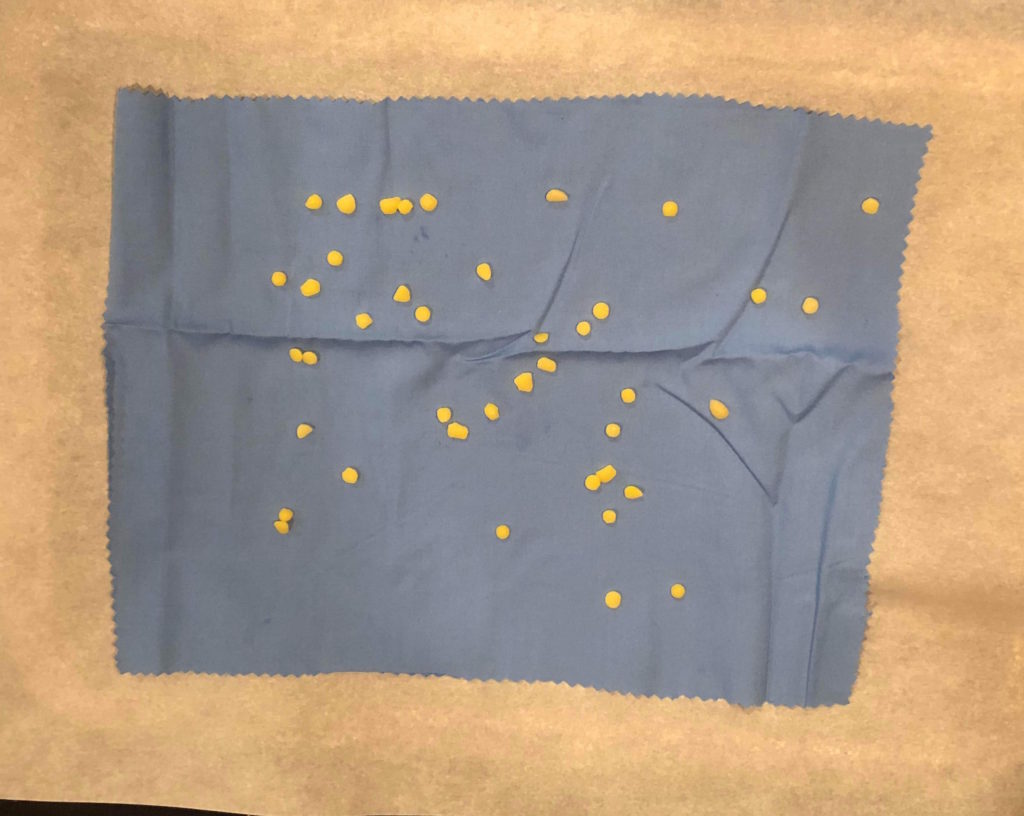
Place the fabric flat on the baking sheet. You can use more than one piece of fabric per sheet if they will fit.
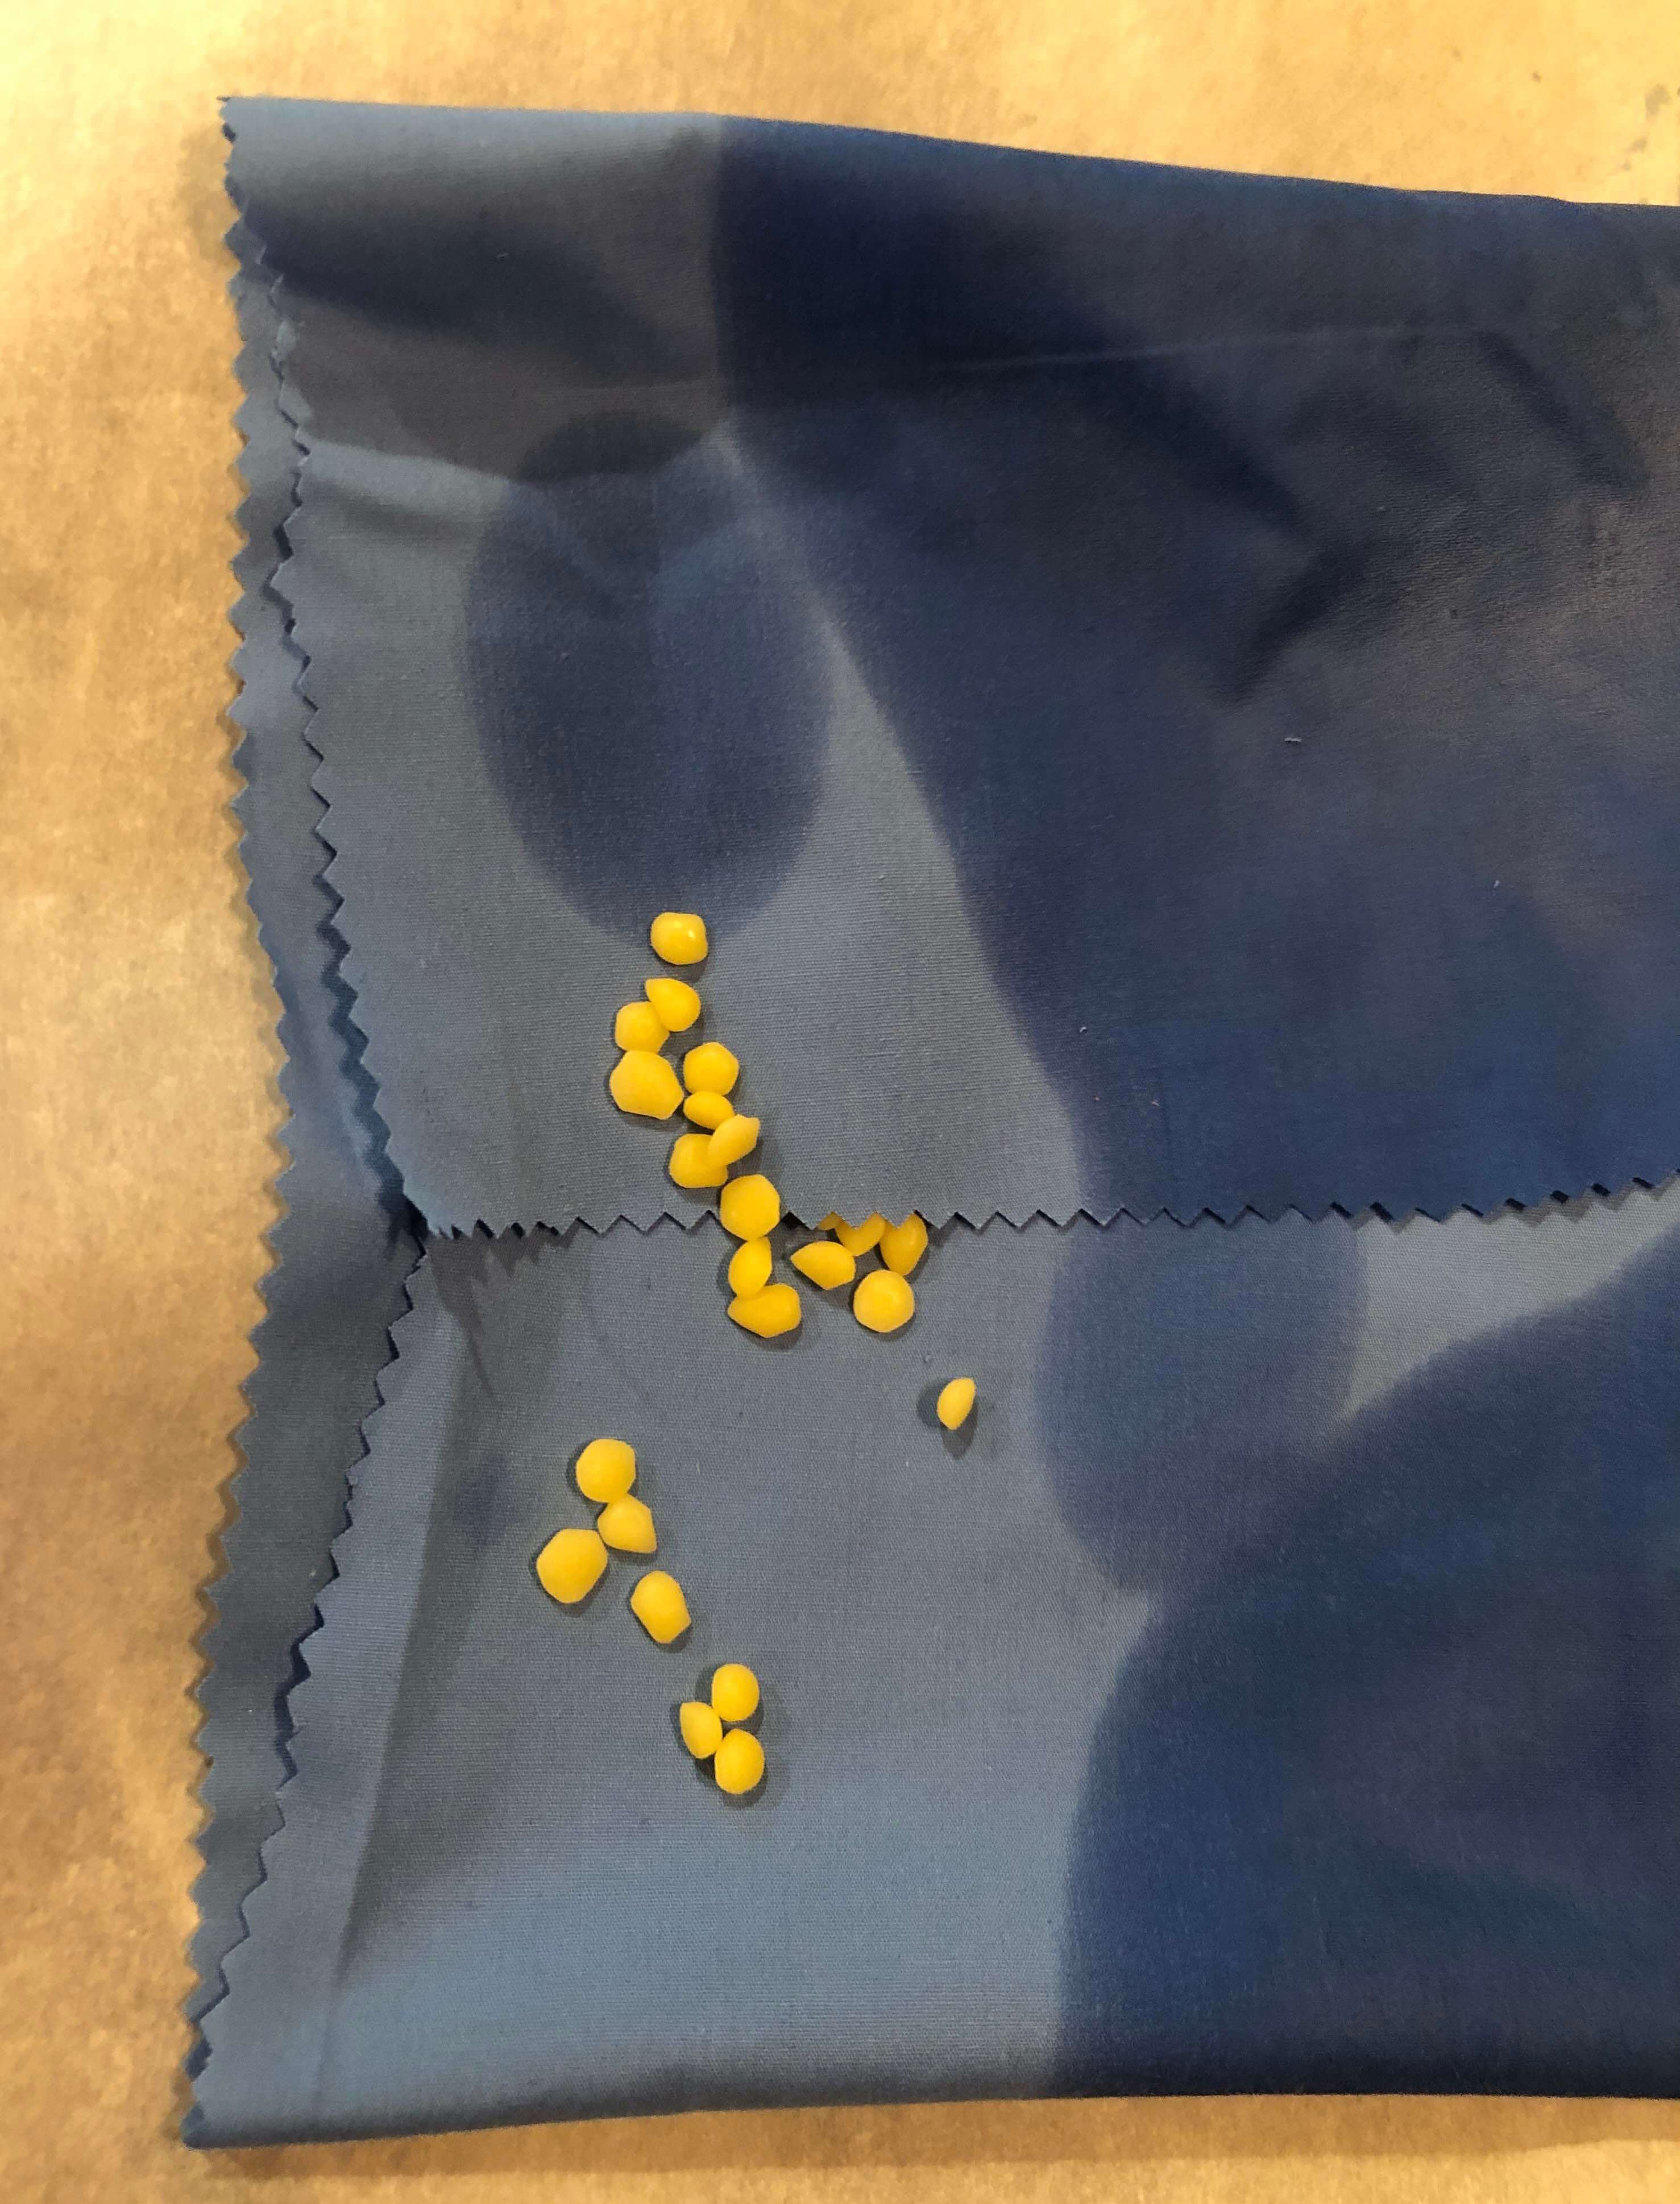
Lightly sprinkle beeswax pastilles over the fabric. You only want the thinnest layer of beeswax to saturate the fabric, so it’s better to be conservative.
Bake for 5-10 minutes, until pastilles have melted and saturated the fabric.
If necessary, add more pastilles, return to the oven, and repeat.
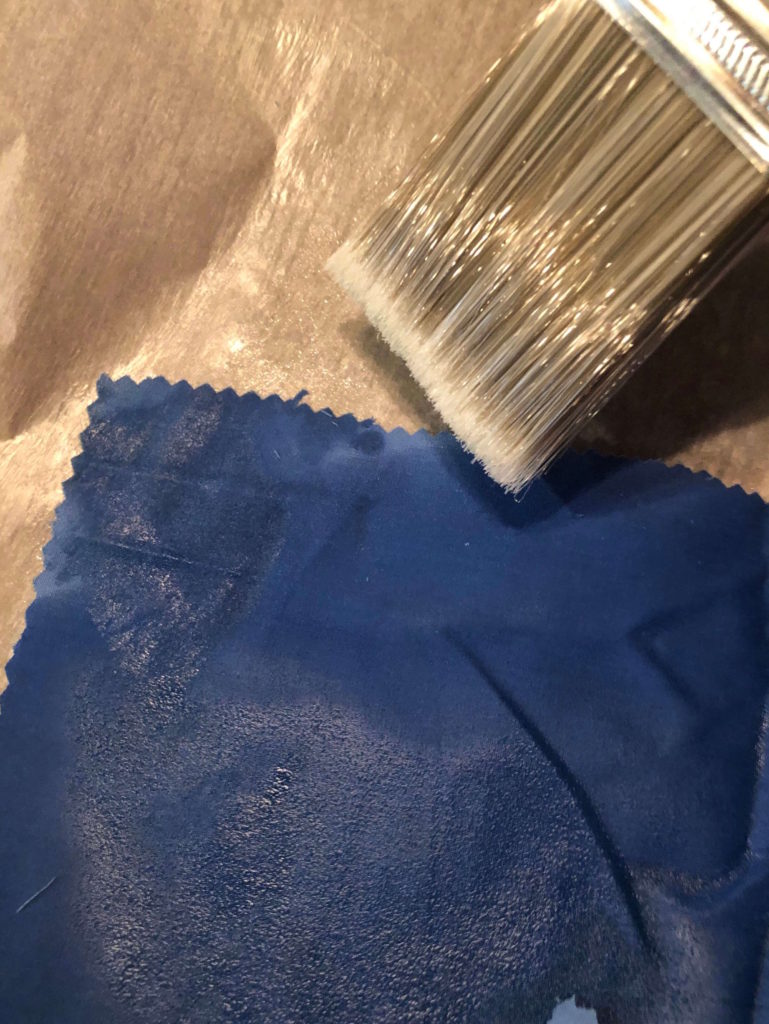
Then, working while the pan is still hot, use the brush to spread the wax. Ensure that the fabric is just barely saturated, paying careful attention to the edges.
Cool
Carefully remove the fabric from the pan when it is still warm. Gently waving it in the air should cool it enough to remove the tackiness.
Once you can touch it without fear of transferring beeswax, hang it on a coat hanger, drape it across a kitchen rack, place it on a dish drain, or simply lay it on a countertop out of the way to cool and dry completely.
Use & Care
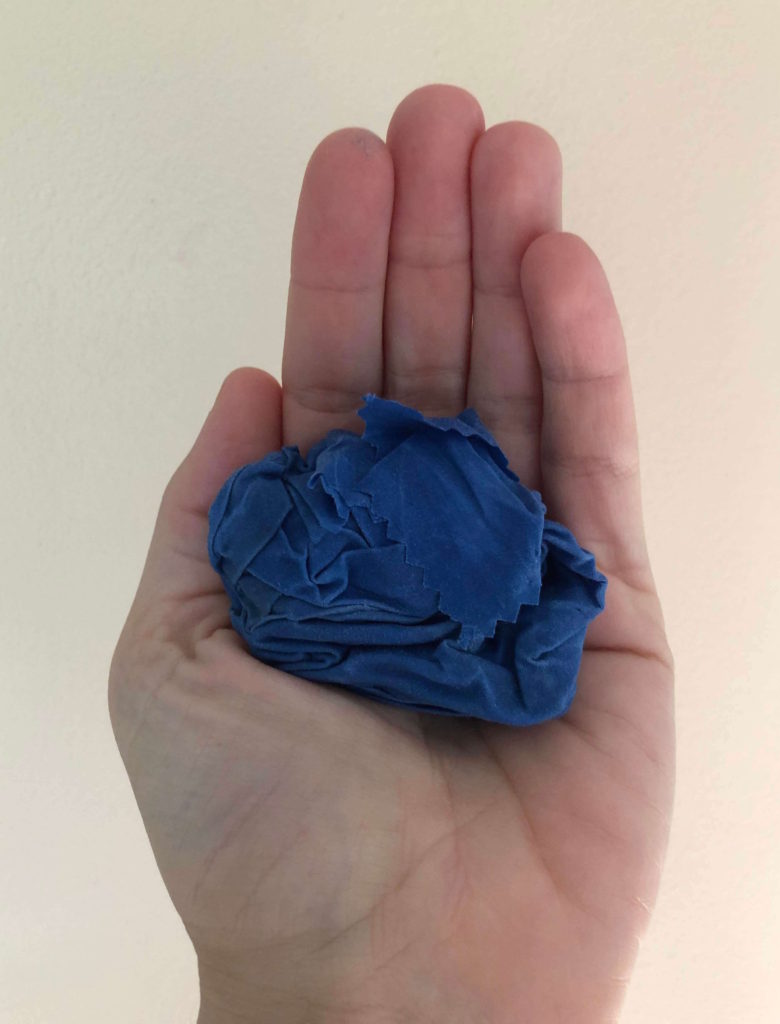
The beeswax wrap may seem hard and inflexible at first. Handling it will warm it up, helping it bend better.
To care for it, gently wash it with cold water and, if desired, soap. Let it air-dry.
If you find your wrap is losing its tackiness, you can refresh it by placing it back in the oven (on a parchment paper-covered baking sheet) and rewarming it or by ironing it on low between two pieces of parchment paper.
Have you ever used beeswrap?

One Comment
Pingback: