
How to Wash Raw Wool for Spinning or Felting
I don’t work much with raw wool. I typically purchase my own bare yarn and dye it. Sometimes I purchase processed, dyed wool for felting. However, when I had the chance to purchase the fleece from a Hog Island sheep (my favorite breed), I couldn’t pass it up! I knew how to wash raw wool, so I gathered my supplies. I was quickly reminded that it is a labor of love.
There are many methods for cleaning fleece, all with the same general principles. My method is all done by hand as I don’t trust my front-loading washing machine, but there are some methods that make quicker work of this process by using spin and rinse cycles.
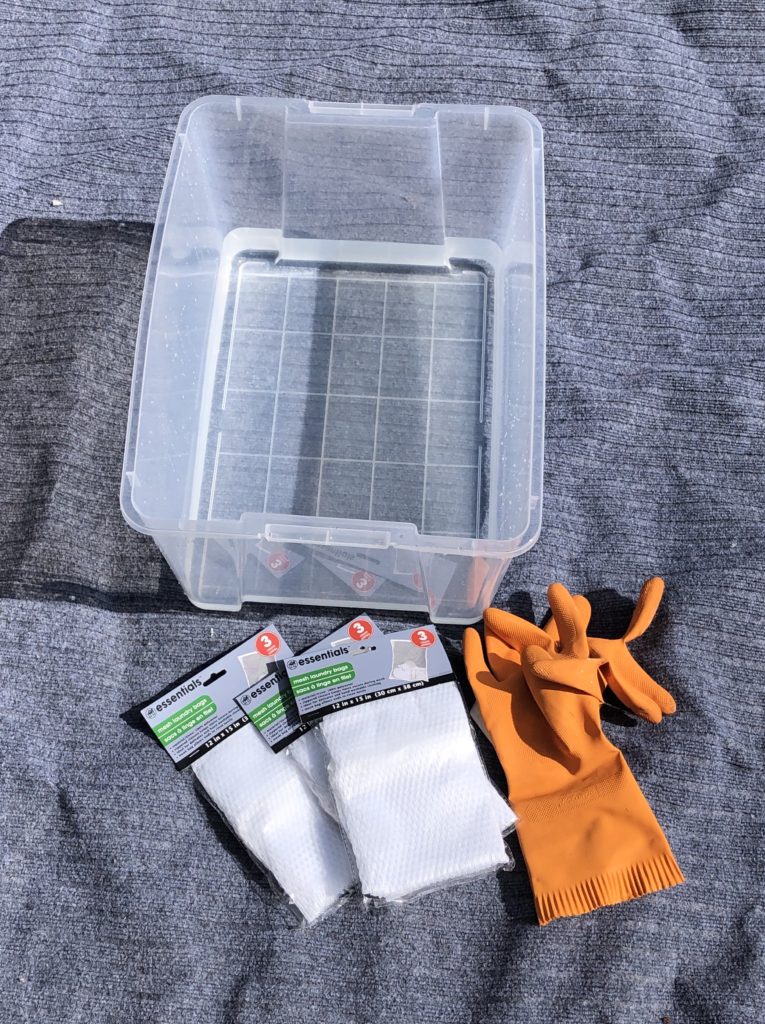
Supplies
gloves
I recommend a nice, thick pair of rubber gloves over disposables. You want the gloves high on your arm when dunking and thick to prevent pricks from vegetable matter.
garment bags
The ones pictured are from Dollar Tree. I lost 4/9 zipper pulls while packing them! Luckily three were lost after I zipped the bags closed, so I only had to tie one bag shut.
I recommend a sturdier set if you plan to do this more than once.
scouring product
There are specific products made for wool, but they don’t come cheap. If you plan to clean several fleeces, consider investing in Unicorn Power Scour or Fleece Degreaser. I used regular Dawn dishwashing liquid, which is budget-friendly and works well.
storage bins (or any containers for soaking)
I recommend having at least two bins on hand for convenience, but you can complete the process with one in a pinch.
wool hand carders
You may also use a drum carder, but they are considerably more expensive.
Before You Begin
Use caution! Working with raw wool can result in felting.
Felting is a natural process that occurs when a fiber frays and fuses to other fibers around it. Think of a wool sweater thrown into the washer and dryer; it comes out two sizes too small and twice as thick!
Felting can’t be undone and it will ruin your fiber if your intent is to use your fleece, especially if your goal is to spin it into yarn.
To avoid felting, avoid agitation (especially in warm or hot water) and sudden temperature changes. Always add your fleece to standing water rather than pouring the water over resting fleece.
Step 1 – Skirt
Many fleeces available for purchase have already been skirted. If yours hasn’t, you’ve got your work cut out for you. It’s time to put your gloves on!
Lay your fleece out as neatly as possible and take a look at it.
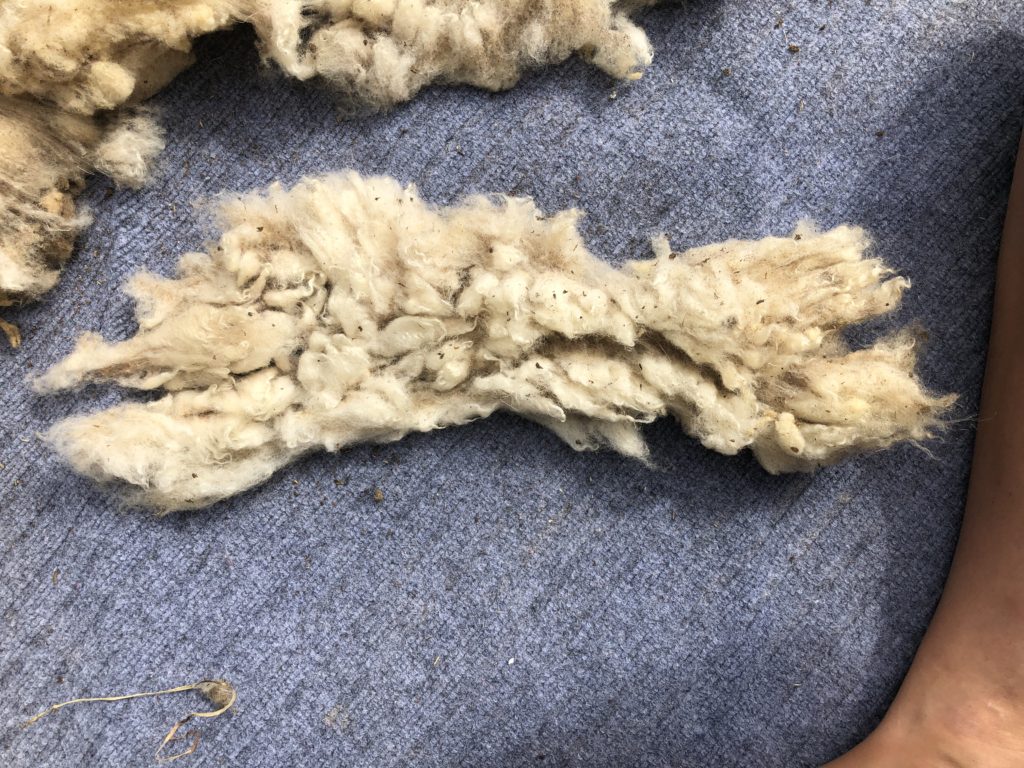
Sheep spend their lives outdoors, collecting evidence of their daily habits in their fleeces. You may find dirt, hay, burs, and, yes, even poo! Pull these bits out.
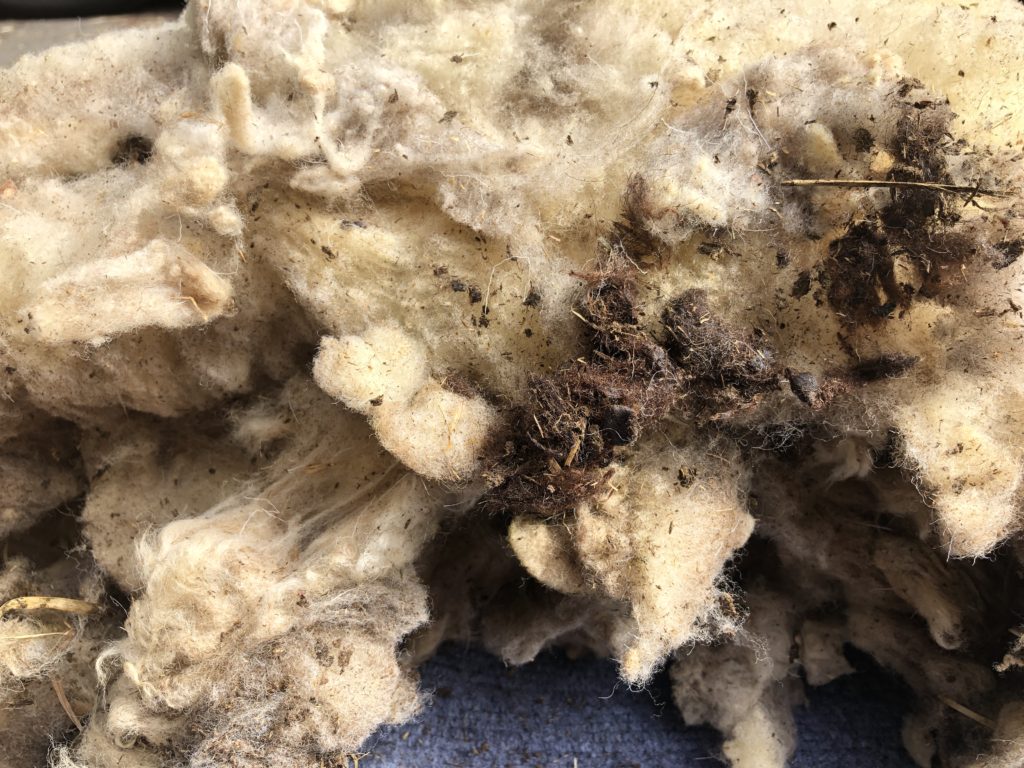
You’ll also want to remove any unusable fiber, such as the coarse fiber from around the legs, tail, and even the neck. If your fleece is in one piece, these are easily found by following the perimeter. These bits aren’t usable; be ruthless in ripping them out!
Step 2 – Separate
Separate your fleece into small bundles, about what you could hold with both hands together. Try to keep the fibers facing the same direction.
Pack your bundles into small garment bags.
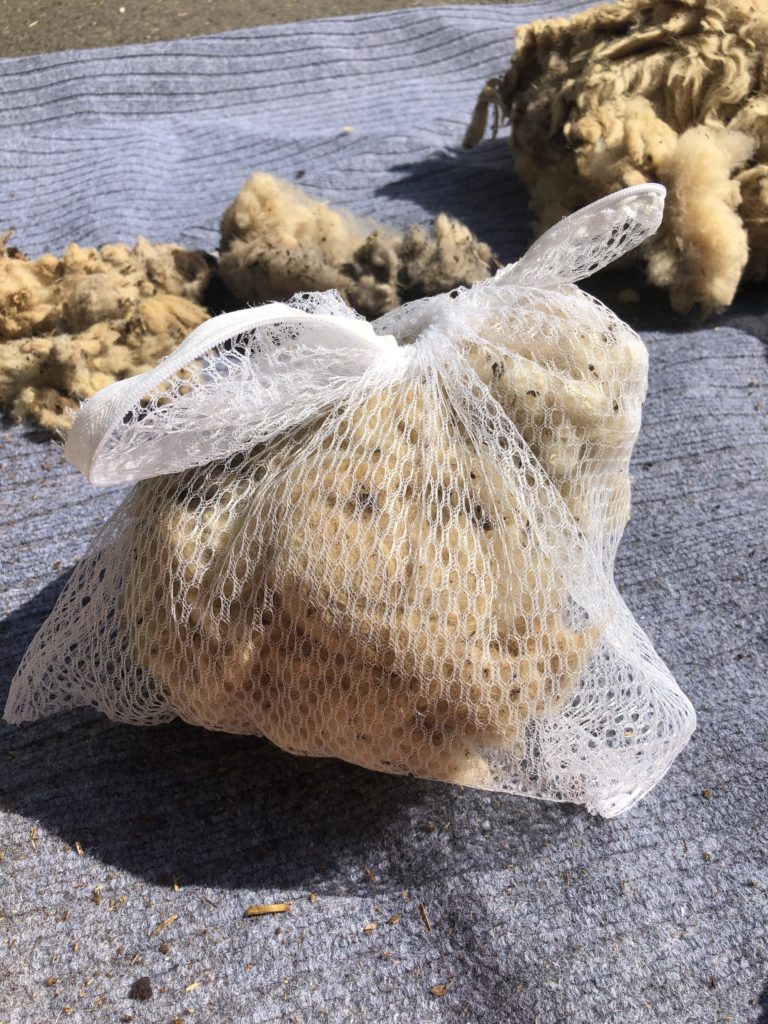
Remember the felt warning? You don’t want your wool being able to move around in the bag. If your garment bags are significantly larger than the bundles of wool, fold the bags just like you would with a half-empty bag of potato chips. Secure the ends with rubber bands or clothespins so it won’t lose its shape.
Step 3 – Presoak
You may feel inclined to skip this step as it adds so much time to the process. Don’t! The cold water presoak is simple and makes the rest of the process go more smoothly.
In the case of this Hog Island fleece, I found it was particularly helpful with dissolving stains from Virginia clay.
Fill your container with cold water, leaving enough room for the fleece. Gently submerge your garment bags, being careful not to agitate.
Soak for 24 hours.

Step 4 – Wash
This is also called “scouring.”
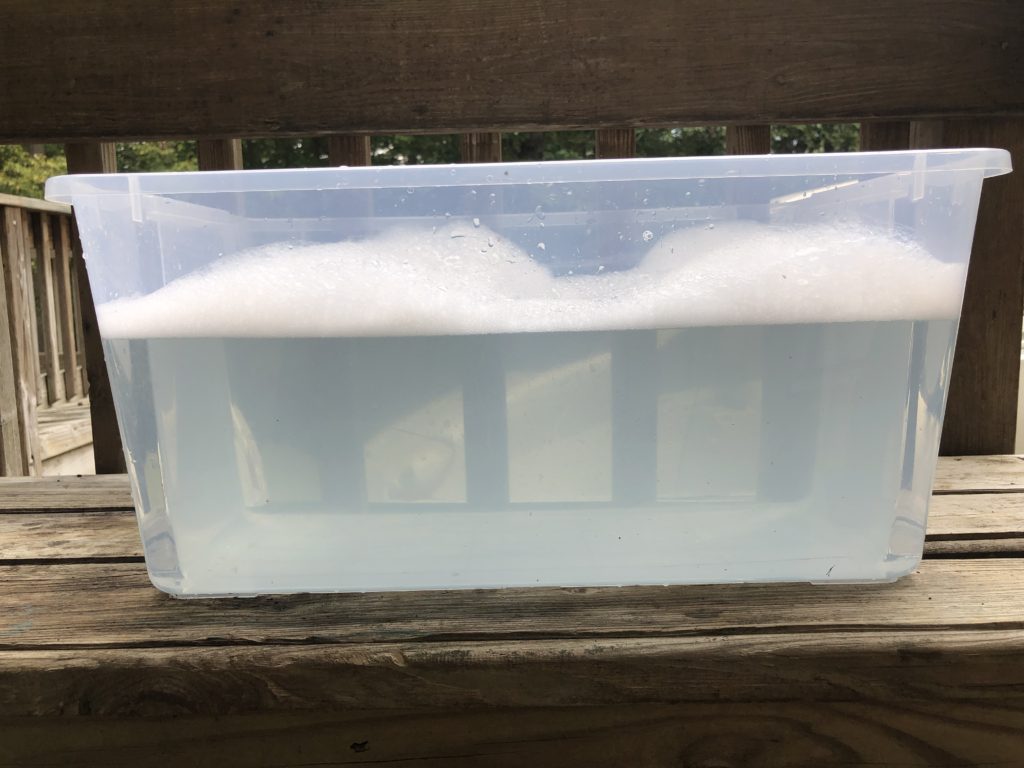
Fill your bin with hot water, leaving room for the fleece.
Because most water heaters aren’t set above 120, it’s unlikely the water will be hot enough to immediately encourage felting. If this is a concern for you, consider a second presoak in warm water for about 15 minutes.
Add your scouring product to the water and gently agitate. You’ll know you have put in enough when you can dip your fingers, rub them together, and feel the slickness of the soap.
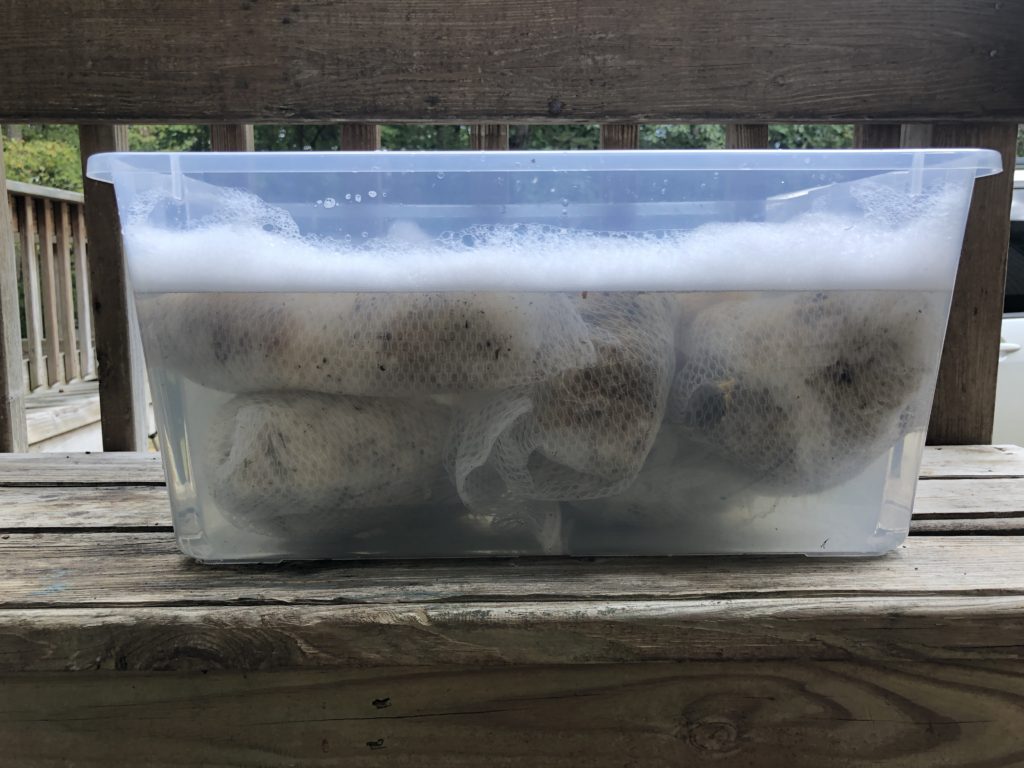
Add the wool to the soapy water and be sure it is submerged, taking care not to agitate. Soak for 45 minutes to an hour.
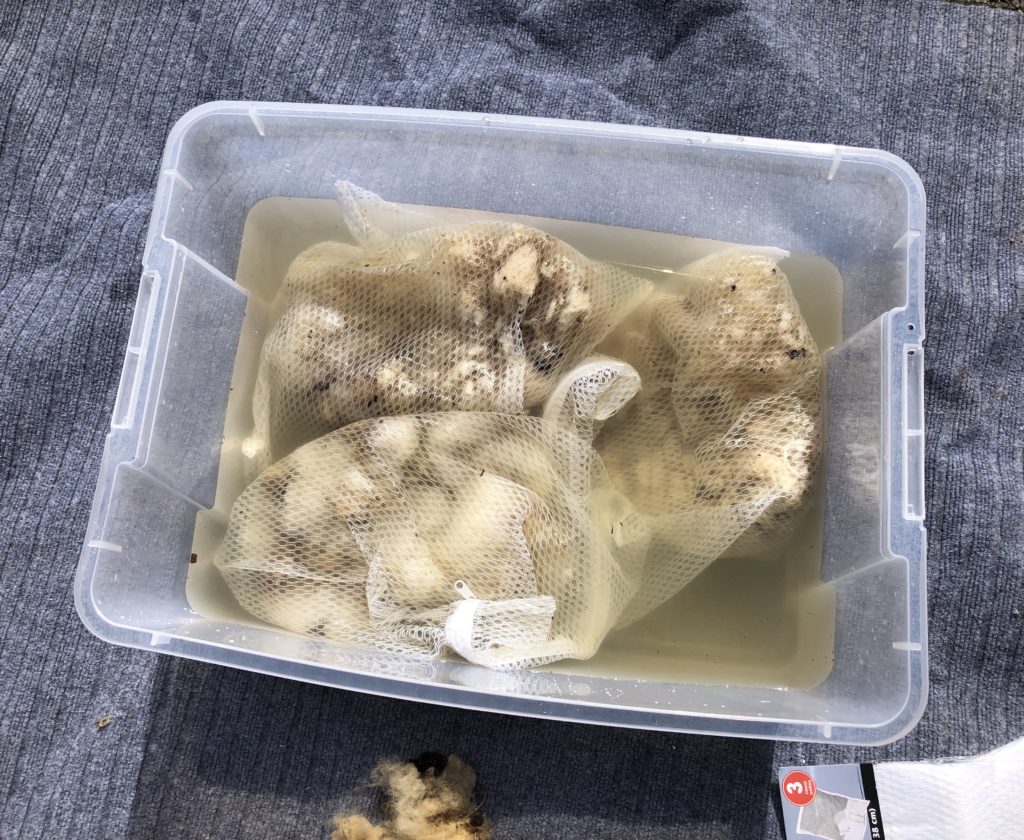
Remove the fleece and examine it. Particularly muddy fleeces or fleeces from breeds with high lanolin content in their fleeces may need a second wash.
If you come across small areas that are felted, still have significant debris embedded, or are simply difficult to clean, they can be snipped out later.
Step 5 – Rinse
Another felting warning! Though the water has cooled considerably since you added the wool, you’ll still need to take care not to shock the fiber by rinsing with too-cold water.
Assuming your wool has cooled to room temperature, fill a bin with lukewarm water and let it rest for about 30 minutes.
If the water is very dirty or the wool looks discolored or feels soapy, you will need to rinse again.
Step 6 – Dry
Once you are satisfied with the cleanliness of the wool, take it out of the bags. It doesn’t need to be perfect. Small bits of debris will come out with carding. Small, stubborn stains can be clipped away.
Spread the wool out gently on towels or a tarp to dry.
I put a fan on low on the opposite side of the room to encourage air flow to speed up the process.
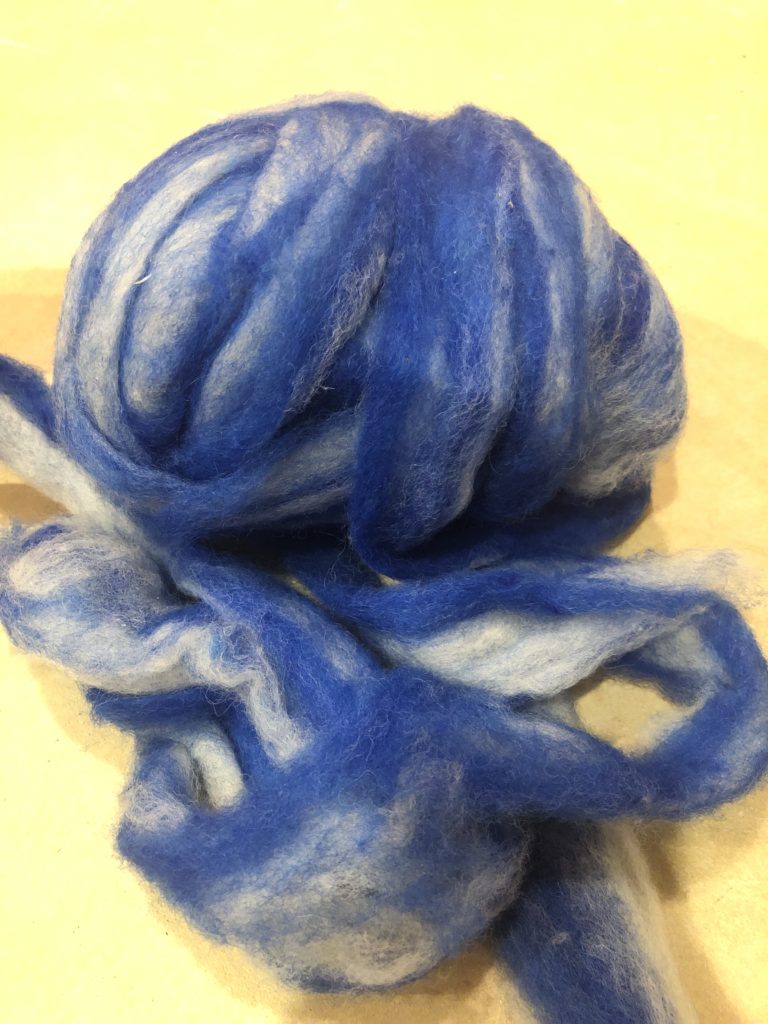
Step 7 – Card, Dye, Spin
Your wool is ready to be carded and spun!
Unless you’re using it for felting, card your wool before dyeing as carding can expose sections of the fiber that weren’t saturated by the dye bath.
You can dye before or after spinning.
One Comment
Pingback: