
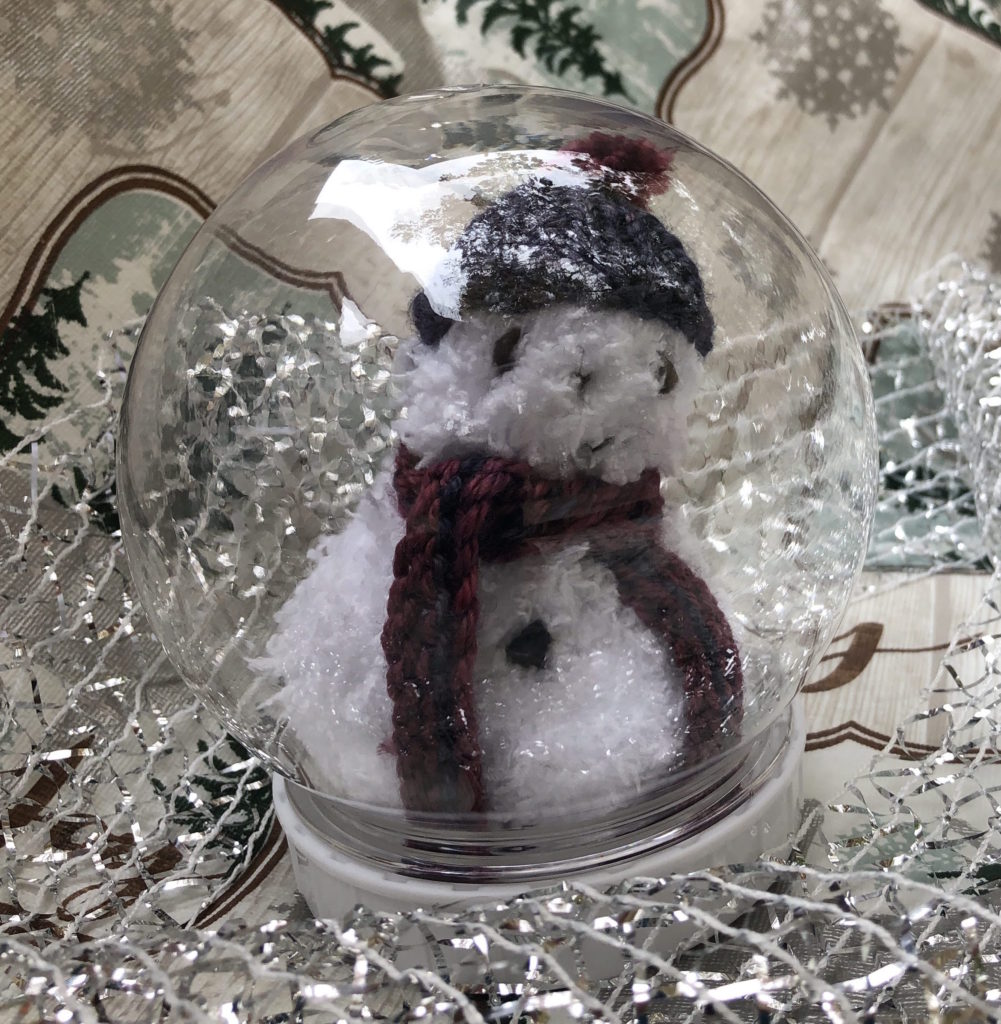
Merry McBlizzard: Knitted Snowman [Knitting Pattern]
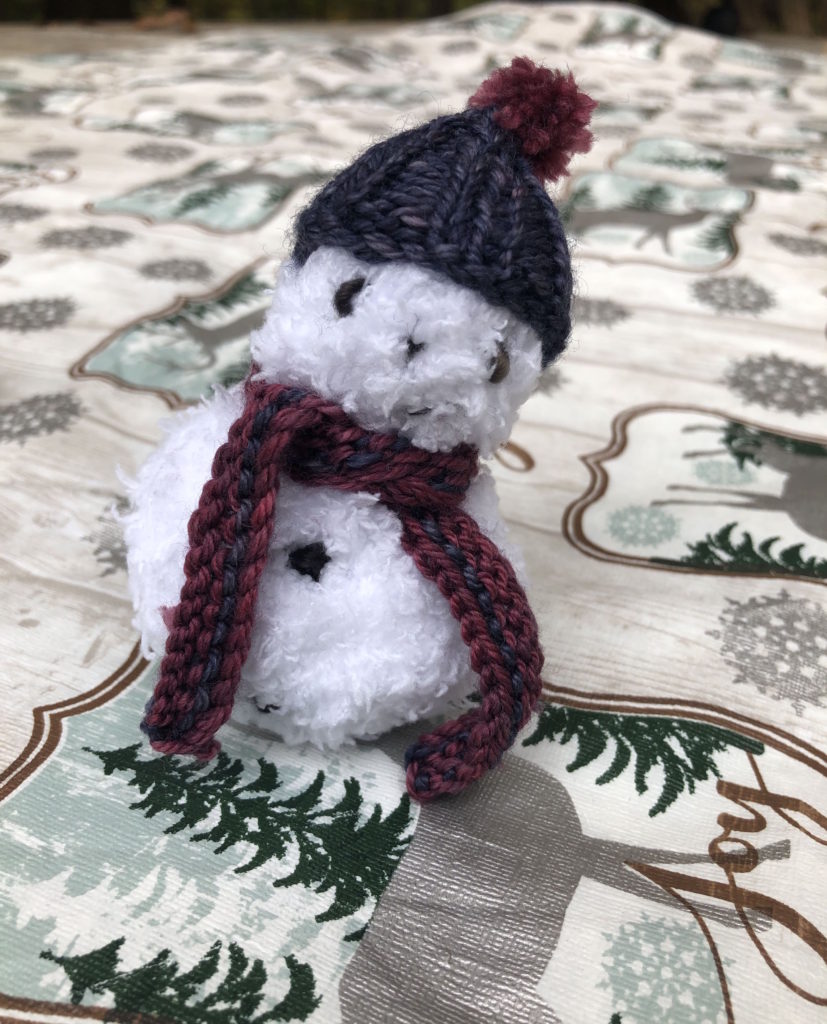
This little knitted snowman is perfect for anyone who wants to spread a little — and I do mean little — bit of winter cheer!
Download Pattern PDF | Add to Ravelry Queue | Pin on Pinterest
Merry McBlizzard
Knitting Pattern
The Merry McBlizzard Snowman Knitting Pattern is an easily customizable pattern. Work up his accessories to match your own, your home décor, or your favorite team’s colors.
To view our terms of use for all knitting and crochet patterns, see our Terms of Service.
Materials
Yarn:
15 yards of Bernat Pipsqueak in Whitey White
fingering weight scrap yarn for scarf, hat, and embroidery
Needles:
US #9/5.50 mm
US #3/3.25 mm
Notions:
fiber fill
finishing needle
safety pin or stitch holder (about 4″ long, for making mini pompom)
stitch marker (1)
Other Supplies:
faux snow
hot glue gun
snow globe
Notes
Gauge:
unimportant
Finished snowman is approximately 4″ tall.
Abbreviations
BO – bind off
CC – contrast color
CO – cast on
k – knit
k2tog – knit 2 stitches together; single right-leaning decrease
kfb – knit 1 into front and back of a stitch; single knit increase
m – marker
MC – main color
p – purl
PM – place marker
p2tog – purl 2 stitches together; single stitch decrease
Knitted Snowman
The snowman is worked from bottom to top in the round with US #9/5.50 mm needles and Bernat Pipsqueak. His body and head are one continuous pattern, but instructions address them separately for clarity.
Setup
CO 6 sts and join in the round, taking care not to twist.
Body
1 – k all
2 – *kfb, PM* [12 sts]
3 – k all
4 – *kfb, k1* [18 sts]
5 – k all
6 – *kfb, k2* [24 sts]
7 to 15 – knit
16 – *k2tog, k2* [18 sts]
17 – k all
18 – *k2tog, k1* [12 sts]
19 – k all
20 – *k2tog* [6 sts]
Do not bind off!
Head
21 – k all
22 – *kfb* [12 sts]
23 to 25 – k all
26 – *k2tog* [6 sts]
27 – *k2tog* [3 sts]
28 – k all
Snip yarn. Draw through remaining stitches and secure.
Weave in ends.
Embroider face and coal buttons using the scrap yarn of your choice.
Knitted Snowman’s Hat
The snowman’s hat is worked from bottom to top using US #3/3.25 mm needles and fingering weight scrap yarn.
Setup
CO 24 sts and join in the round, taking care not to twist.
Work in K2, P2 rib for 8 rounds.
Decrease
9 – *k2, p2tog* [18 sts]
10 – *k2, p1*
11 – *K2tog, P1* [12 sts]
12 – *k1, p1*
13 – *k2tog* [6 sts]
14 – k all
Snip yarn. Draw through remaining stitches and secure.
Weave in ends (or tuck into hat where they will not be visible).
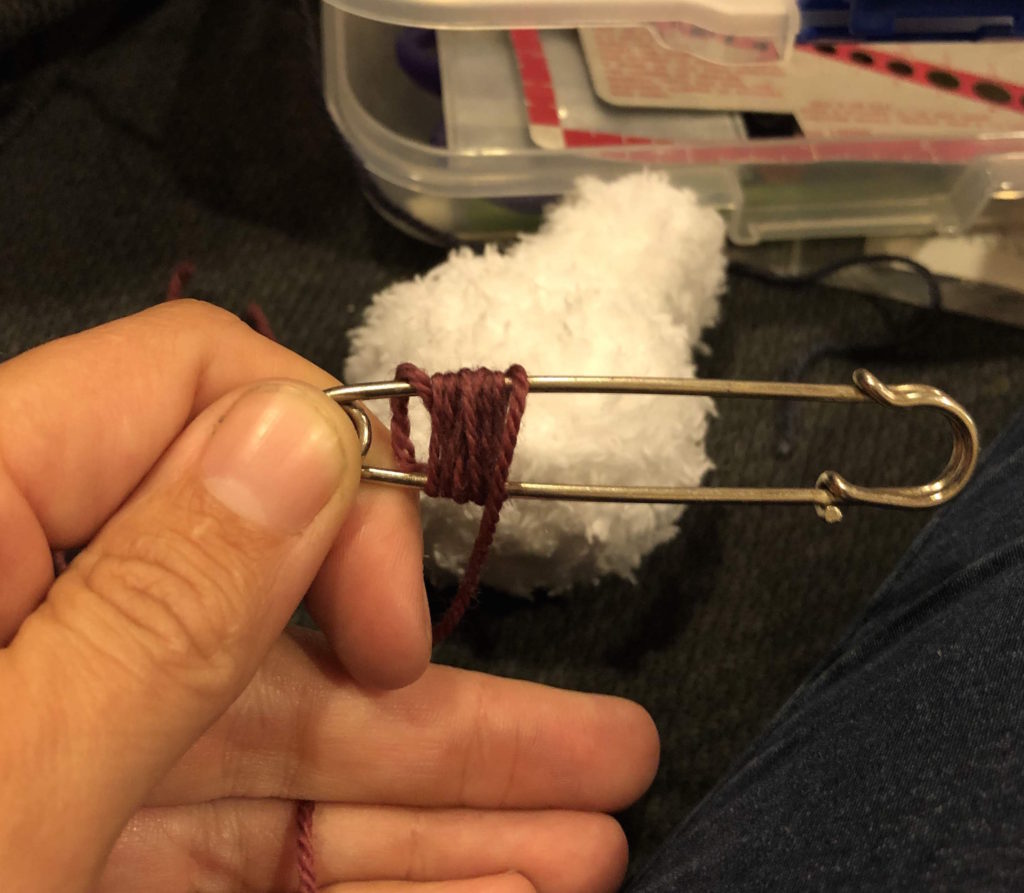
Special Technique: Mini Pompom
The mini pompom was made using a large safety pin-style stitch holder. Any 4″ pin should give you a pompom of the correct size.
Hold a long tail of CC yarn to the side of the safety pin so it is accessible. Begin wrapping the safety pin. Keep wrapping, overlapping until it looks like you have too much yarn. Wrap it a few more times.
Snip the yarn, leaving another long tail. Use this to wrap in between the legs of the safety pin and tie a secure knot to the first tail.
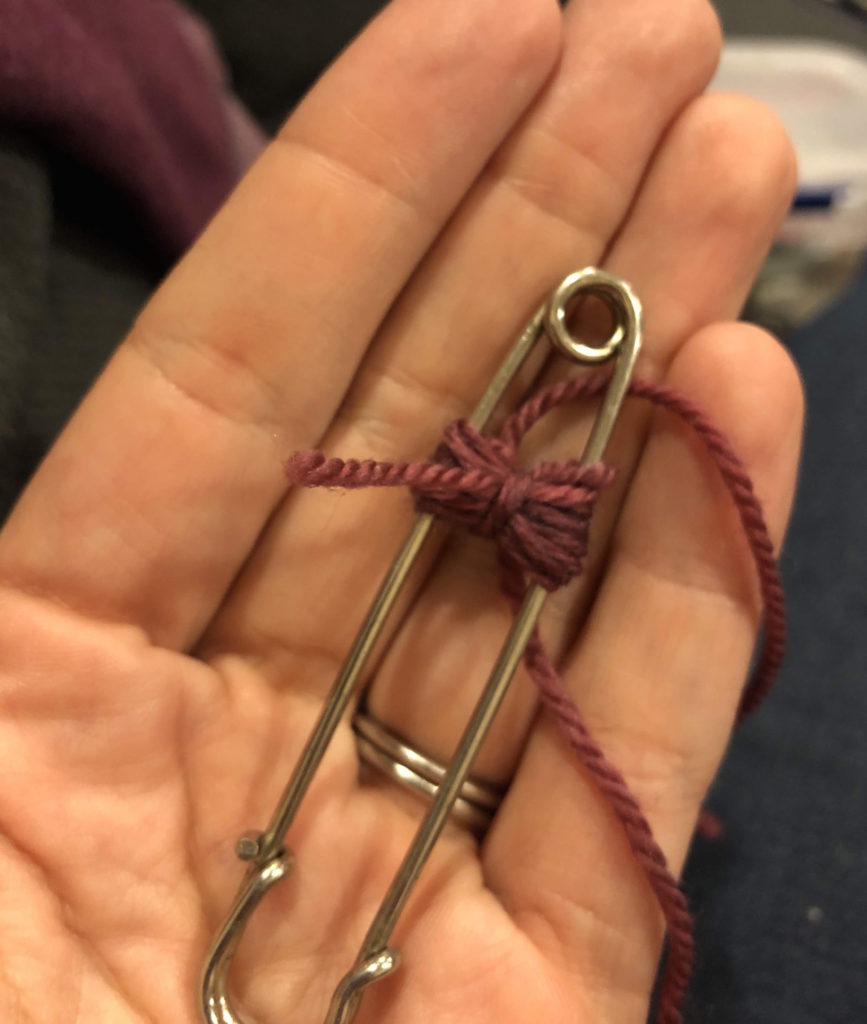
Using very sharp scissors, snip the wrapped yarn free down either side of the safety pin.
Fluff the pompom and trim around the edges to even out the shape.
Pull the tails through the top of the hat and secure the pompom.
Knitted Snowman’s Striped Scarf
The snowman’s scarf is worked back and forth using US #3/3.25 mm needles and two colors of fingering weight scrap yarn.
Scarf
CO 50 sts using MC.
1 – k all
2 – using CC, k all
3 – using MC, k all
4 – BO all sts
Weave in ends.
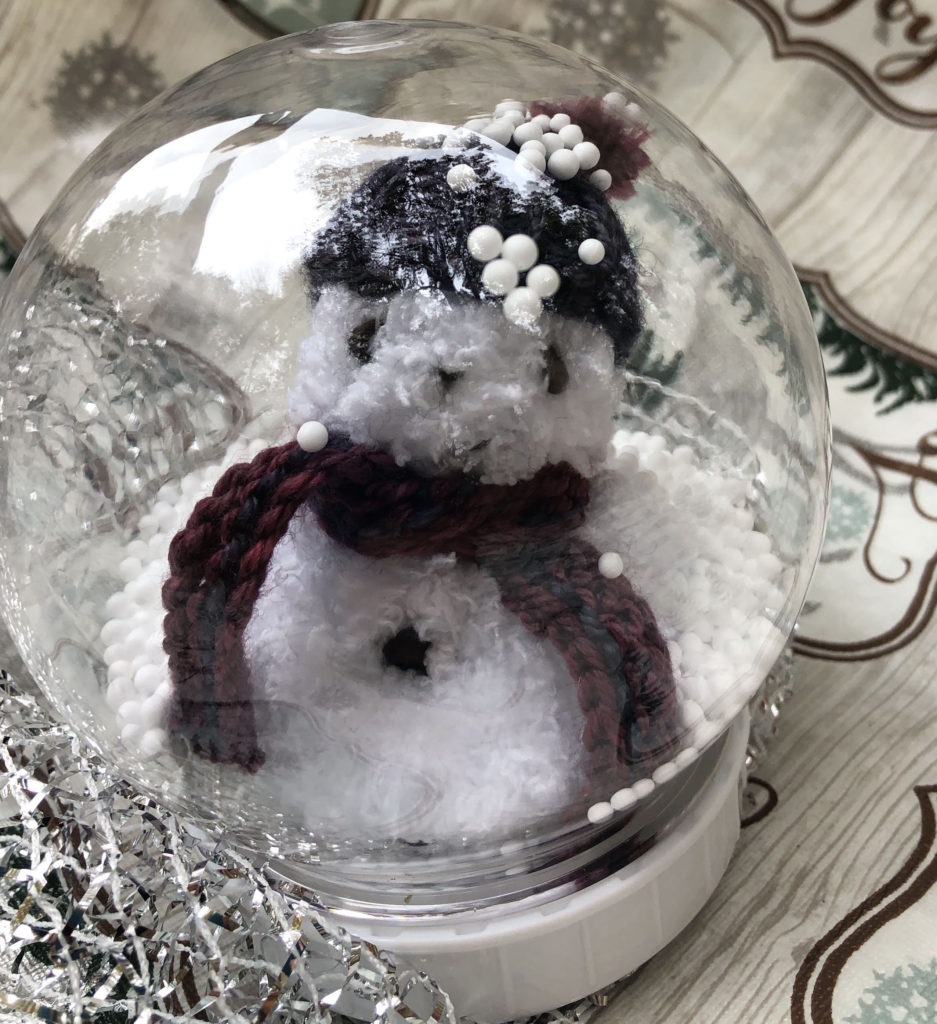
Assembling the Snow Globe
Secure the knitted snowman with hot glue to the base of the snow globe.
Once the glue is dry, add about 1/4 cup of “snow” to the top, and screw on the bottom. Give the globe a shake, and enjoy the show!
Download Pattern PDF | Add to Ravelry Queue | Pin on Pinterest