
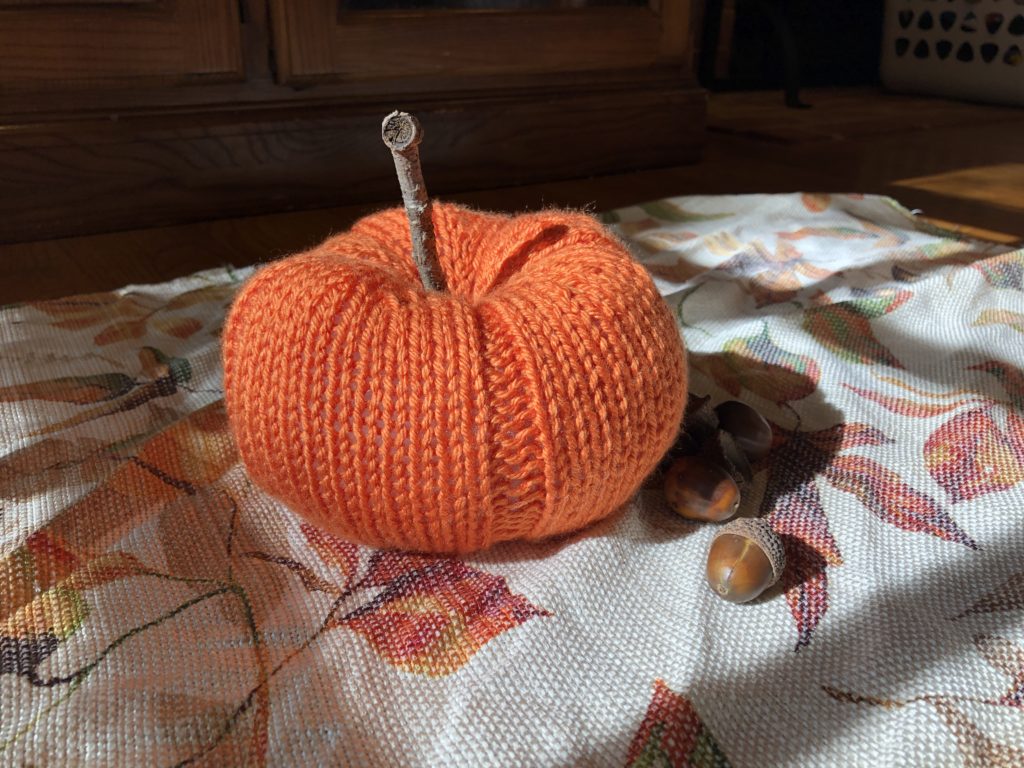
Plumpkin: Plump Pumpkin [Knitting Pattern]
Does the world really need another pumpkin knitting pattern? Well, maybe not, but this one is super simple and lots of fun!
Cabled Sedona Knitting Pattern | Plumpkin Pumpkin Knitting Pattern | Sugar Baby Pumpkin Hat Knitting Pattern
Download Pattern PDF | Add to Ravelry Queue | Pin on Pinterest
Plumpkin: Knitted Pumpkin
Knitting Pattern
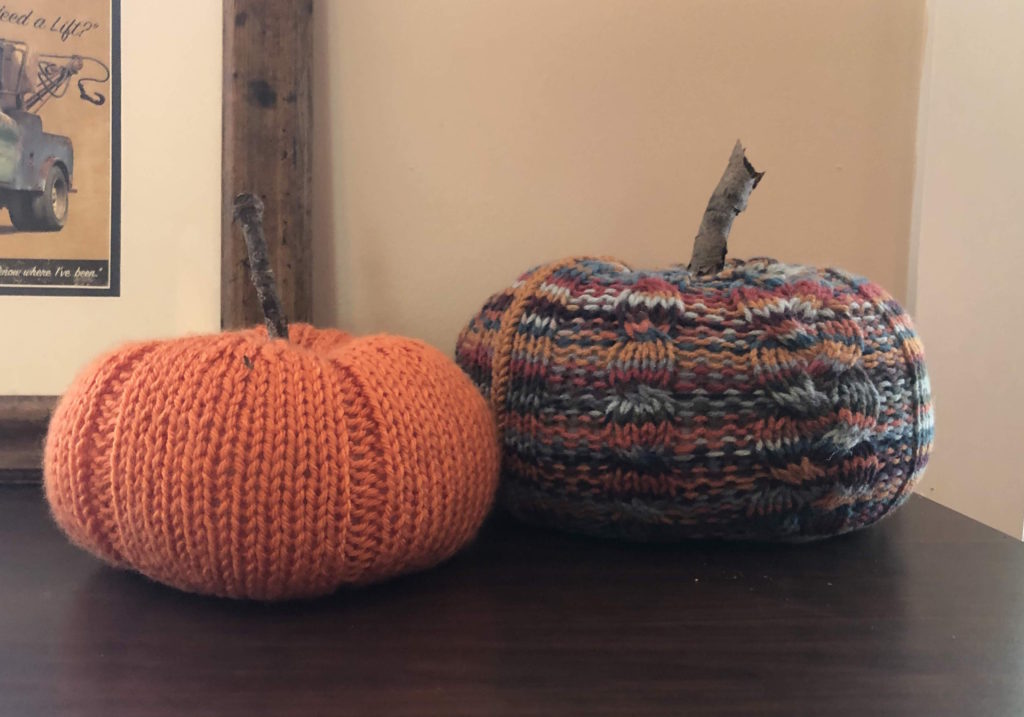
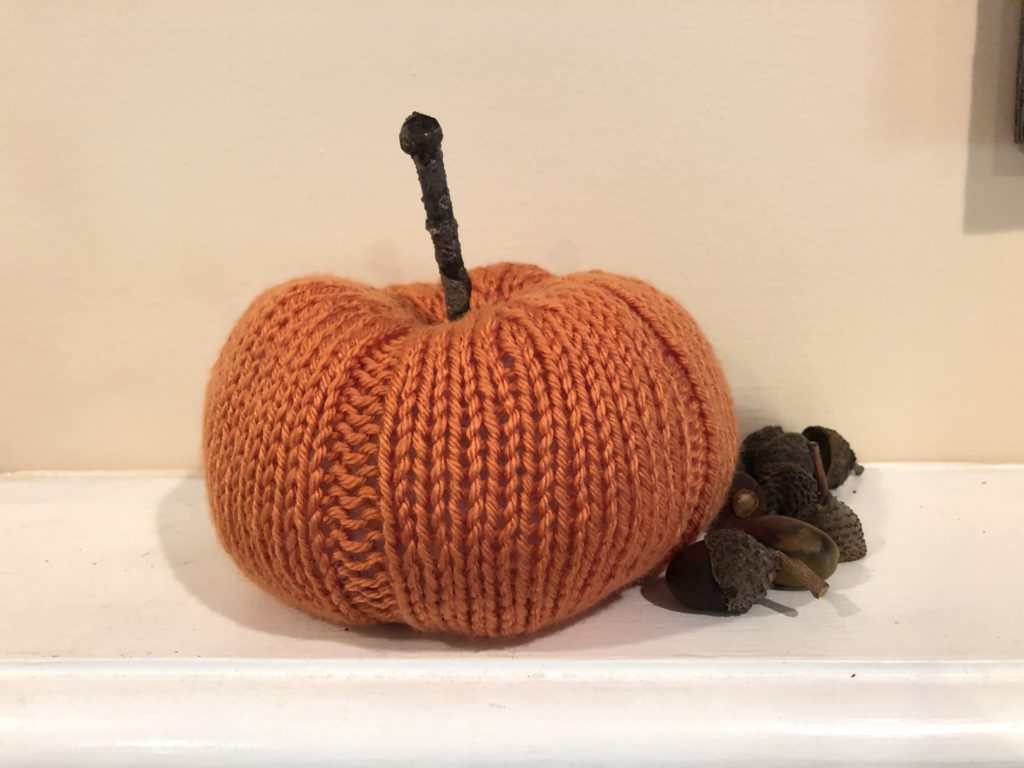
The Plumpkin (Plump Pumpkin) Knitting Pattern is a simple knit that can be sized up or down. This knitted pumpkin works up quickly in the round and requires minimal seaming.
To view our terms of use for all knitting and crochet patterns, see our Terms of Service.
Materials
Yarn:
70 yards of Red Heart Soft in Tangerine
Needles:
US #10/6.00 mm dpn (or long circulars, if using magic loop method)
Notions:
fiber fill
finishing needle
stick (if using wooden stem)
stitch markers
Notes
Gauge:
unimportant
Abbreviations
BO – bind off
CO – cast on
k – knit
k2tog – knit 2 stitches together; single right-leaning decrease
kfb – knit 1 into front and back of a stitch; single knit increase
m – marker
M1R – make one right; single right-leaning knit increase
p – purl
PM – place marker
SSK – slip 2 stitches knitwise, knit these 2 stitches together through back loops; single left-leaning decrease
st(s) – stitch(es)
Pattern
The pumpkin is worked from bottom to top, starting back-and-forth (to create a stuffing hole) and later joining in the round.
Setup
Cast on 5 sts, leaving a long tail.
Work the following rows as follows:
1 – k all
2 – p all
3 – *kfb, M1R, PM* until last stitch, kfb [14 sts]
4 – p1, M1R, p to end [15 sts]
5 – *p1, M1R, p2, M1R, slip m* end p2 [24 sts]
6 – kfb, k1, p2 *p1, k2, p2* [25 sts]
7 – *kfb, k1, p2, k1, M1R, slip m* end kfb, k1, p2, k1, kfb [35 sts]
8 – *p2, k2, p3*
At the end of row 9, you will join for row 10 in the round.
9 – *kfb, k2, p2, k2, M1R, slip m* until last section, kfb, k2, p2, k2, kfb, slip m [45 sts]
Join in the round.
10 – *k4, p2, k3*
11 – *kfb, k3, p2, k3, M1R, slip m* [55 sts]
12 – *k5, p2, k4*
13 -*kfb, k4, p2, k4, M1R, slip m* [65 sts]
14 – *k6, p2, k5, slip m*
Body
Repeat the last round 22 times more (until you complete row 36).
Top Shaping
37 – *k1, k2tog, k3, p2, k3, ssk, slip m* [55 sts]
38 – *k5, p2, k4, slip m*
39 – *k1, k2tog, k2, p2, k2, ssk, slip m* [45 sts]
40 – *k4, p2, k3, slip m*
41 – *k1, k2tog, k1, p2, k1, ssk, slip m* [35 sts]
42 – *k3, p2, k2, slip m*
43 – *k1, k2tog, p2, ssk, slip m* [25 sts]
44 – *k2, p2, k1*
45 – *k1, k2tog, ssk, slip m* [15 sts]
46 – k all, removing stitch markers
47 – *k2tog* until last stitch (7 times), k1 [8 sts]
BO, leaving a long tail.
Finishing
Stuff your pumpkin with fiber fill. Don’t worry if the shape is awkward; it can be evened out as you finish the project.
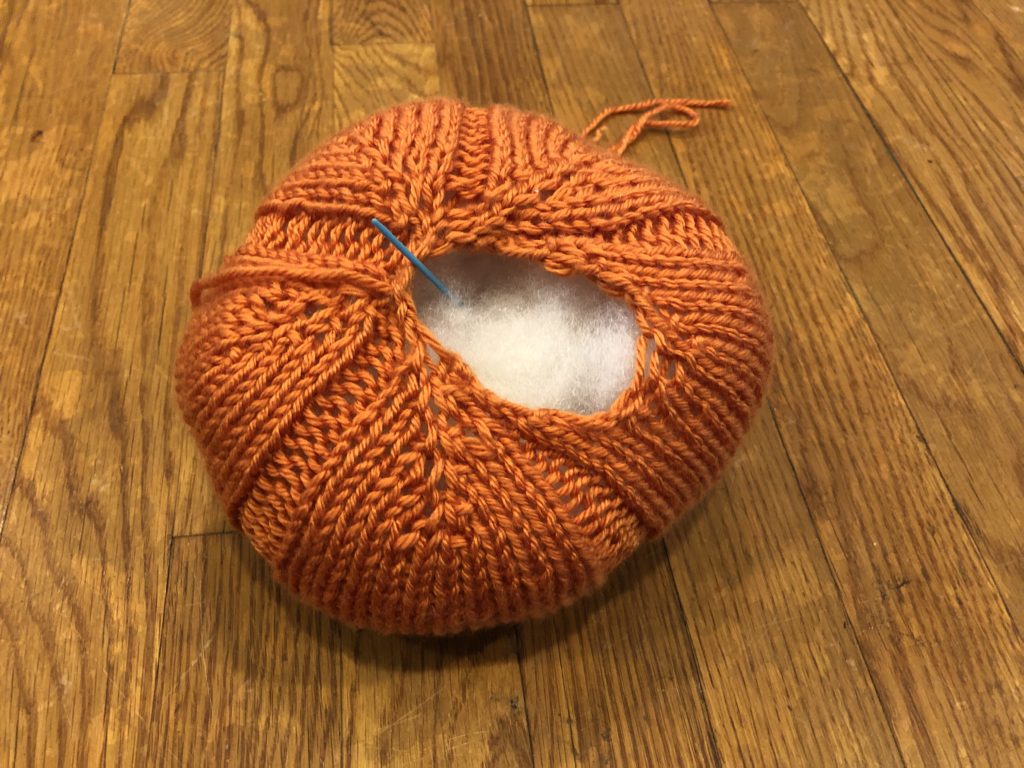
Using your darning needle, pull the tail through the top of the pumpkin in the center, through the fiber fill, and out the bottom. Drawing the top tail down tightly, tie the tails together.
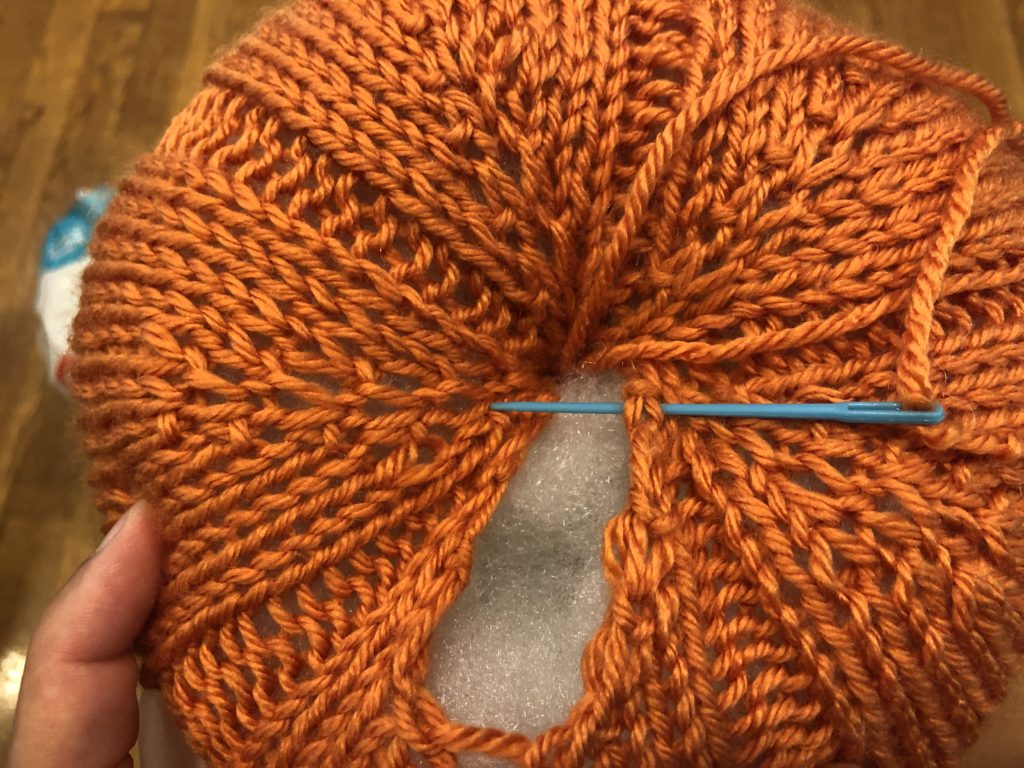
Add additional stuffing if necessary, then use the longer tail to sew up the stuffing pocket.
Weave in ends and gently squeeze your pumpkin to manipulate the shape.
The stick stem can be tied down with the tail (pull back up through the center to the top first) or glued with fabric glue.
Download the Pattern PDF | Add to Ravelry Queue | Pin on Pinterest


2 Comments
Pingback:
Pingback: