
On My Needles: Musselburgh Hat
Every now and again, I’ll notice droves of knitters are working on the same project and my curiosity will be piqued. This was exactly what happened a few weeks ago. It seemed like every knitter I knew was working on their own version of the Musselburgh Hat. After a few projects popped up on social media, I started to investigate and I found the pattern for this a simple and elegant double-layered beanie. Time to cast on!
The Musselburgh Hat
Musselburgh was designed by Ysolda Teague and was originally published in December 2019. Since then, over 7000 Musselburgh Hats have been made!
This pattern is popular for a few reasons:
1 – The pattern includes instructions for working the hat on several different needle sizes, so it can accommodate many different yarn weights.
2 – The instructions allow you to start knitting without swatching! You figure out the gauge as you go. (Swatchless hats are sort of her thing!)
3 – It is endlessly customizable and customizing it is very easy, even for a beginner.
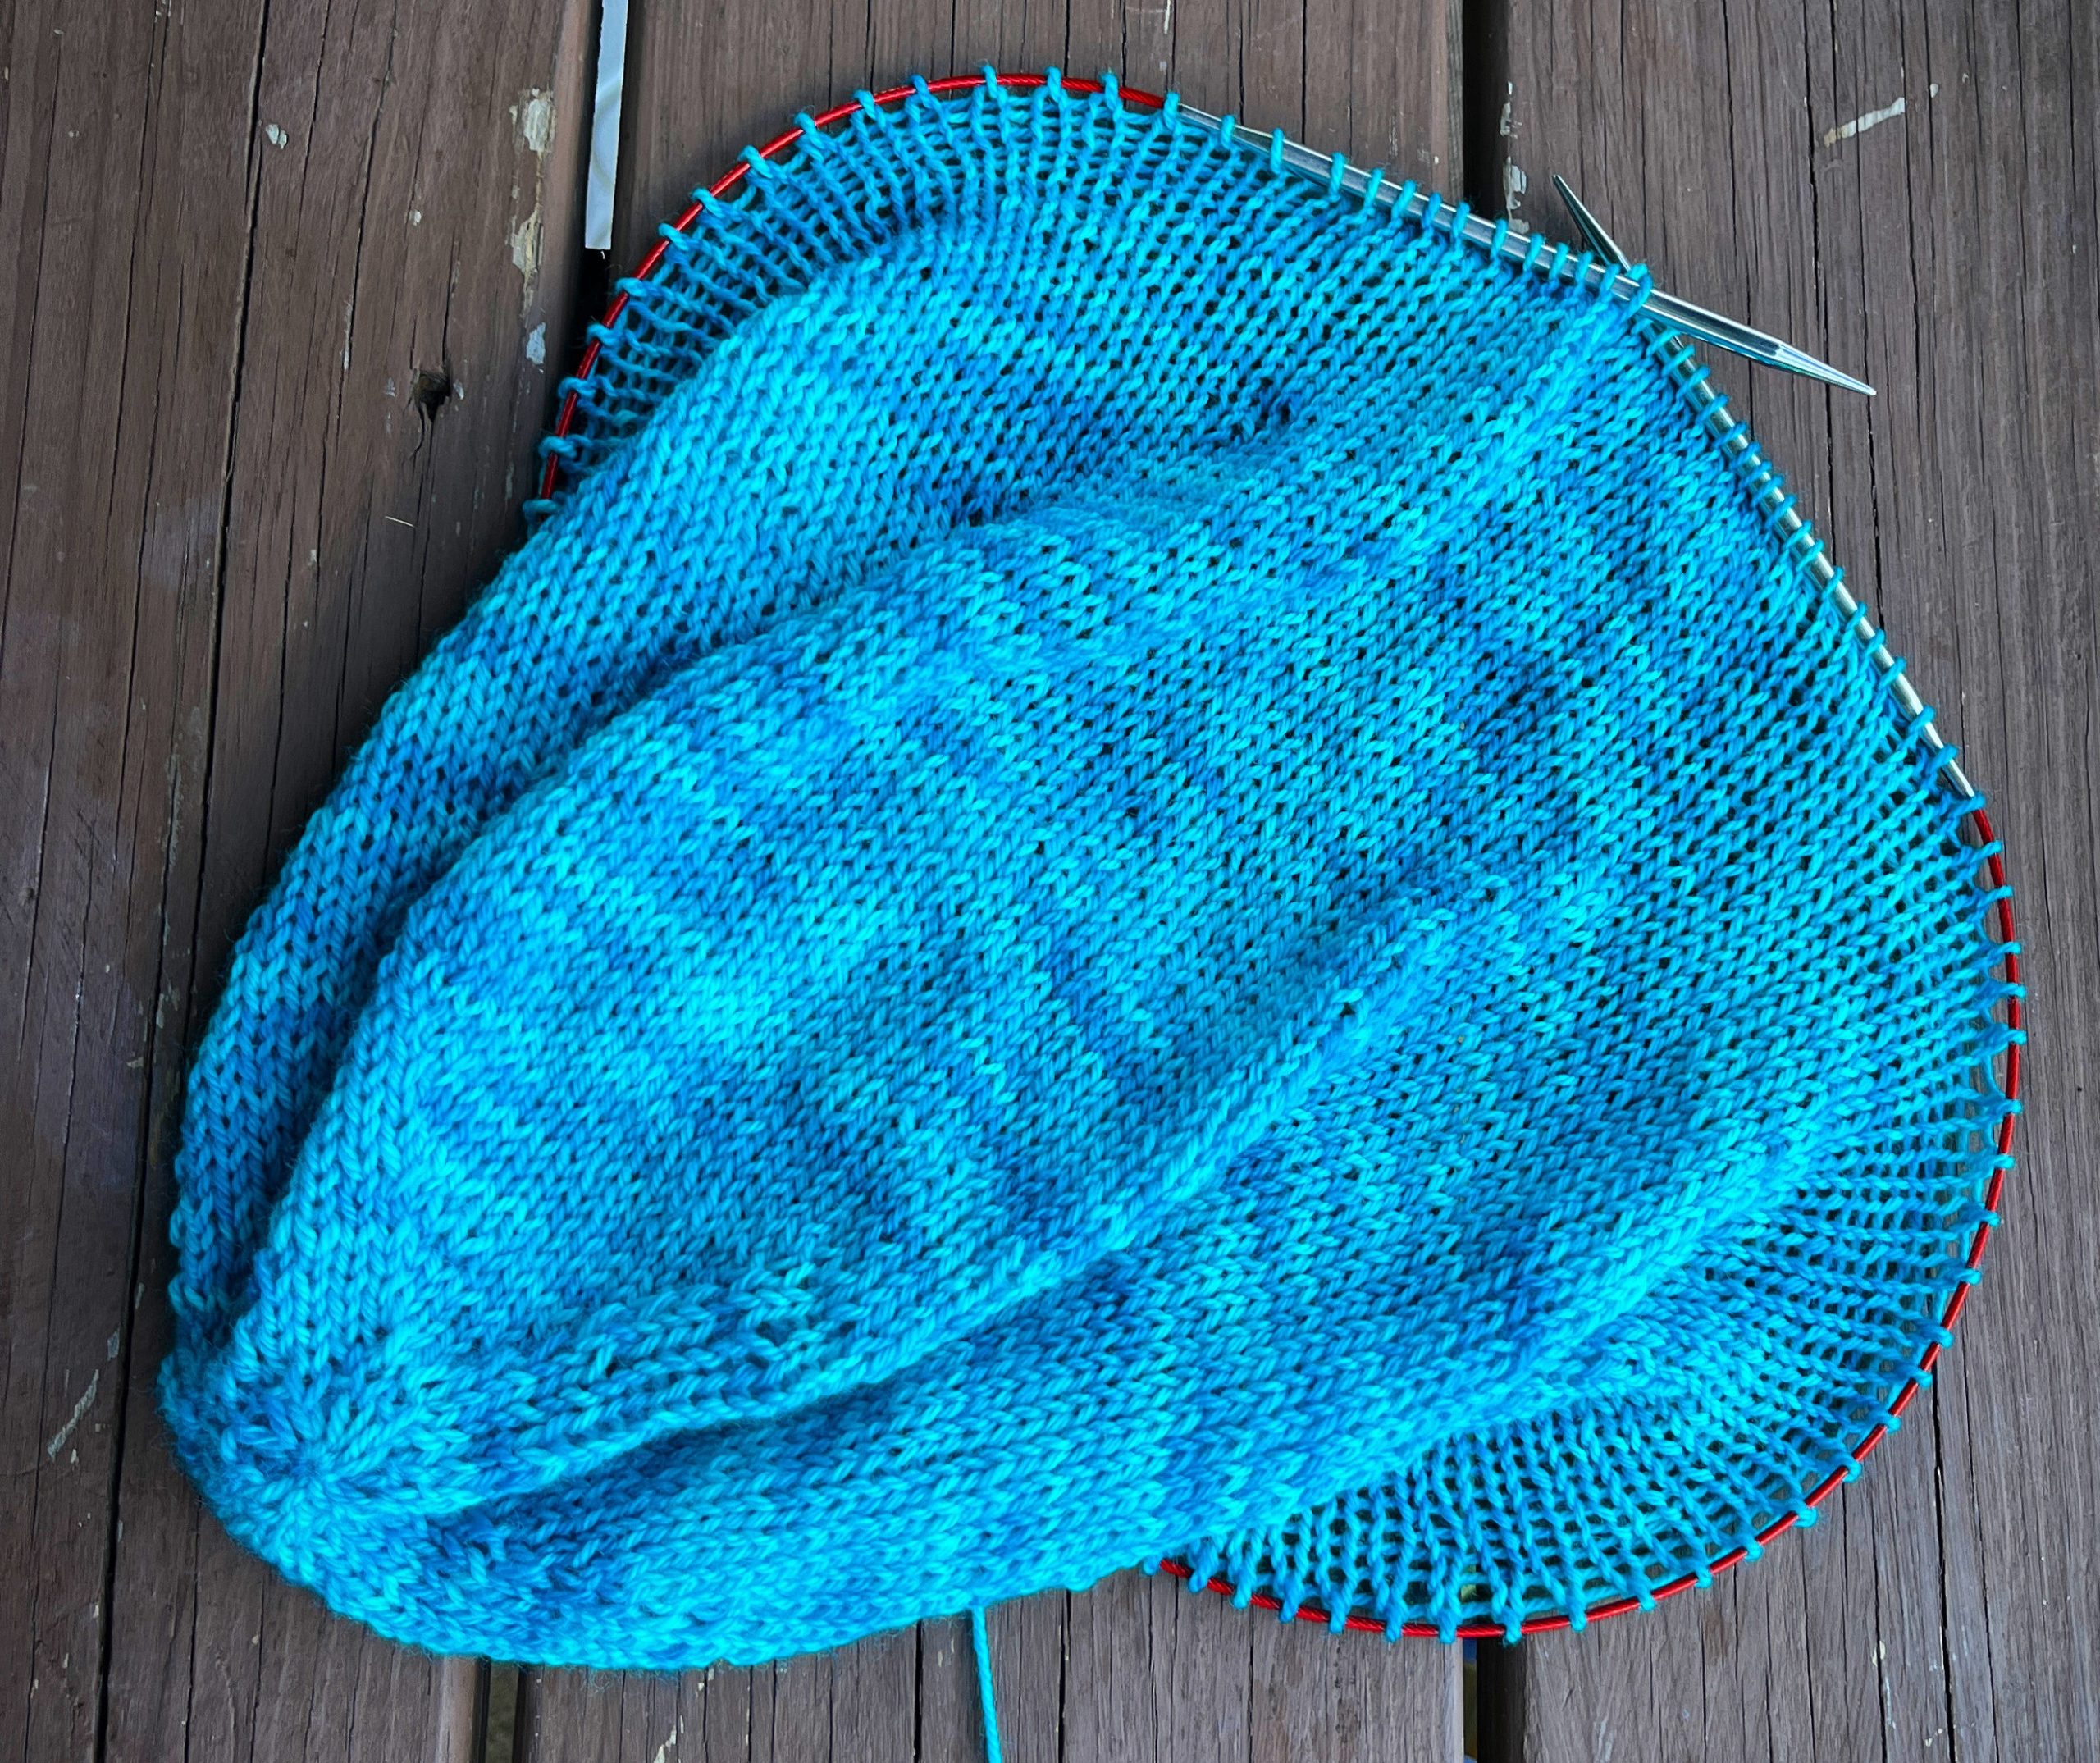
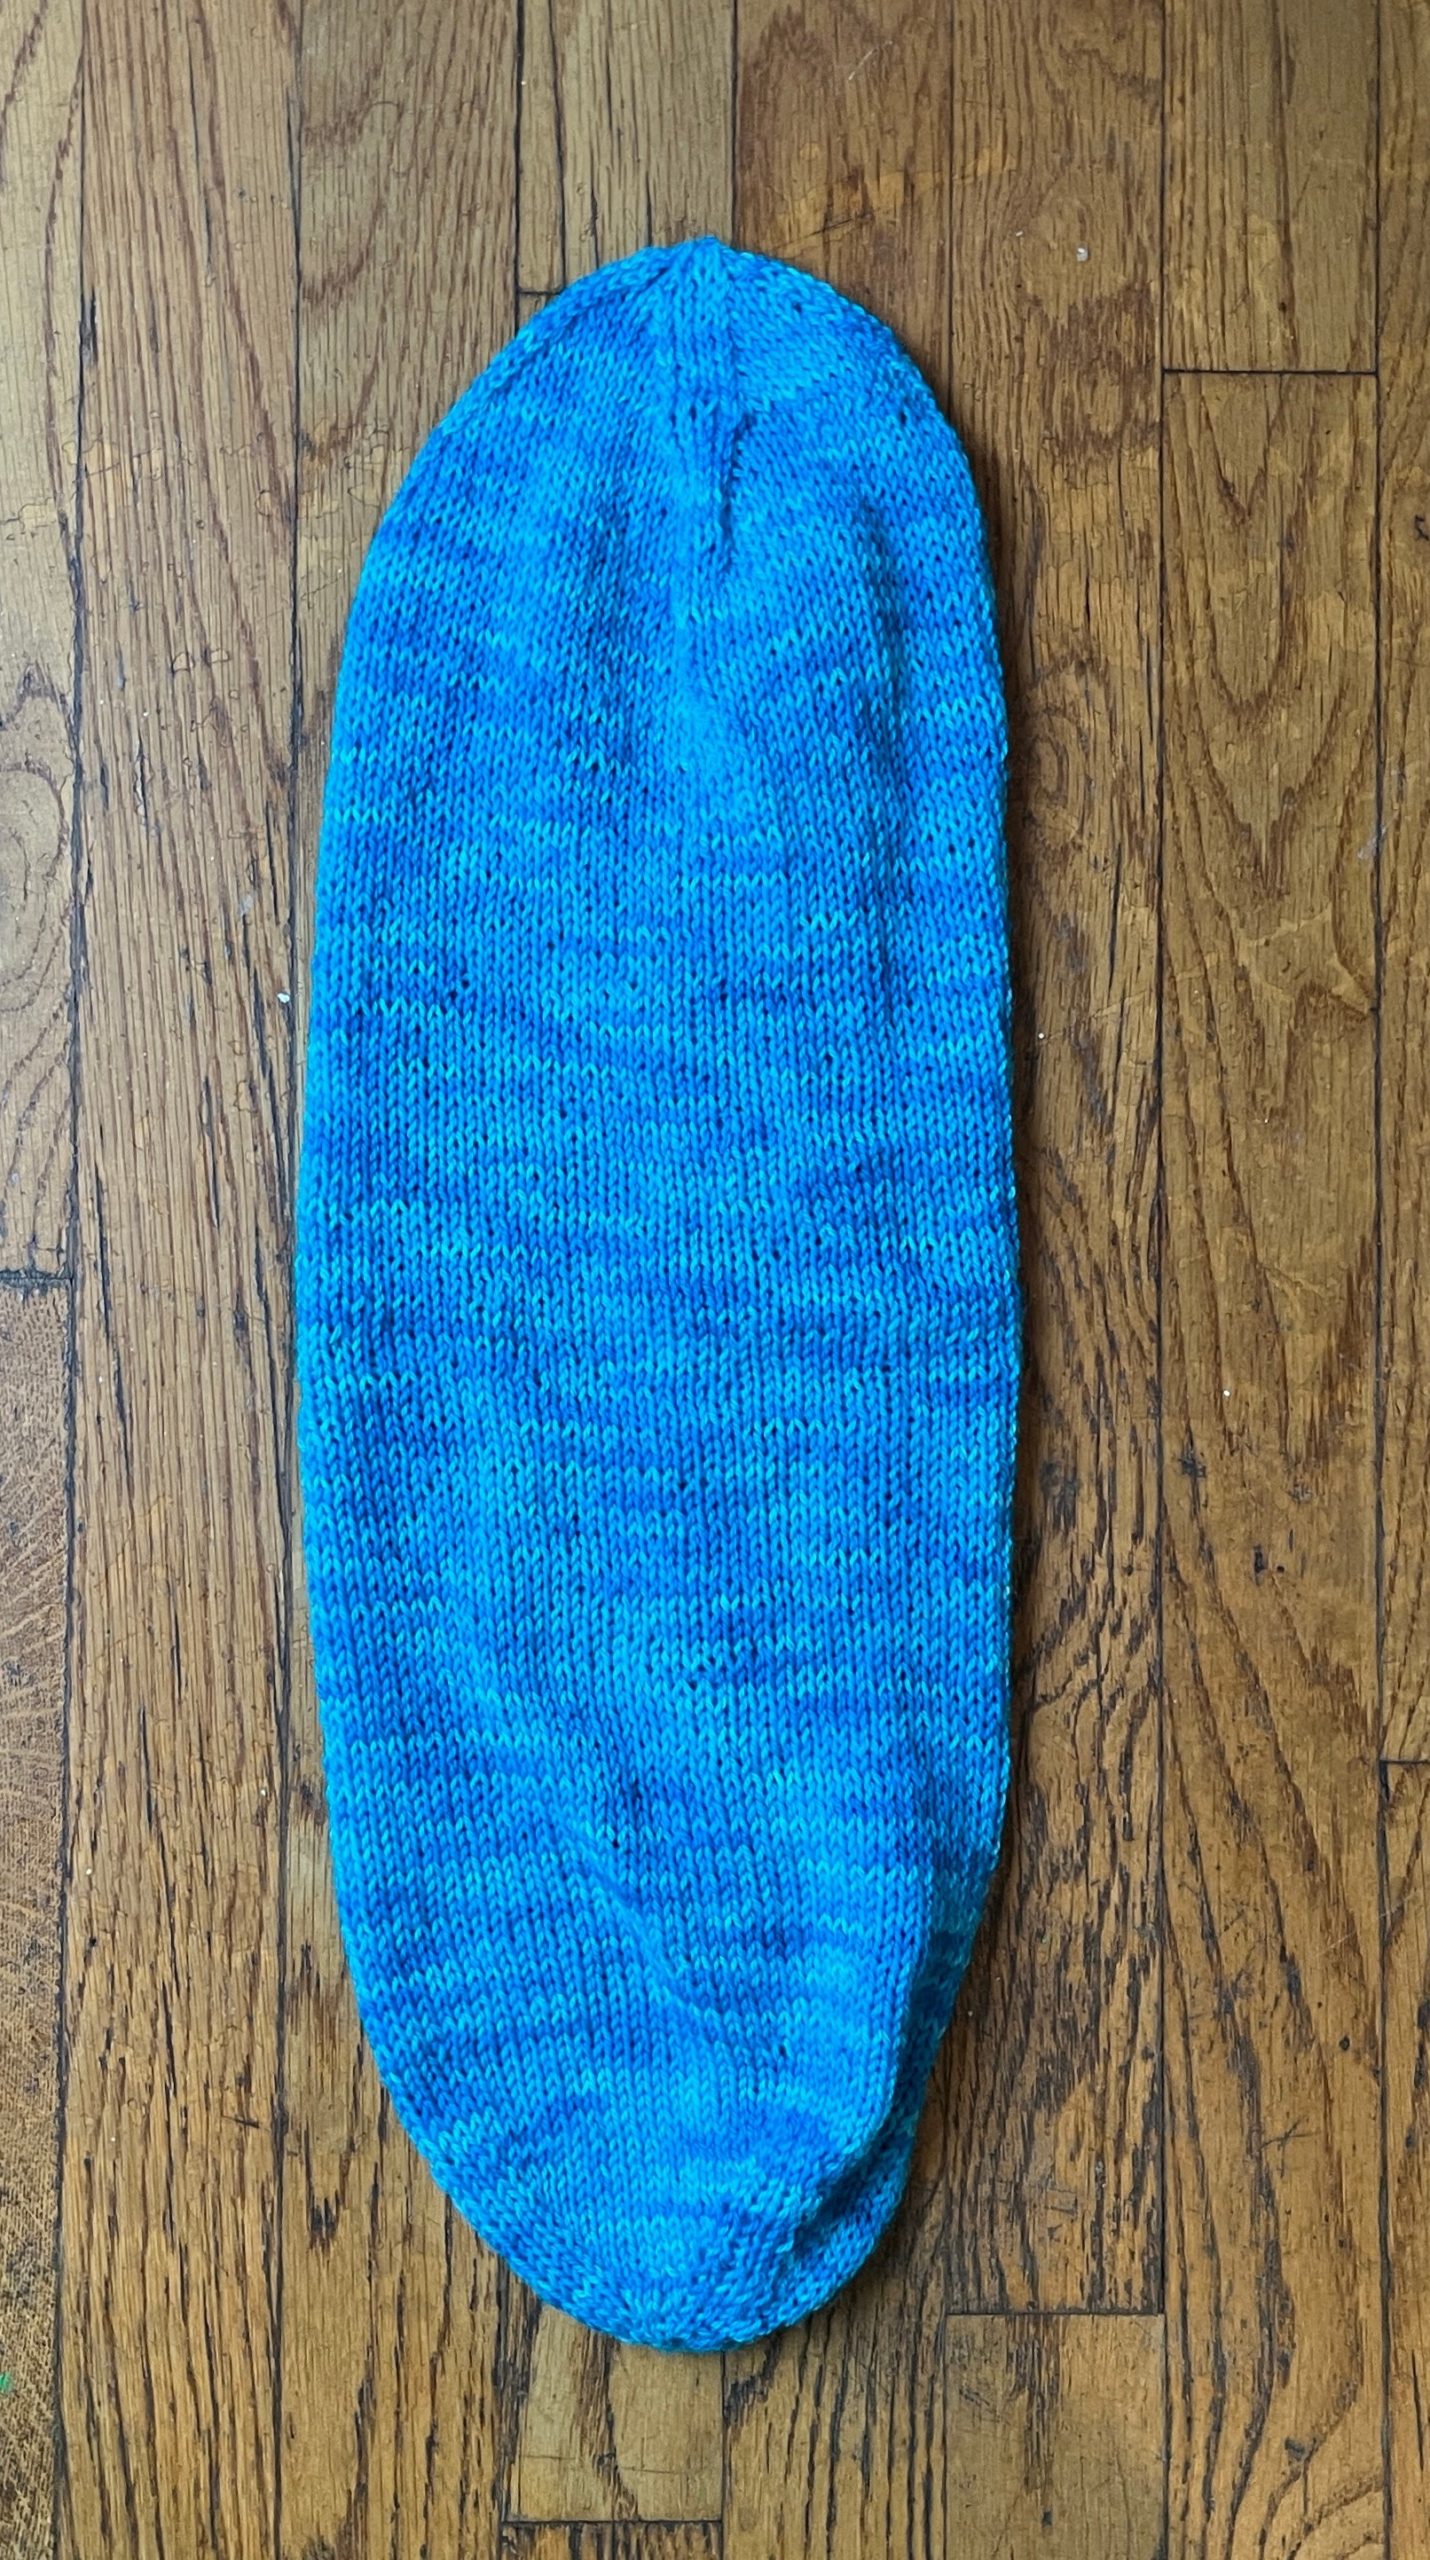
The design of this hat is as brilliant as it is straightforward. The hat is constructed from tip to tip as a long tube, similar to the shape of a bolster. Folded back on itself, it makes a double-layered hat that can be worn as a classic beanie or slouched. It’s almost a hack for folks who don’t want to double-knit.
The majority of the printed pattern is reference charts for stitch numbers and sizing. The instructions can be boiled down to 7 or 8 sentences! I’d recommend the pattern for new knitters who are looking for practice with increases, decreases, and working in the round. I also recommend it for veterans who are looking for a fun take-along project.
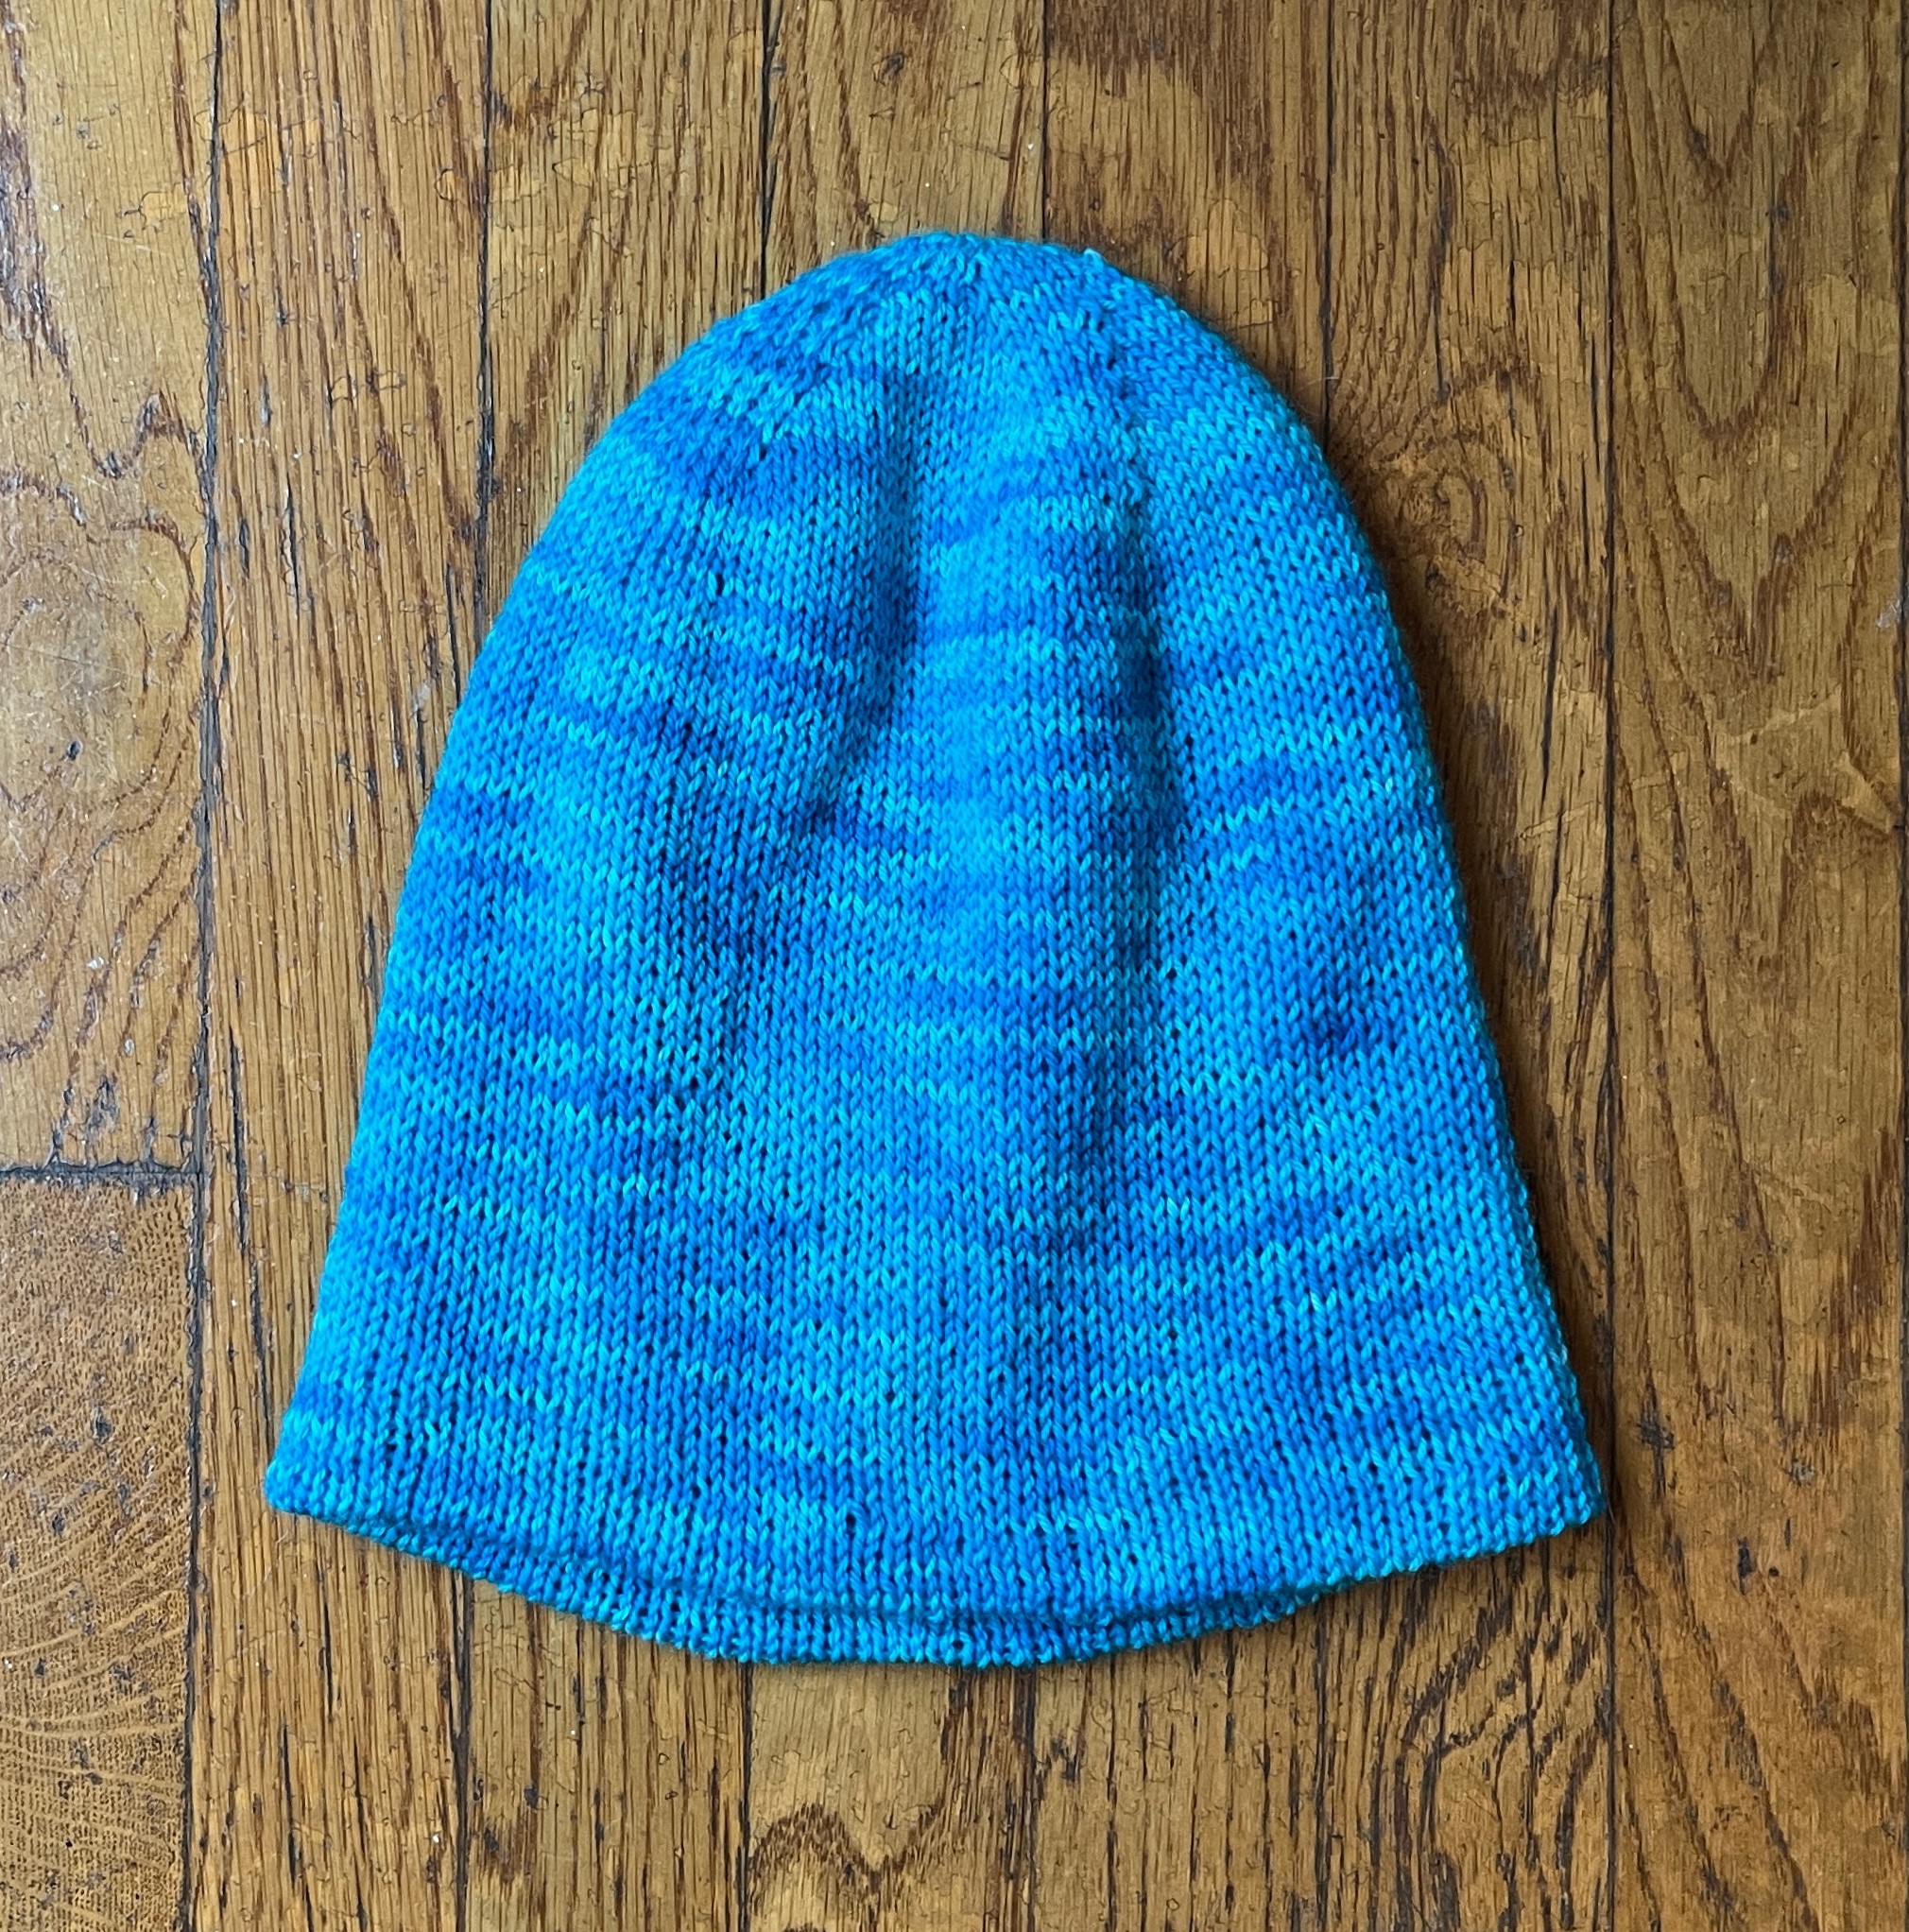
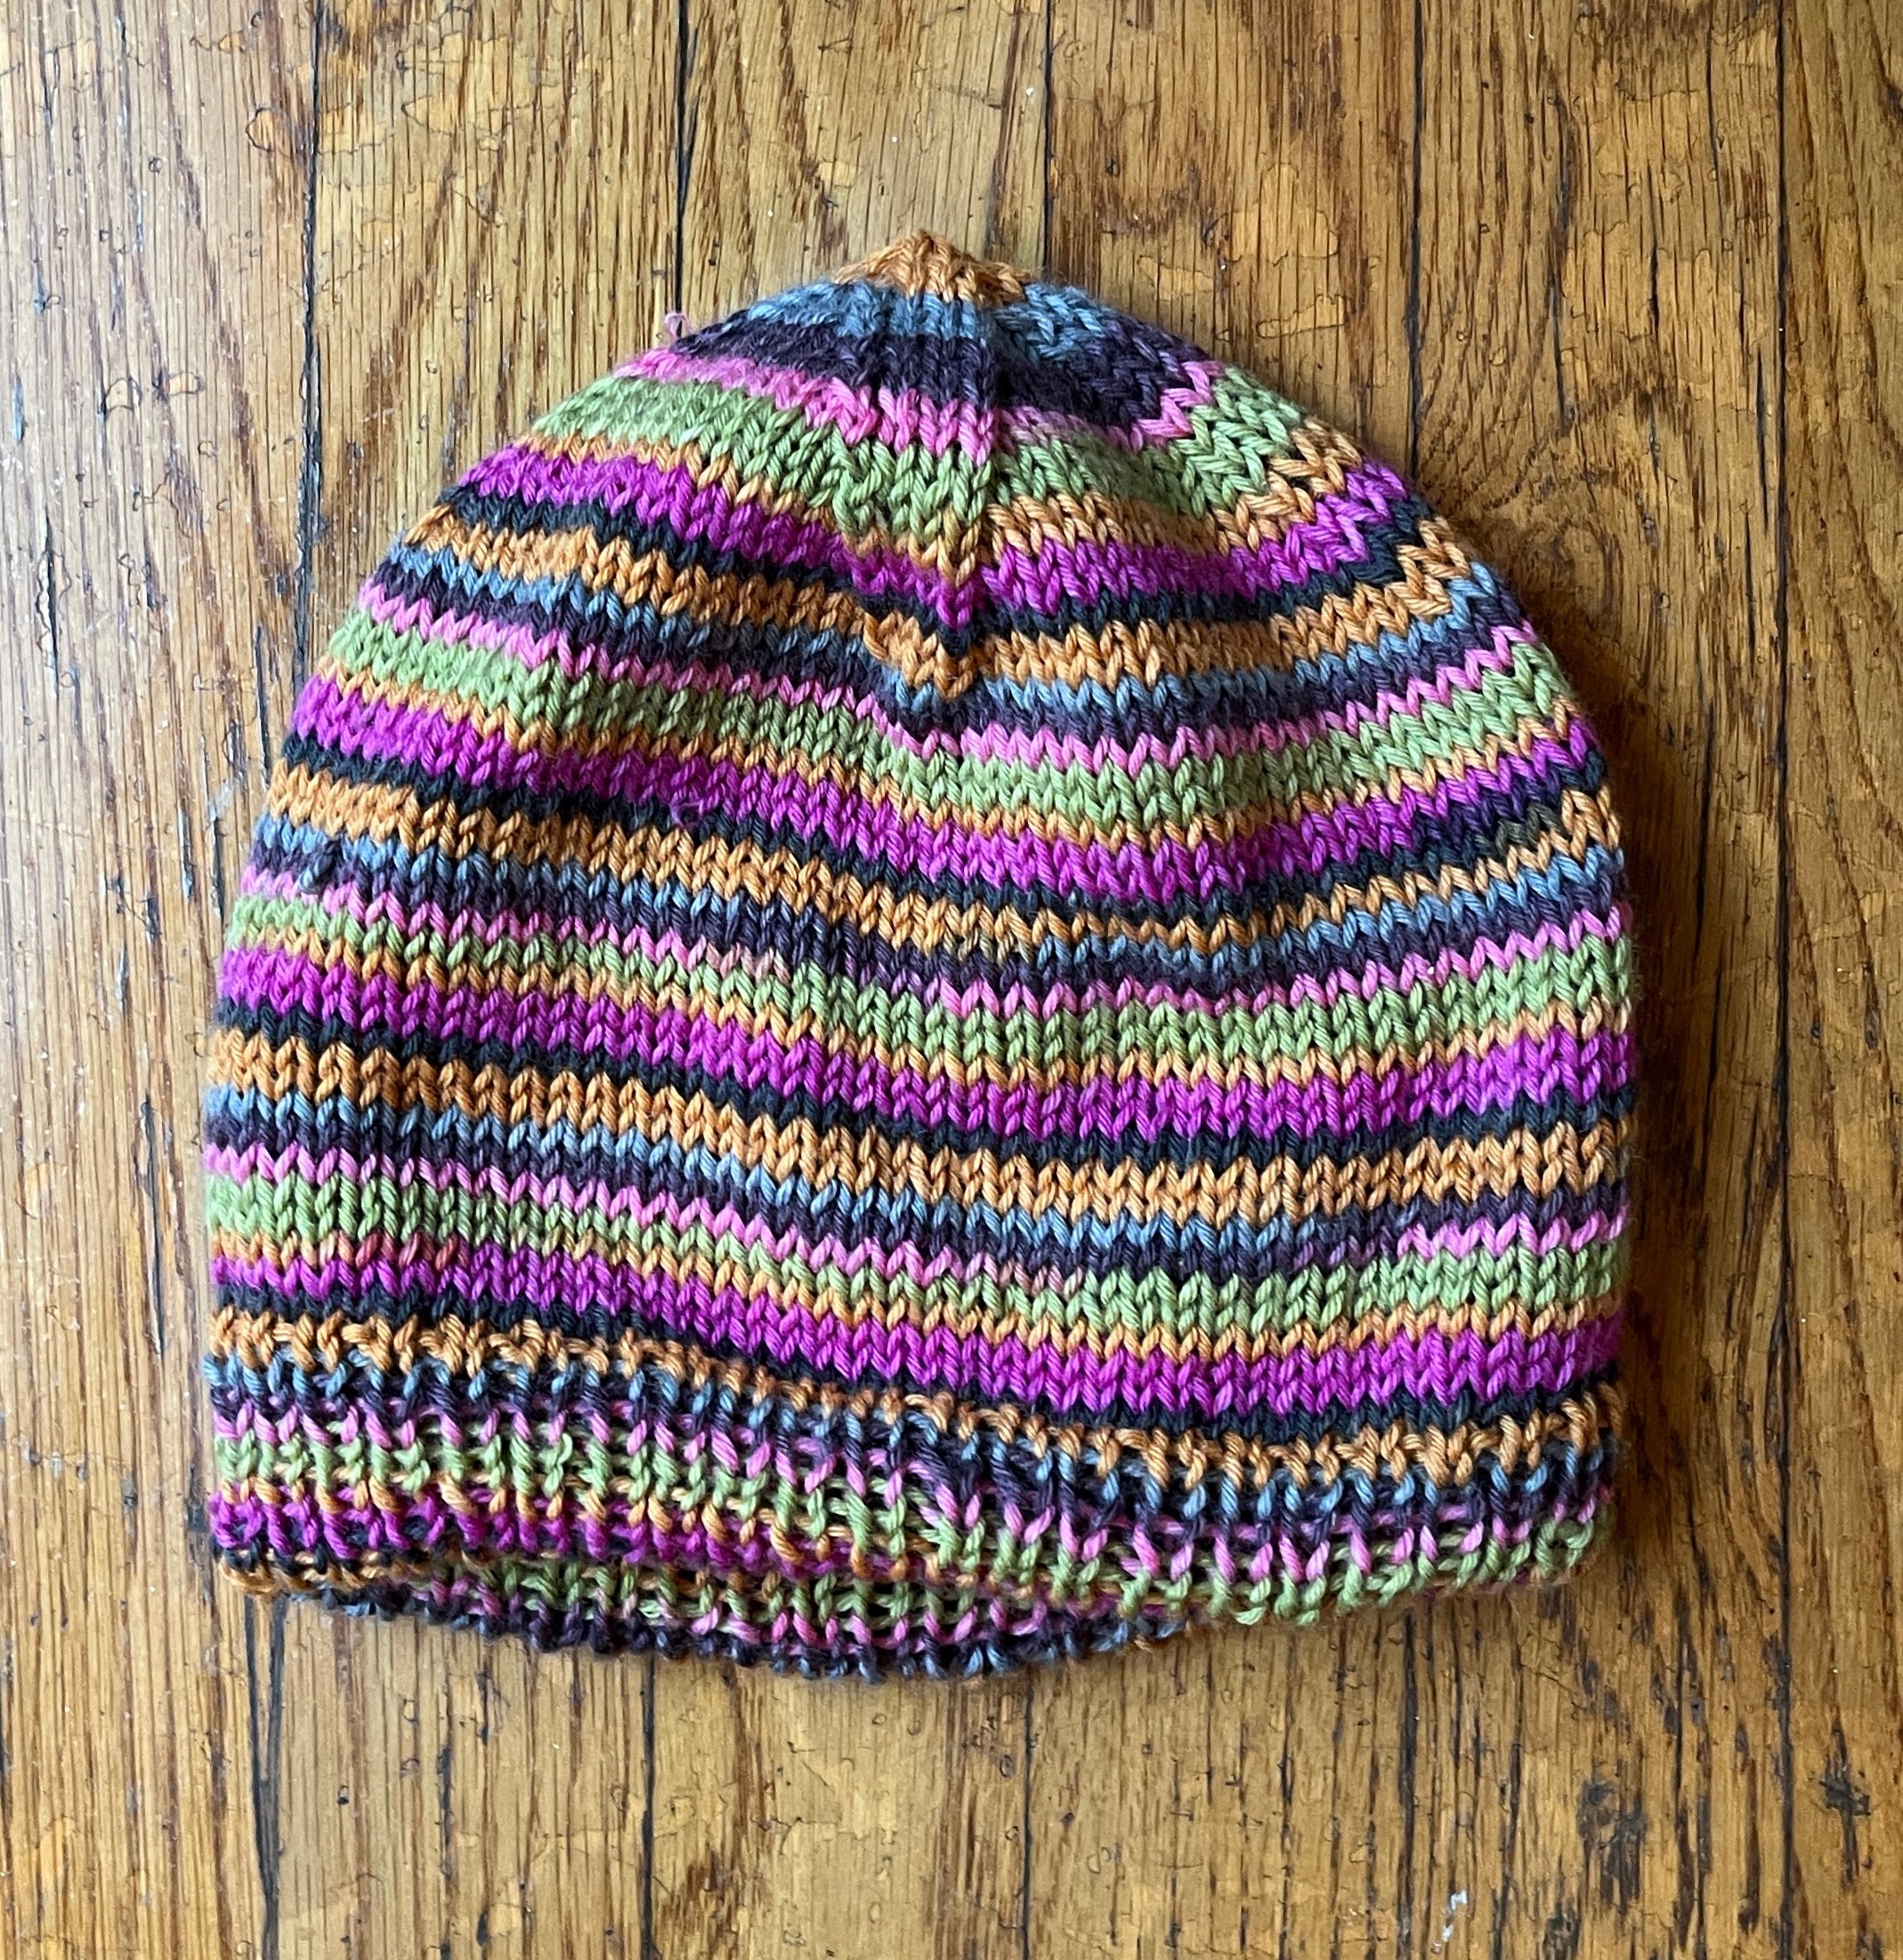
The Classic Musselburgh Hat
Yarn: My Own Collection (hand-dyed, fingering, 80% wool/20% nylon)
Needles: US #8/5.00 mm
For my first Musselburgh hat, I used a skein of hand-dyed yarn that has been on my shelf since I dyed it back in 2019. It has several tones of brilliant blue and I was saving it for just the right project. I thought it would show the structure of the hat beautifully.
The yarn is a fingering-weight sock blend (wool and nylon). Most of the pattern examples are made with smaller needles. I made this hat on US size #8/5.00 mm needles, which were a bit oversized for the yarn. The result was a spongy, springy fabric that was perfect for the look I was going for. The adult large size was perfect for my head with the head folded down.
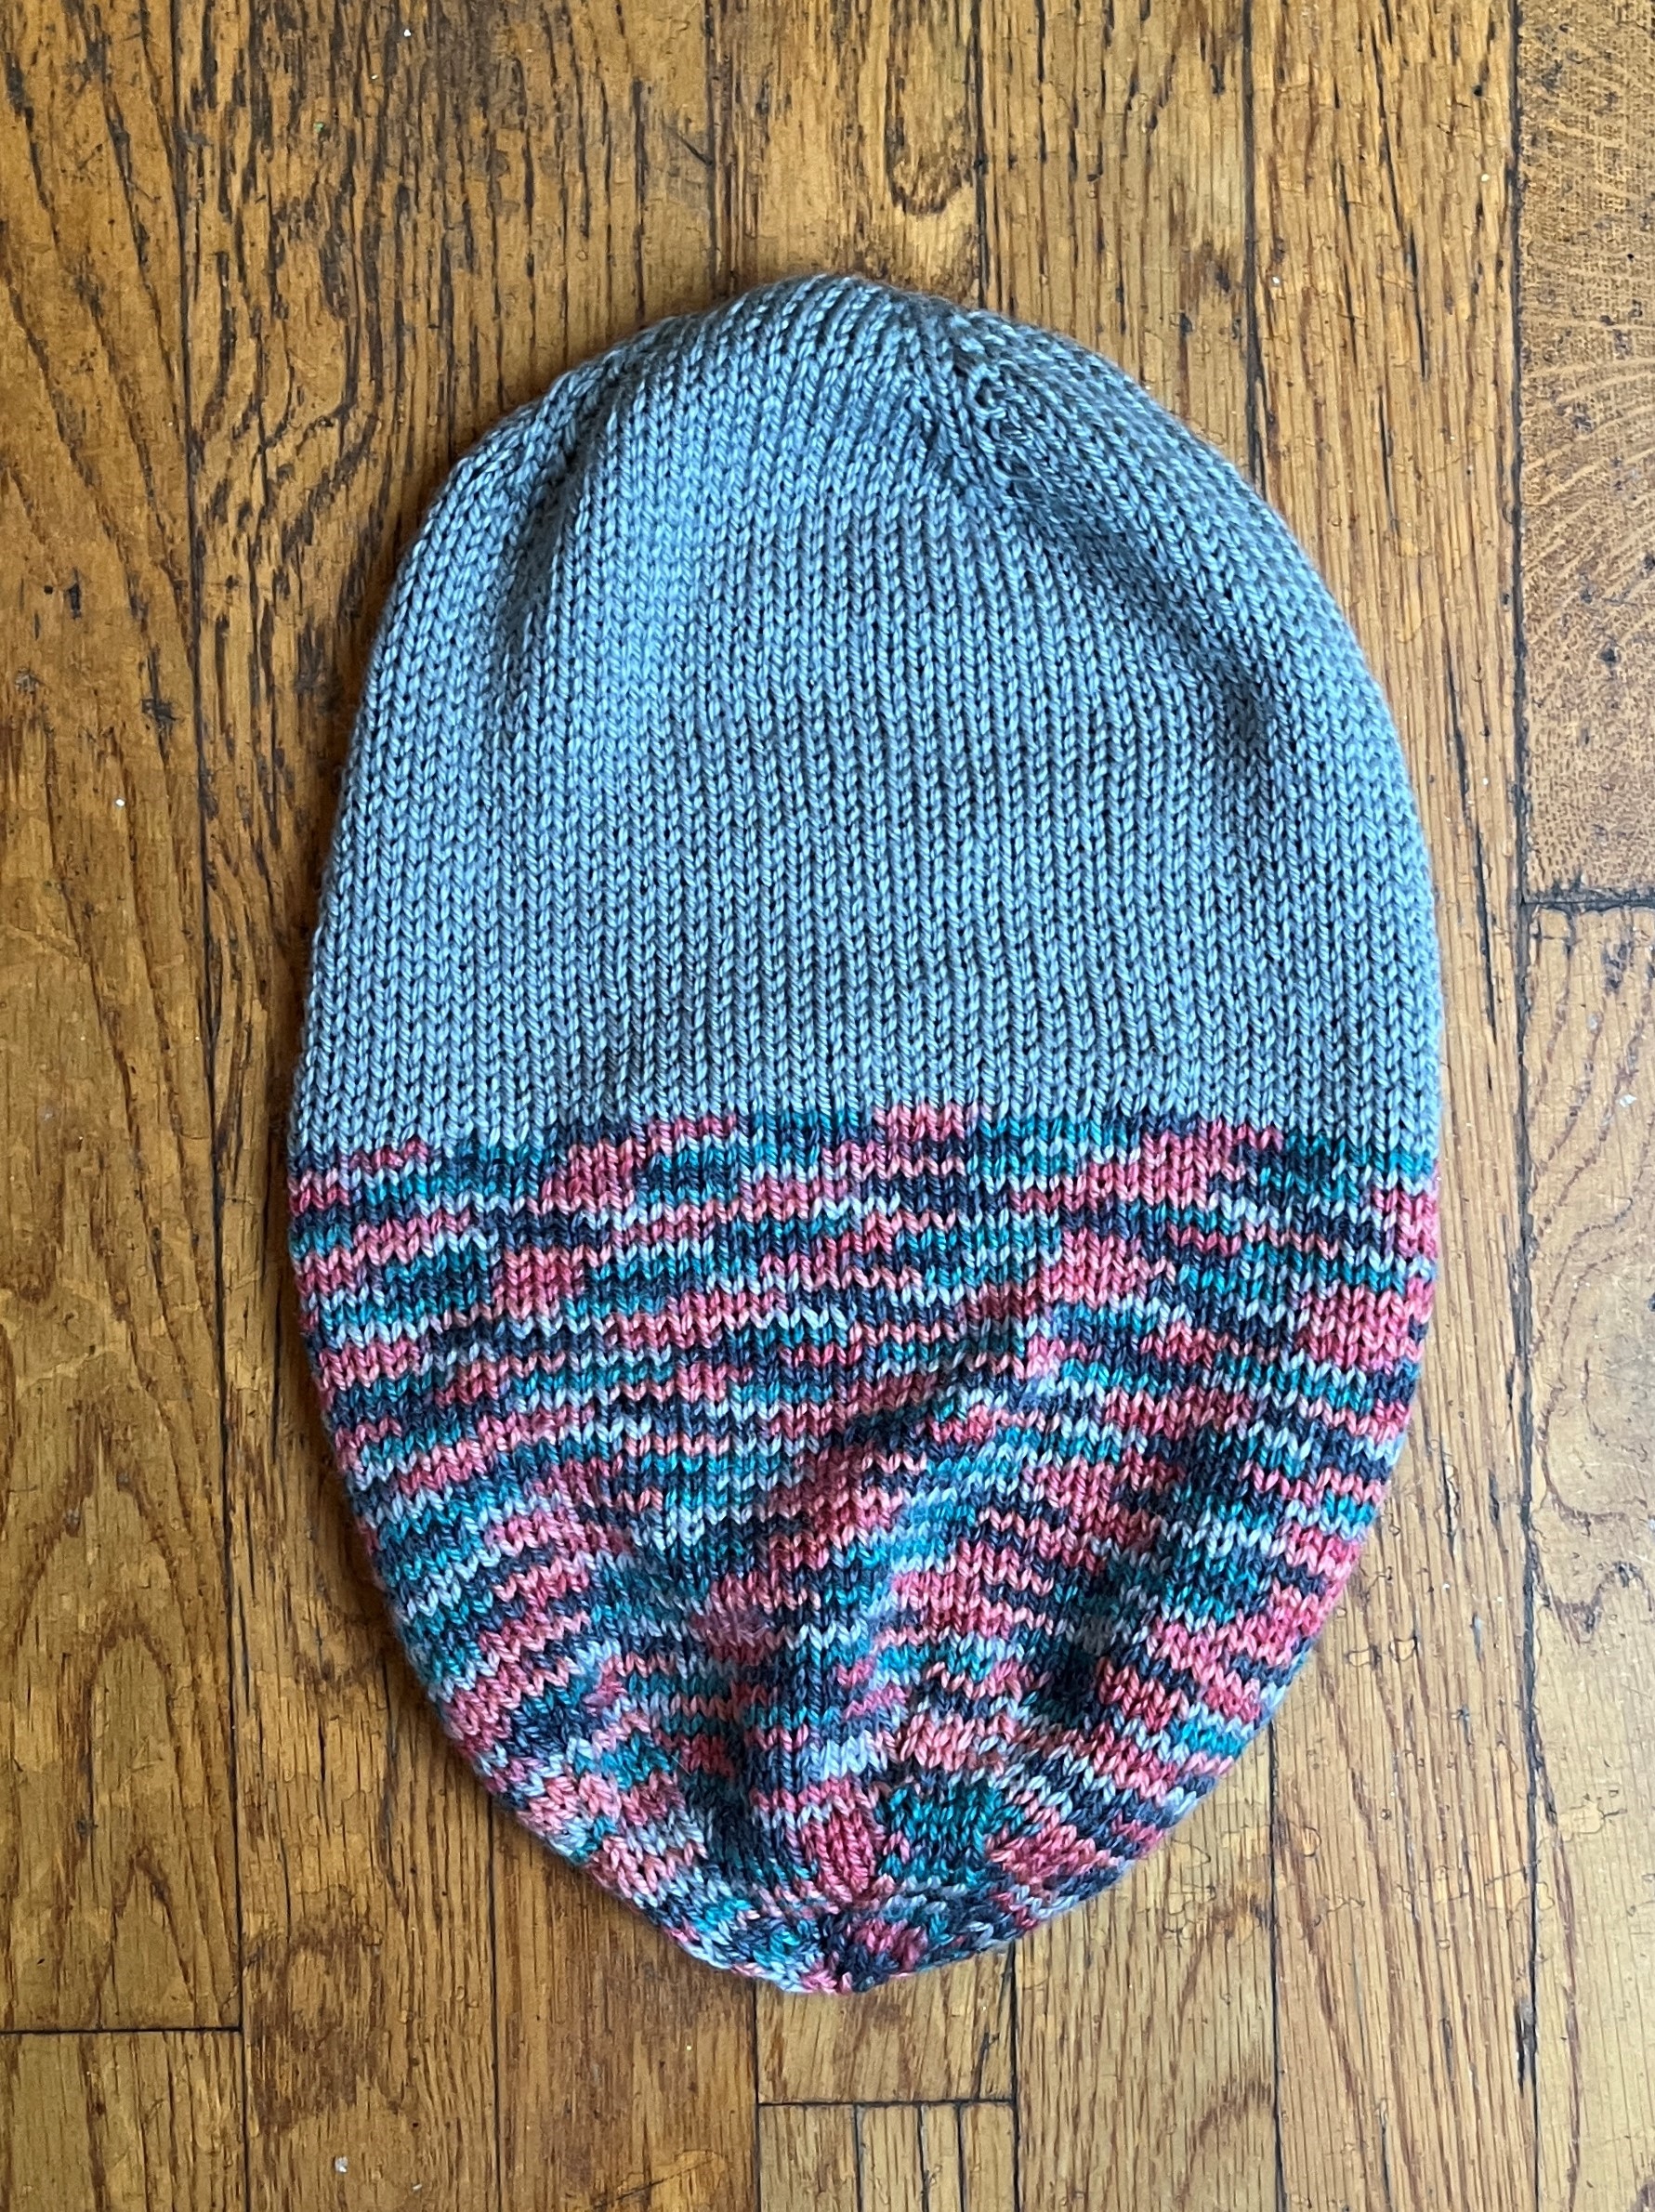
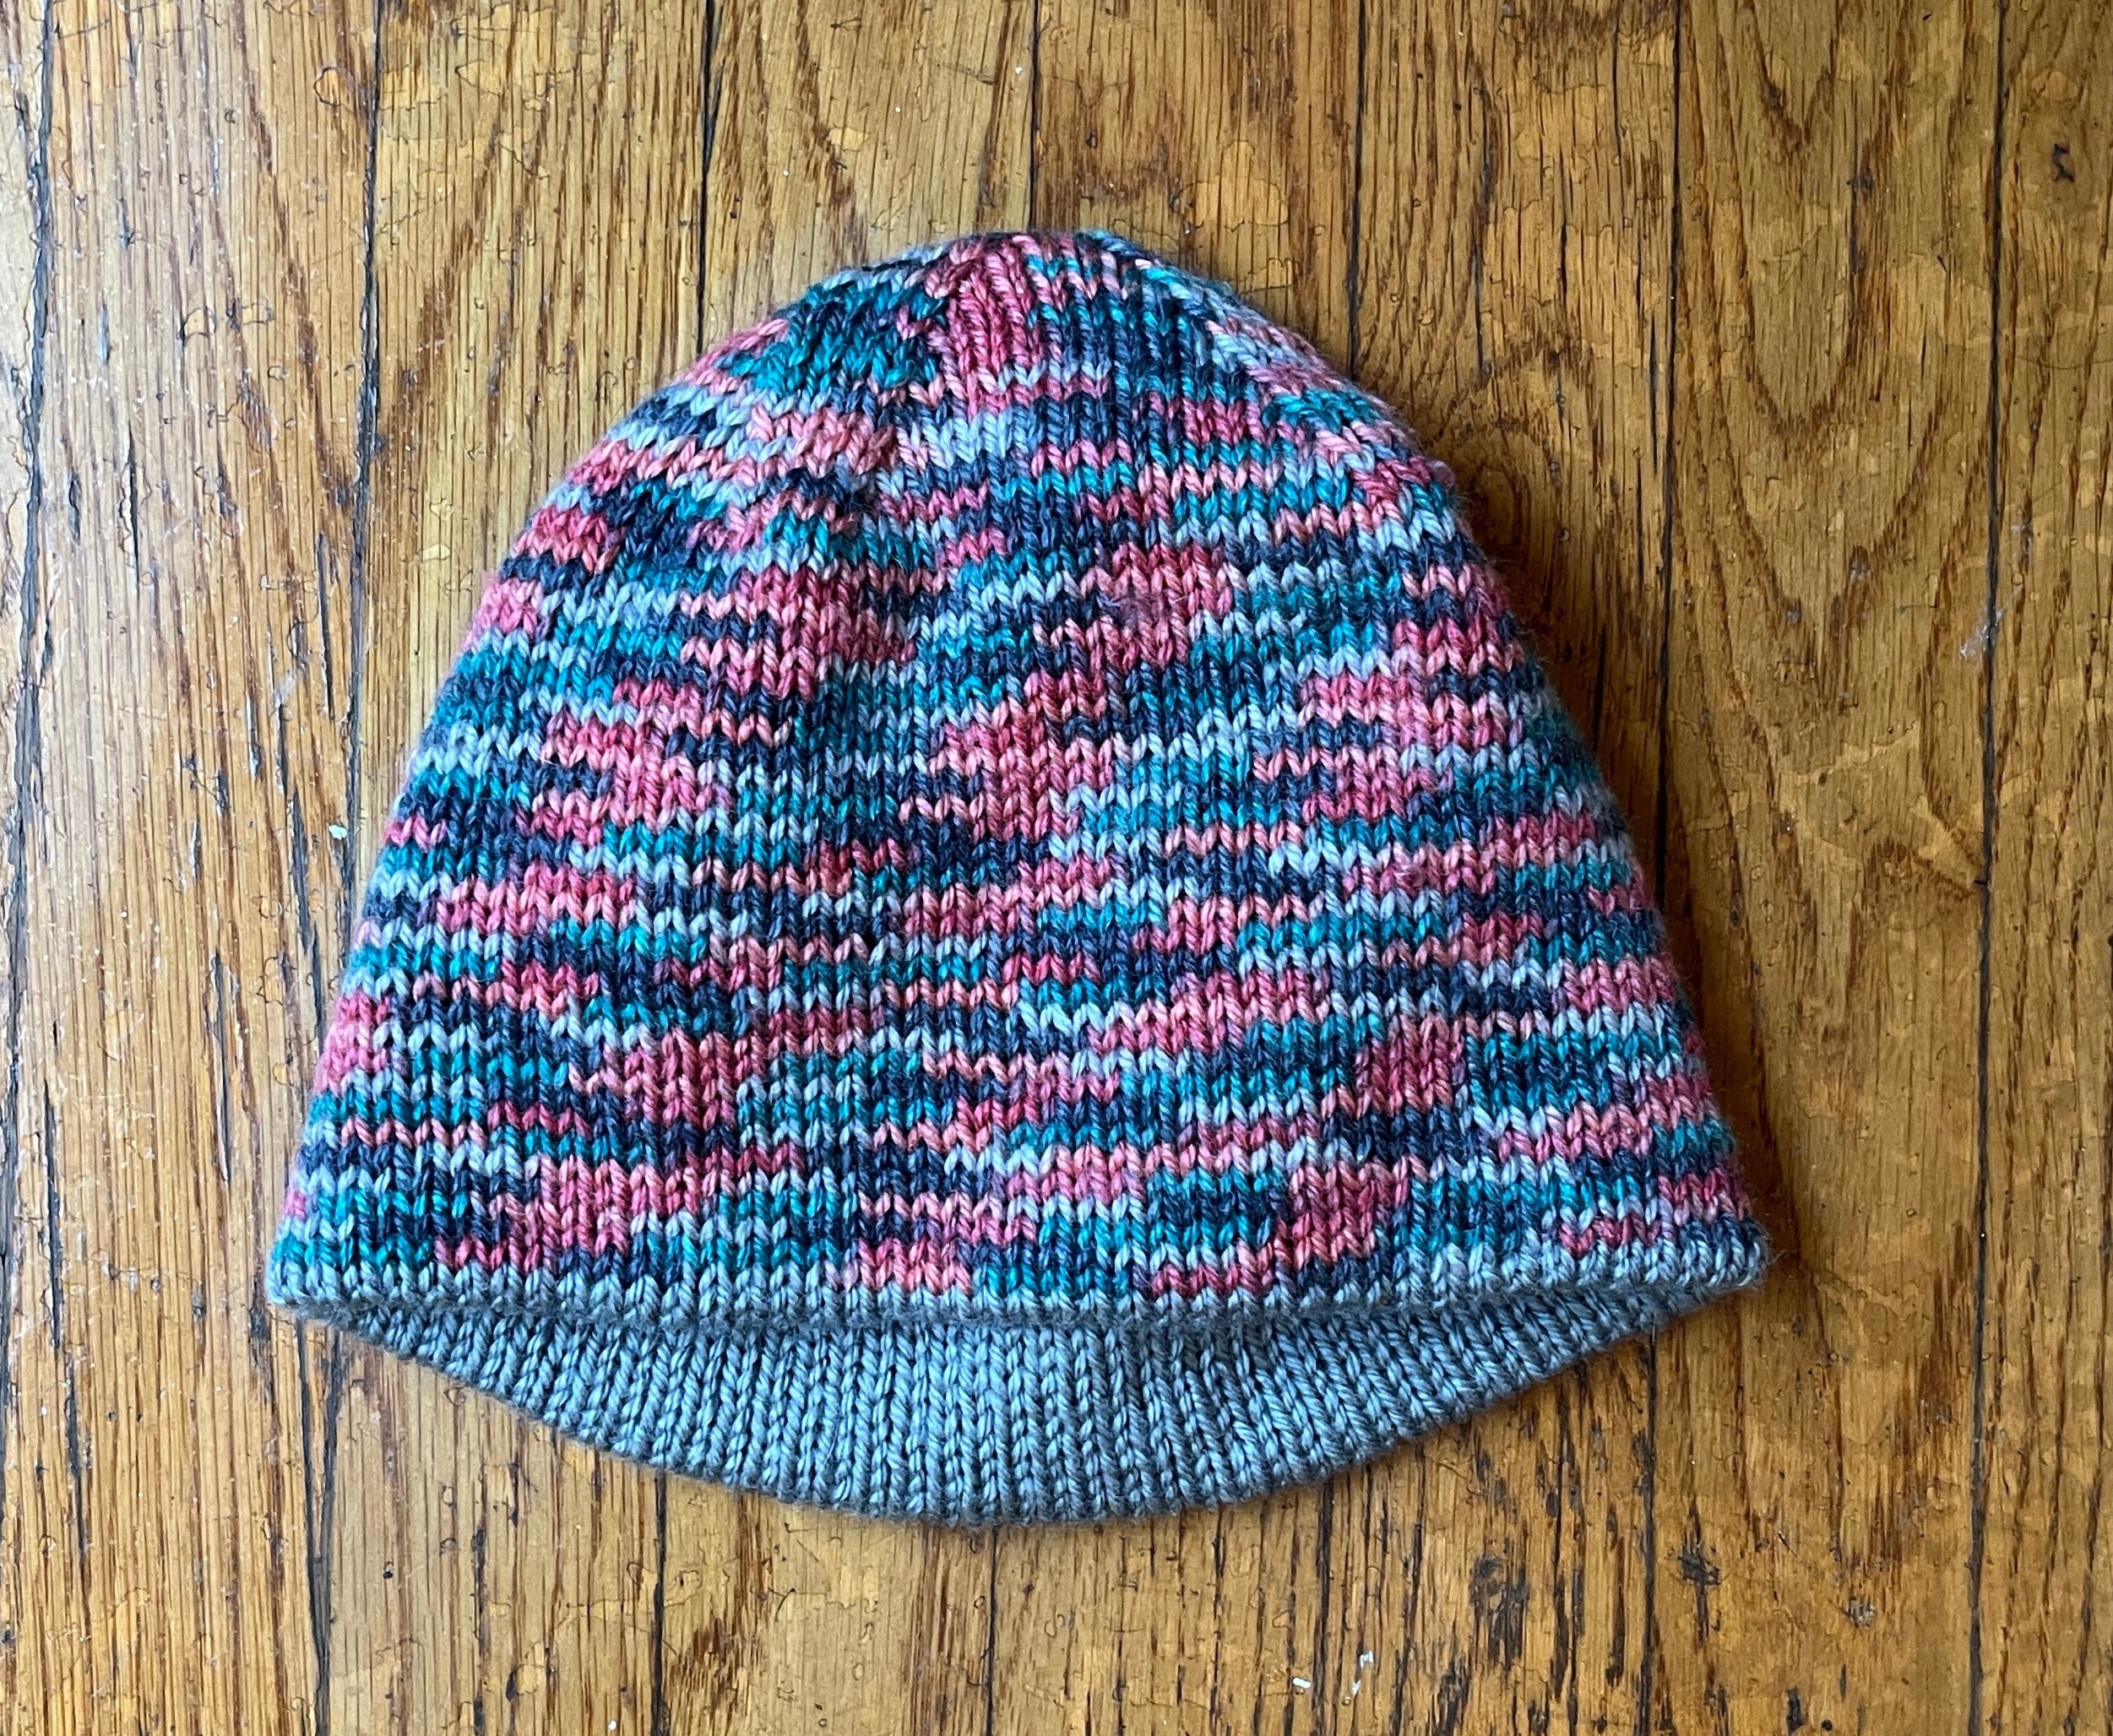
The Reversible Musselburgh
Yarn: Cascade Cherub in Grey (#17) and Roasted Chilis (#518) (55% nylon/45% acrylic)
Needles: US #8/5.00 mm
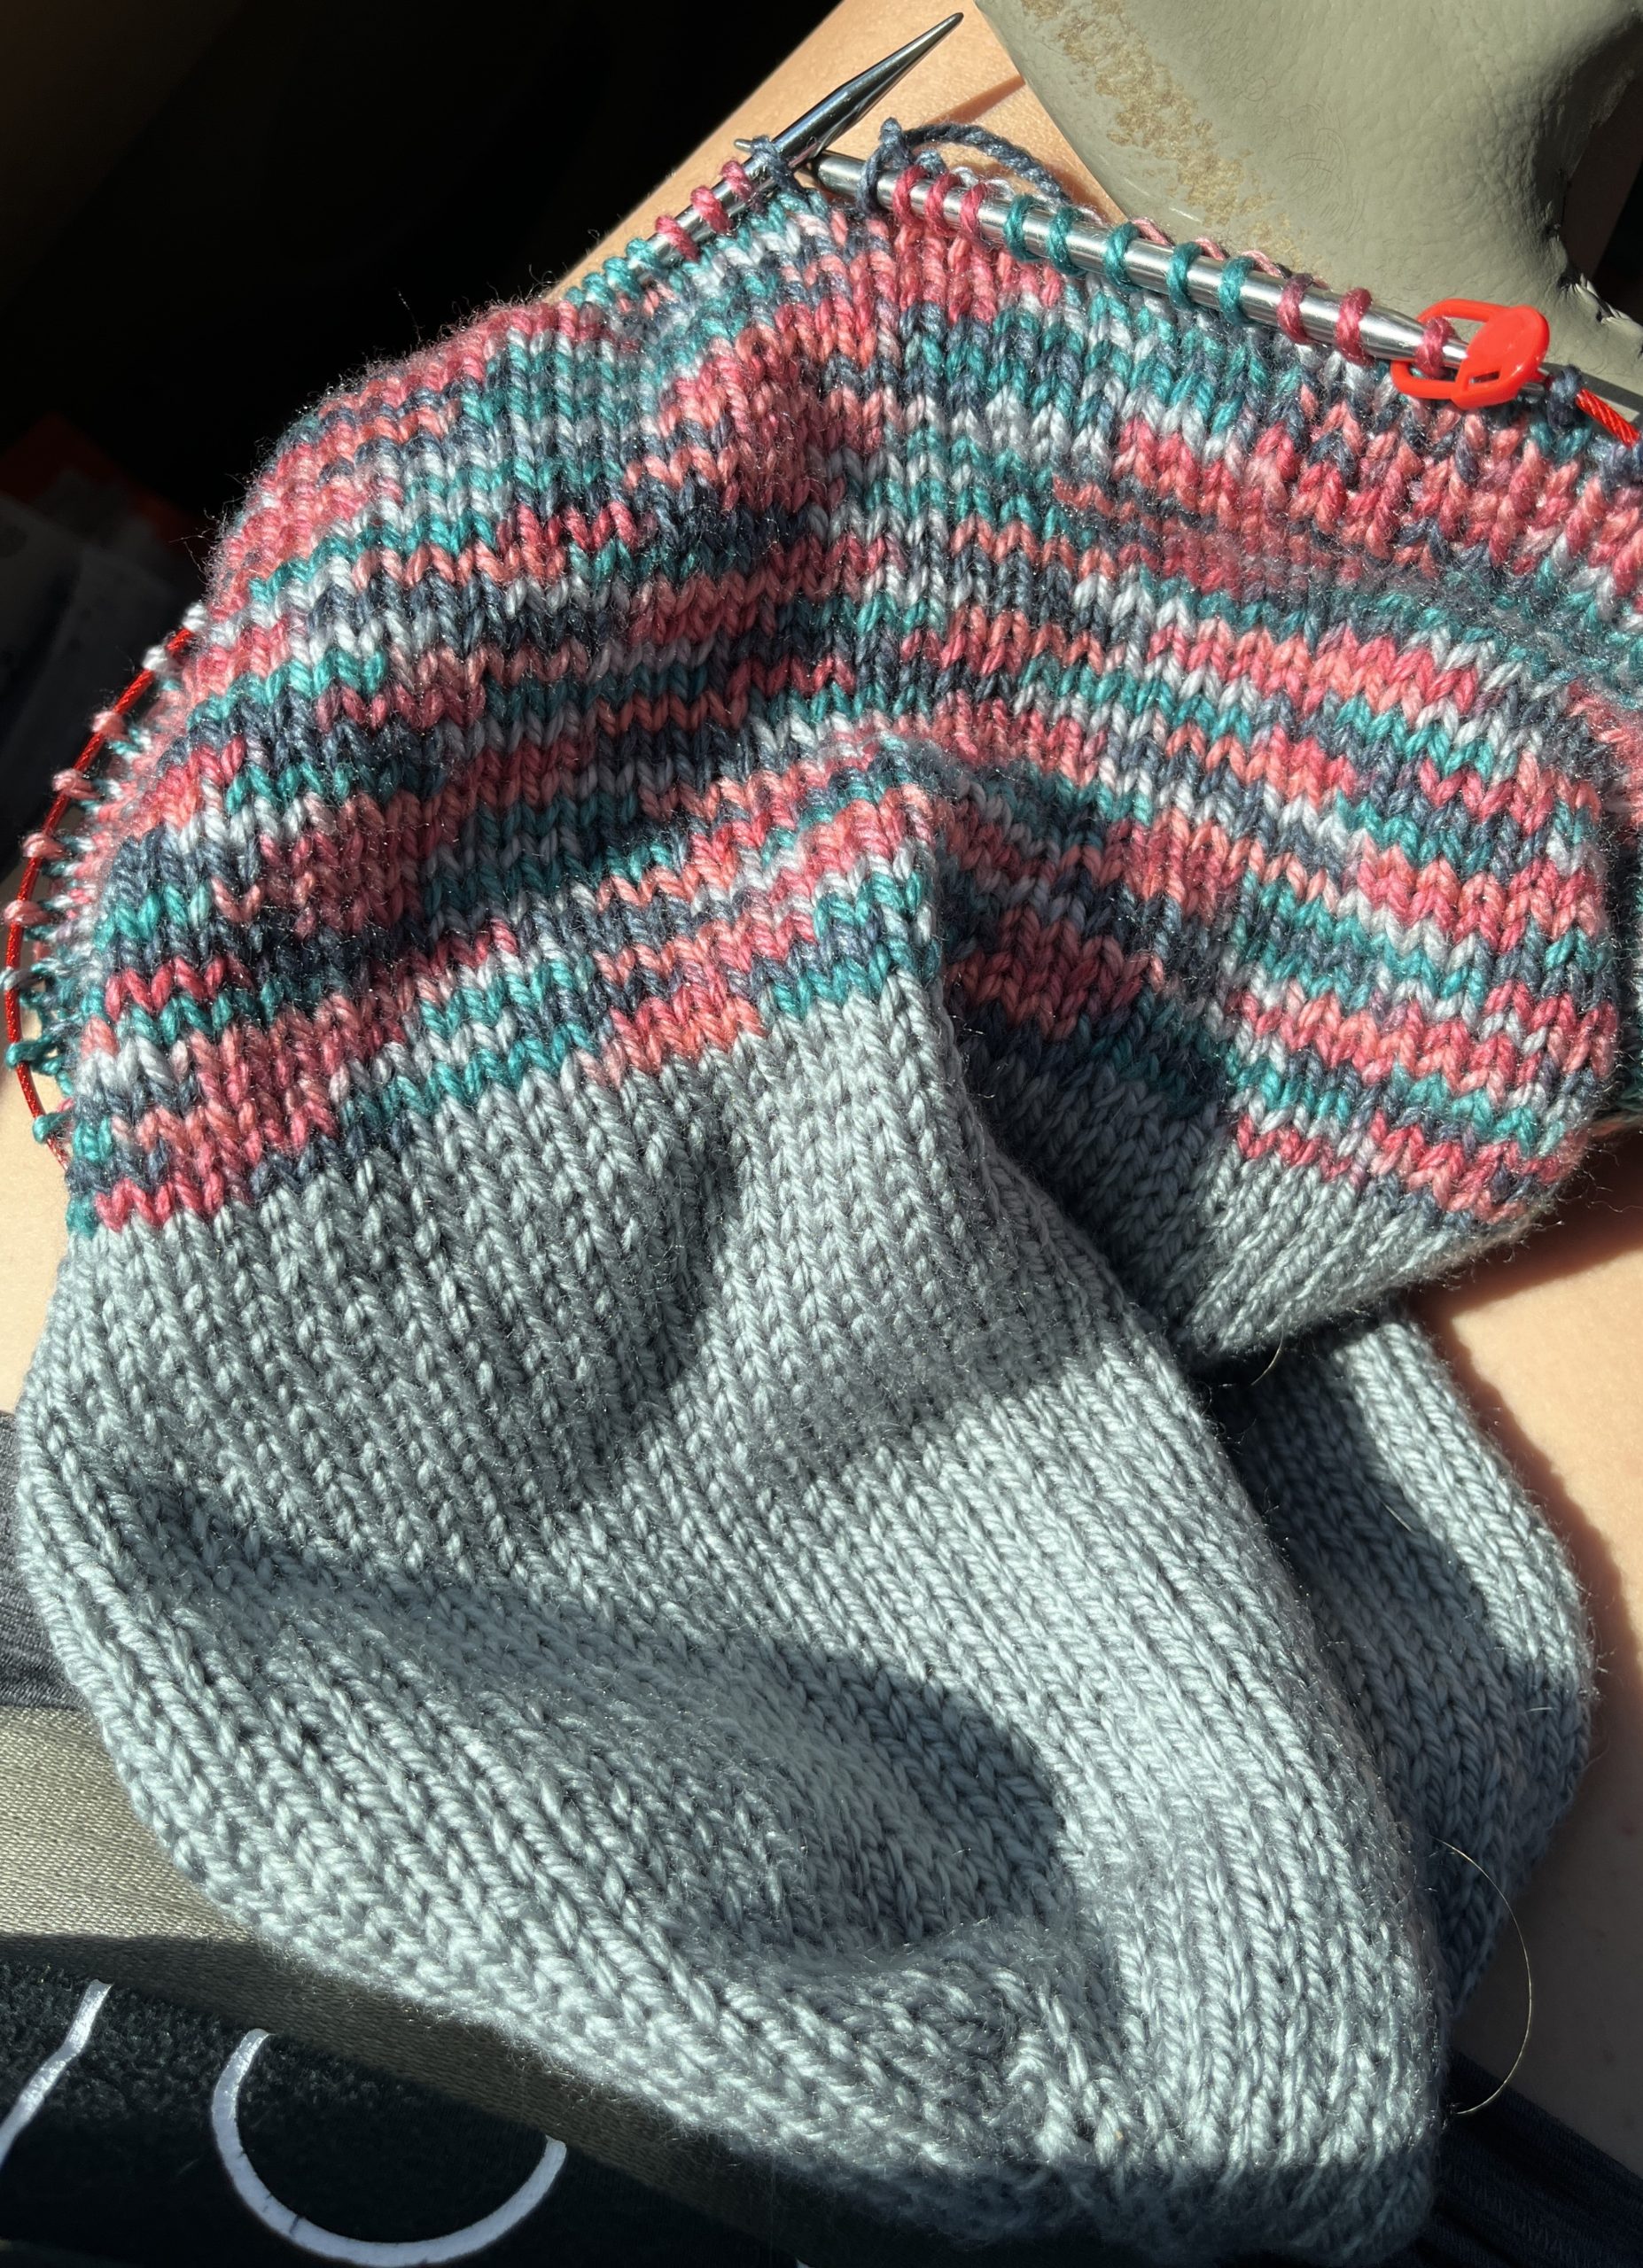
The Musselburgh Hat technically is already reversible, but using two colors means two looks in the same hat! If you choose to make an oversized hat, you can fold up the end for a pop of contrast on the brim.
I used my last Musselburgh to figure out the best break point for the colors to ensure it was even. If you’re knitting your first in two colors, you would switch once your hat reaches half of the total length (or the length when worn, from crown to end/fold) when worn.
This was my favorite colorway of all the hats I made with this pattern. I love that only a hint of color shows if the solid colorway is worn facing out! Multiple colors also makes for a versatile hat, perfect for sharing between kids or coordinating with multiple outfits.
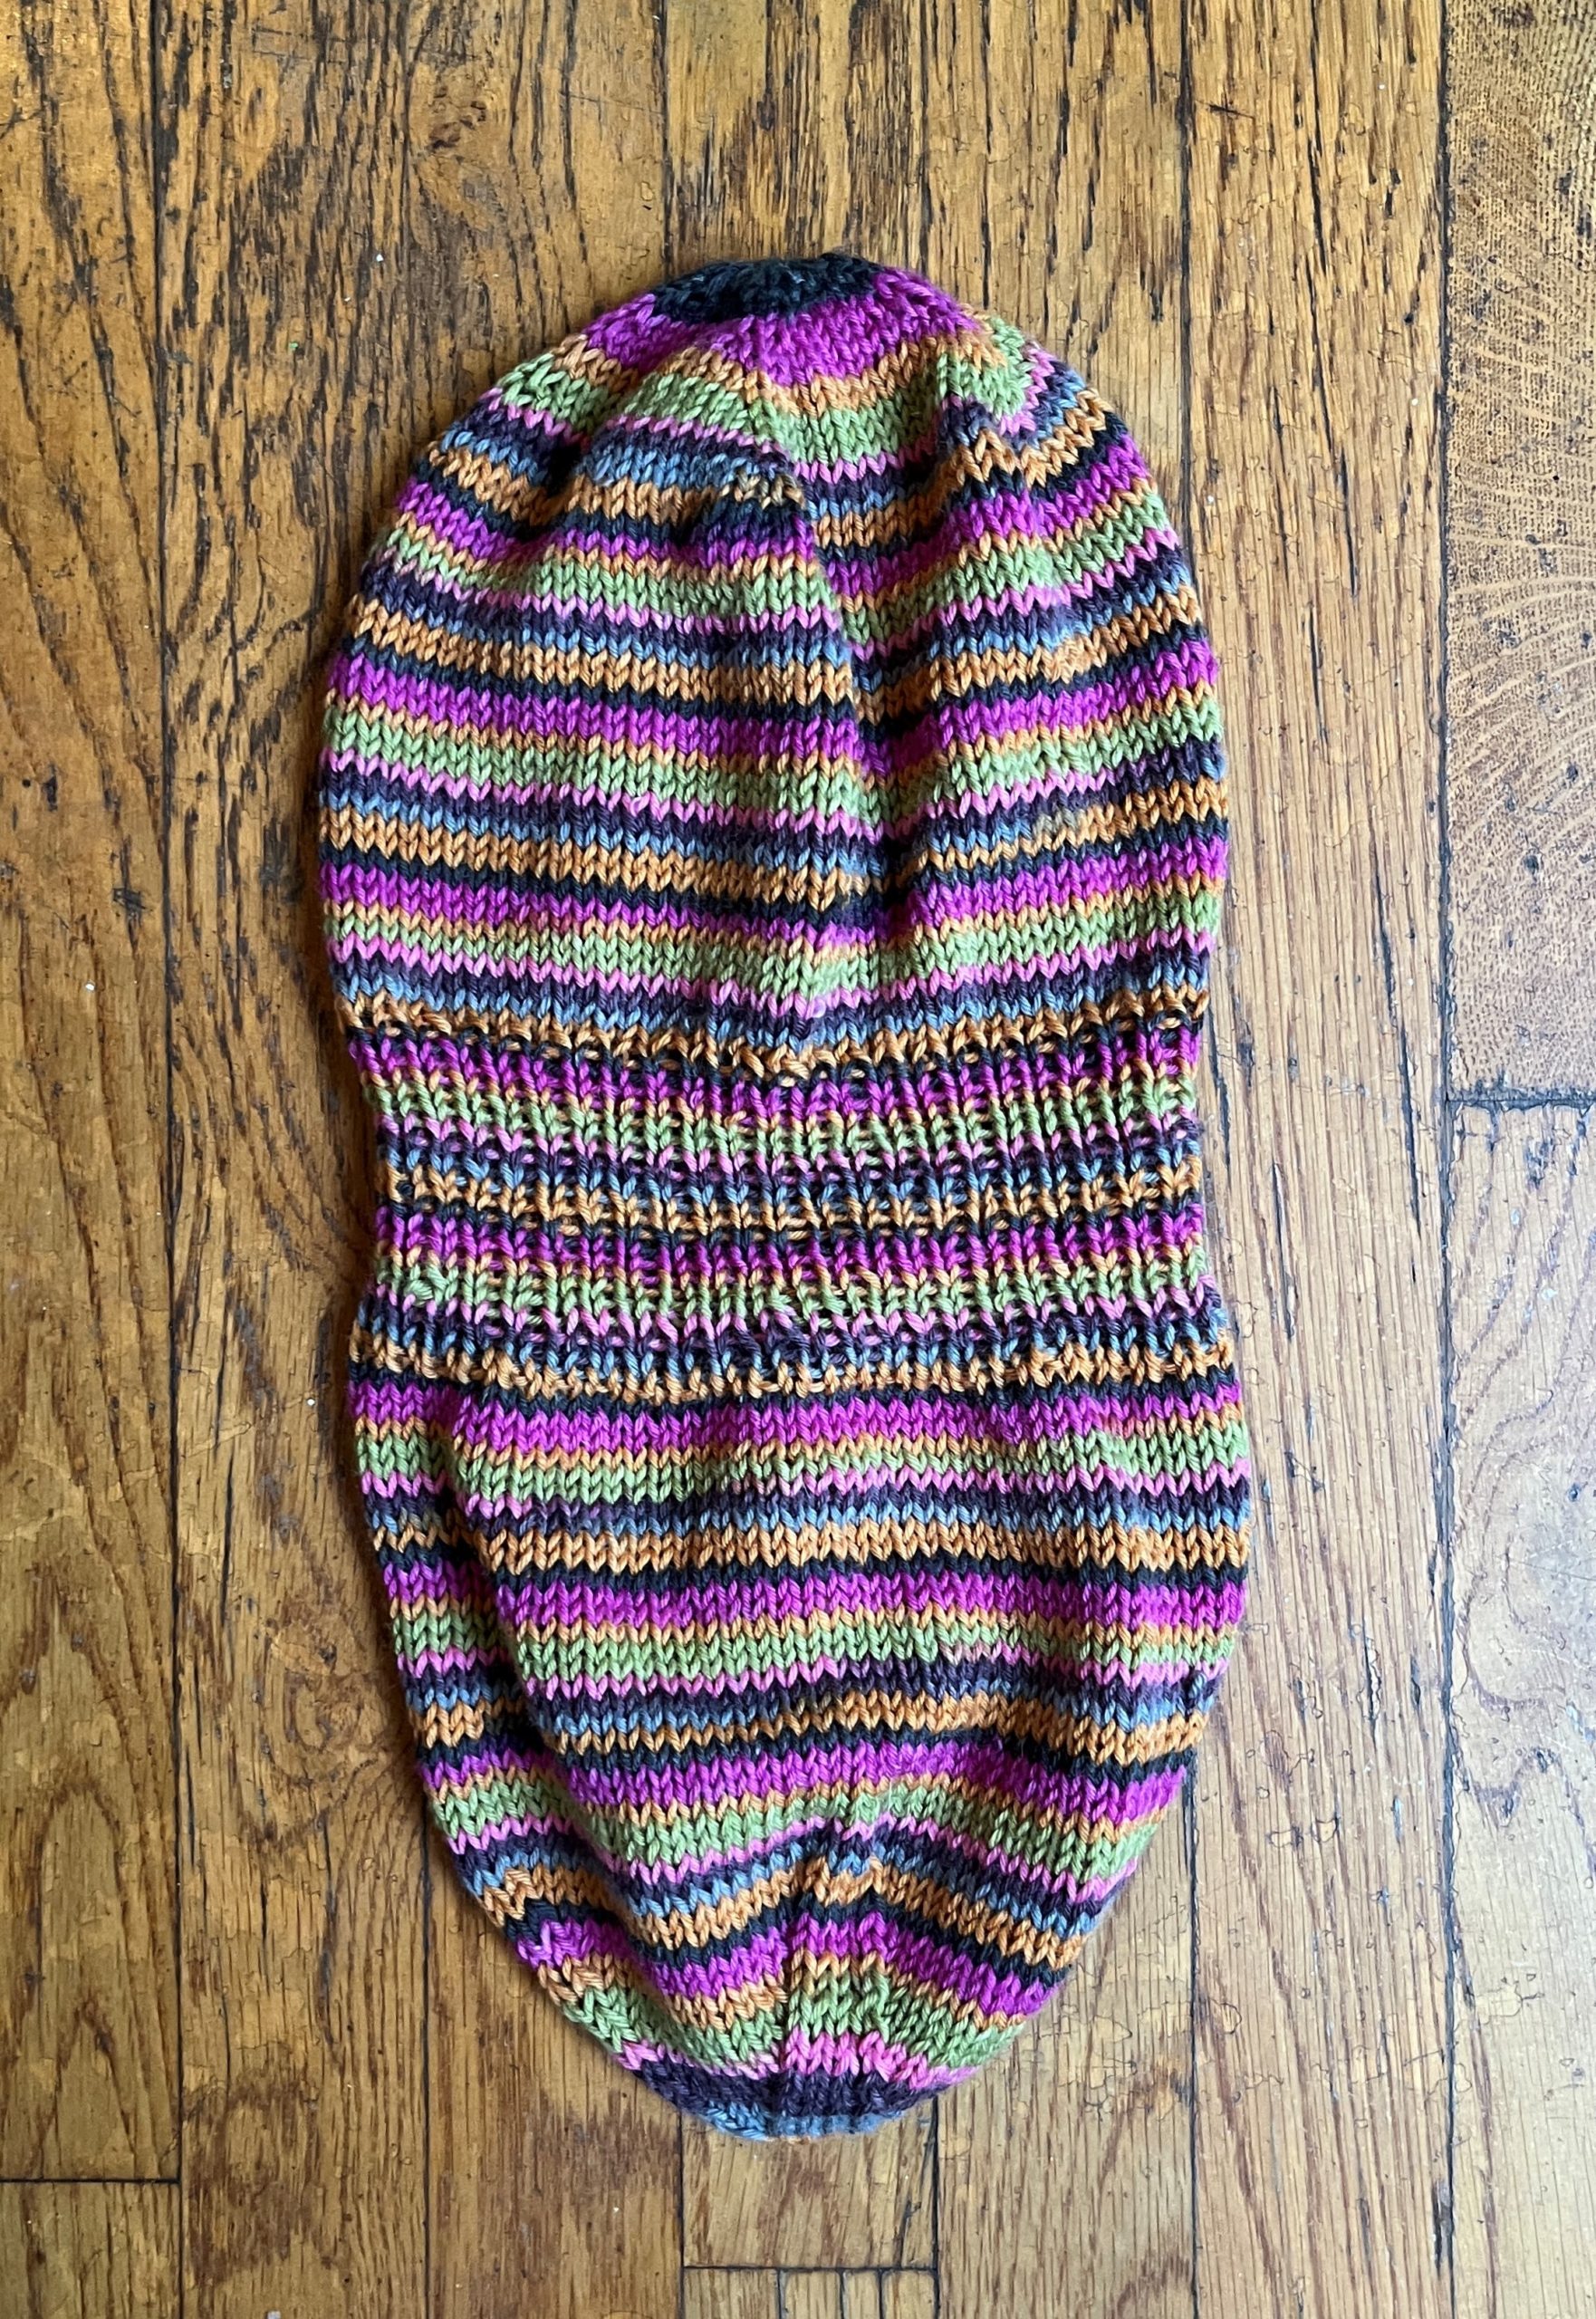
The Ribbed Musselburgh Hat
Yarn: Knitting Fever Indulgence Cashmere in Bouquet (#608) (70% wool/15% nylon/5% cashmere)
Needles: US #8/5.00 mm
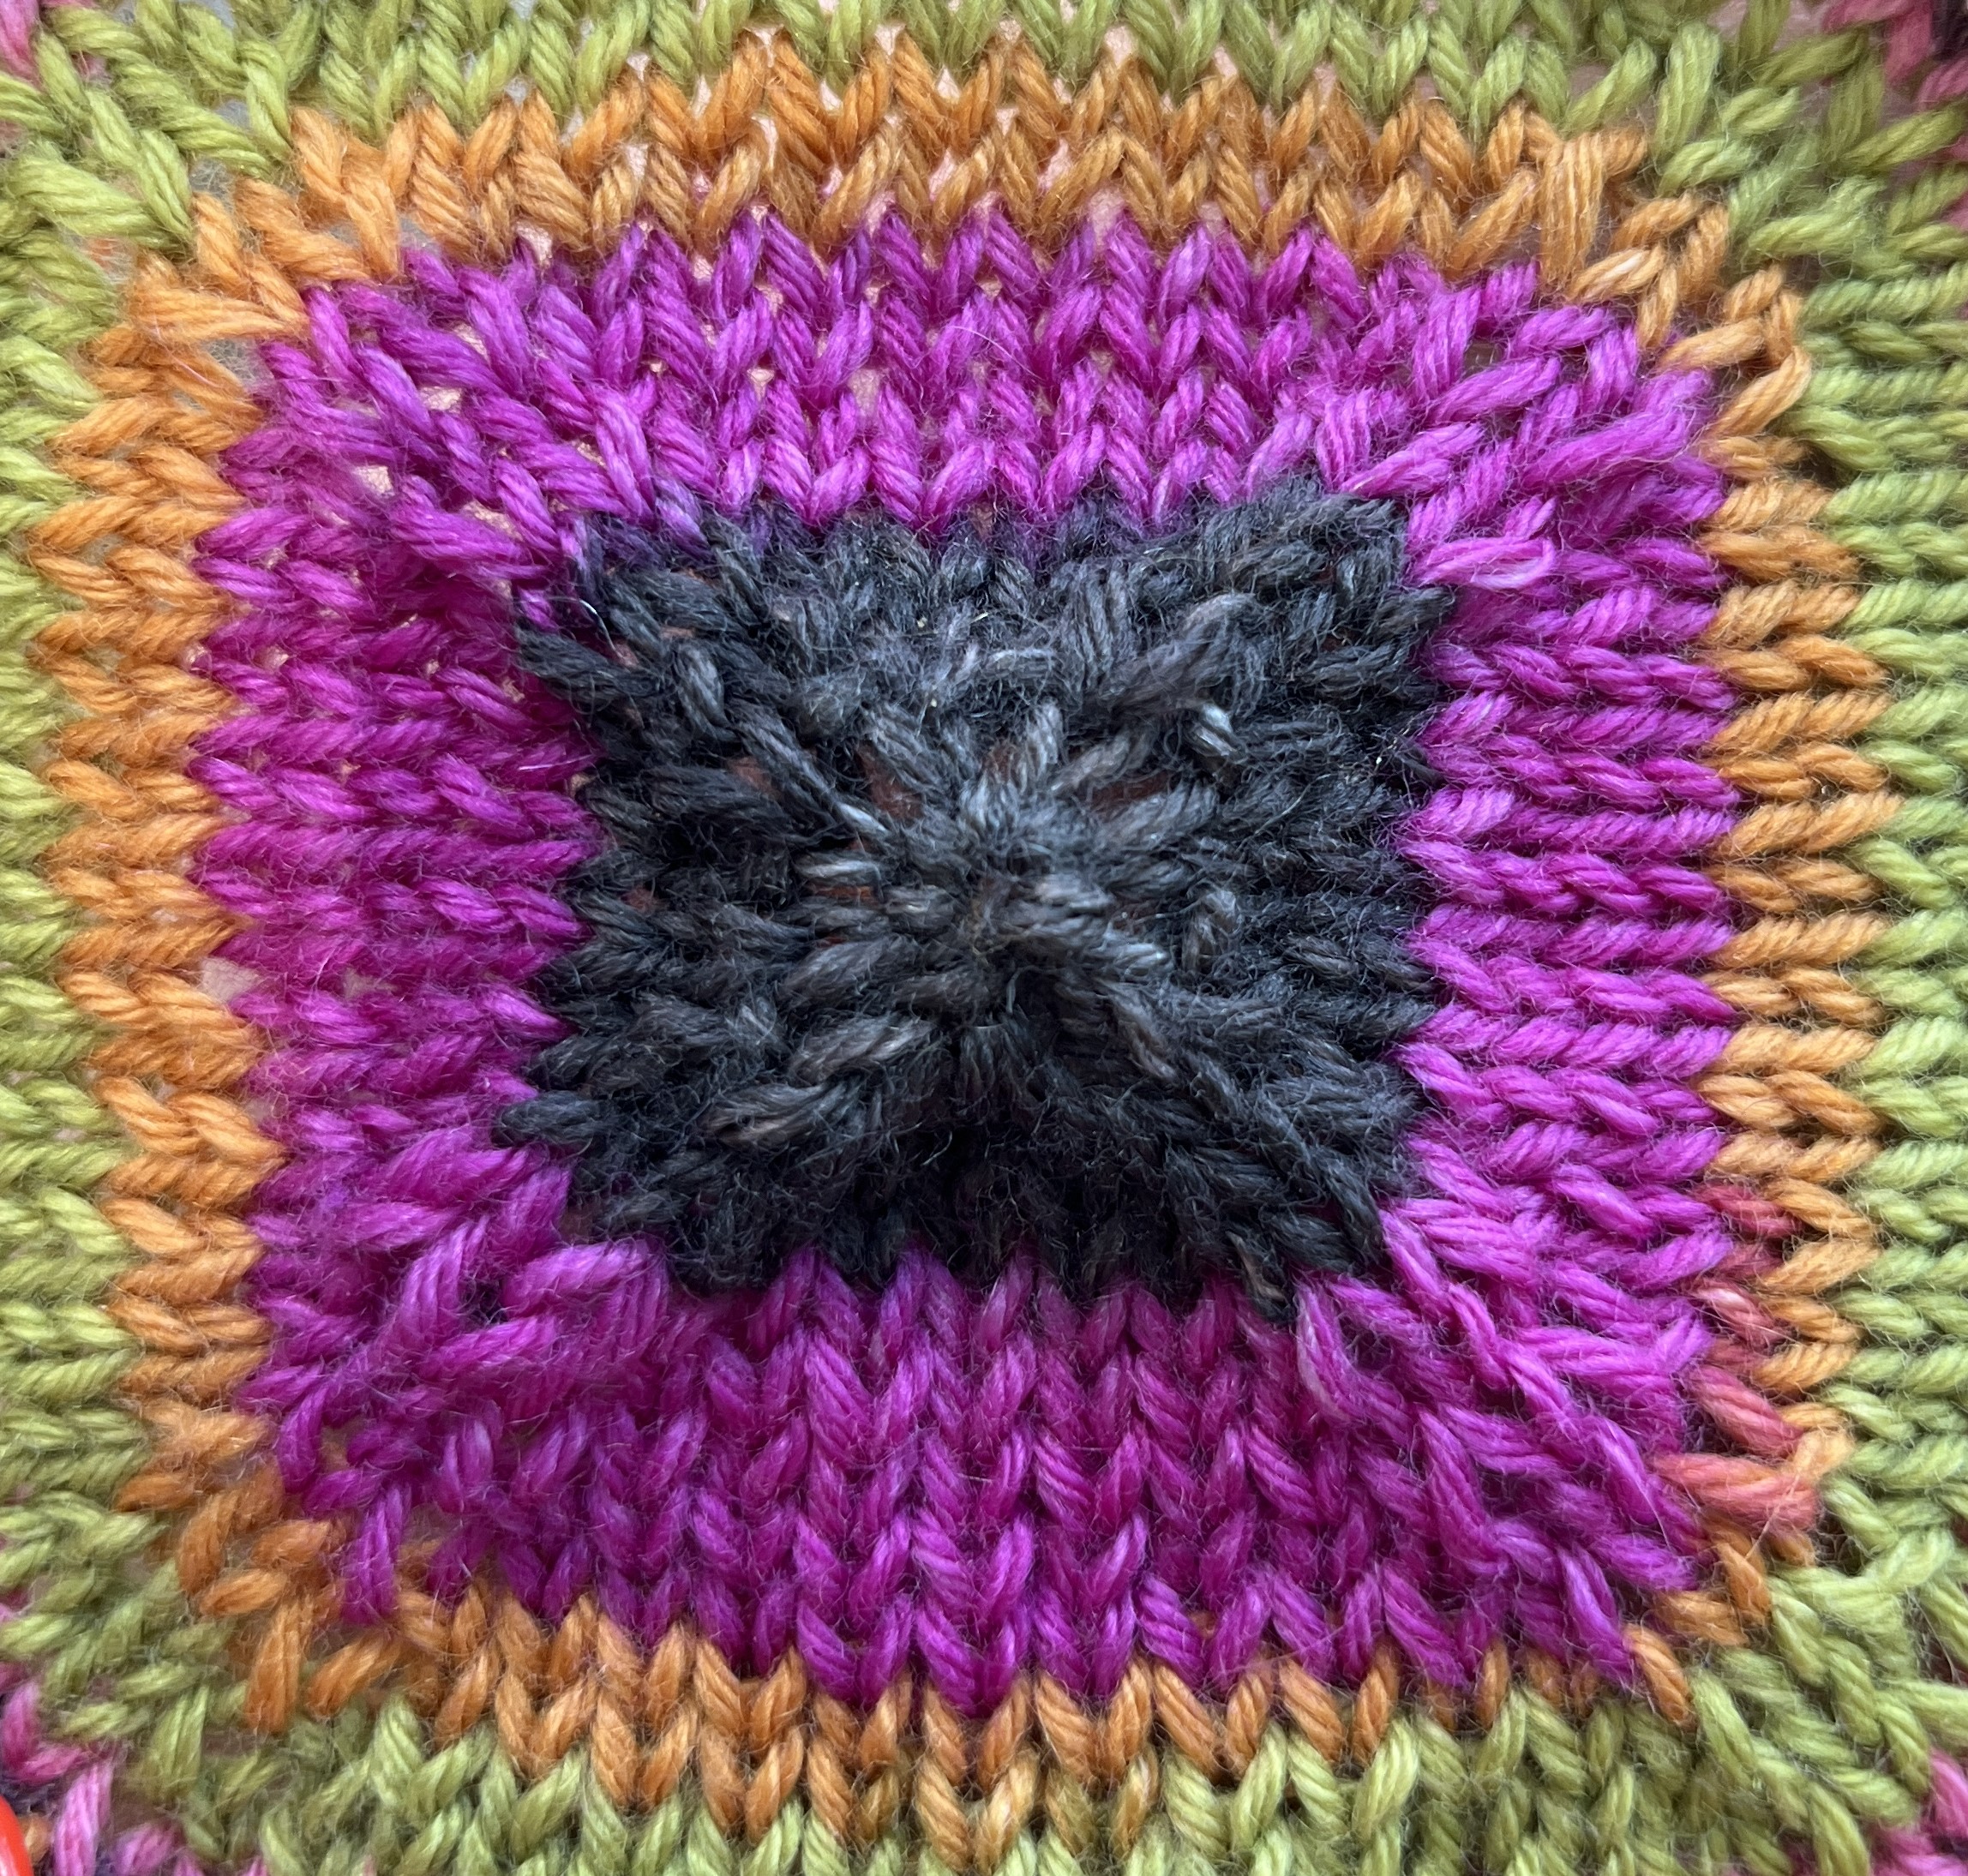
I wanted to modify the slouch of this pattern a bit for a more fitted look. I decided ribs were the best way to do this, but positioning them became a bit of a challenge.
Since the hat is worked in a long tube, I had to calculate the approximate location of the ribbing based on the halfway point. Once I calculated the midpoint (or the length when worn, from crown to end/fold), I subtracted half an inch and stopped working Stockinette there. I worked for about 3″ in k1p1 ribbing, knowing that would result in 1.5″ when folded over.
I’m going to be honest… I wasn’t sure this modification was going to work out! It was stressful to add ribs in the middle of the hat, knowing I wouldn’t know if it looked good until the whole thing was done. But it did! It was a fun modification and it broke up the monotony of the Stockinette.
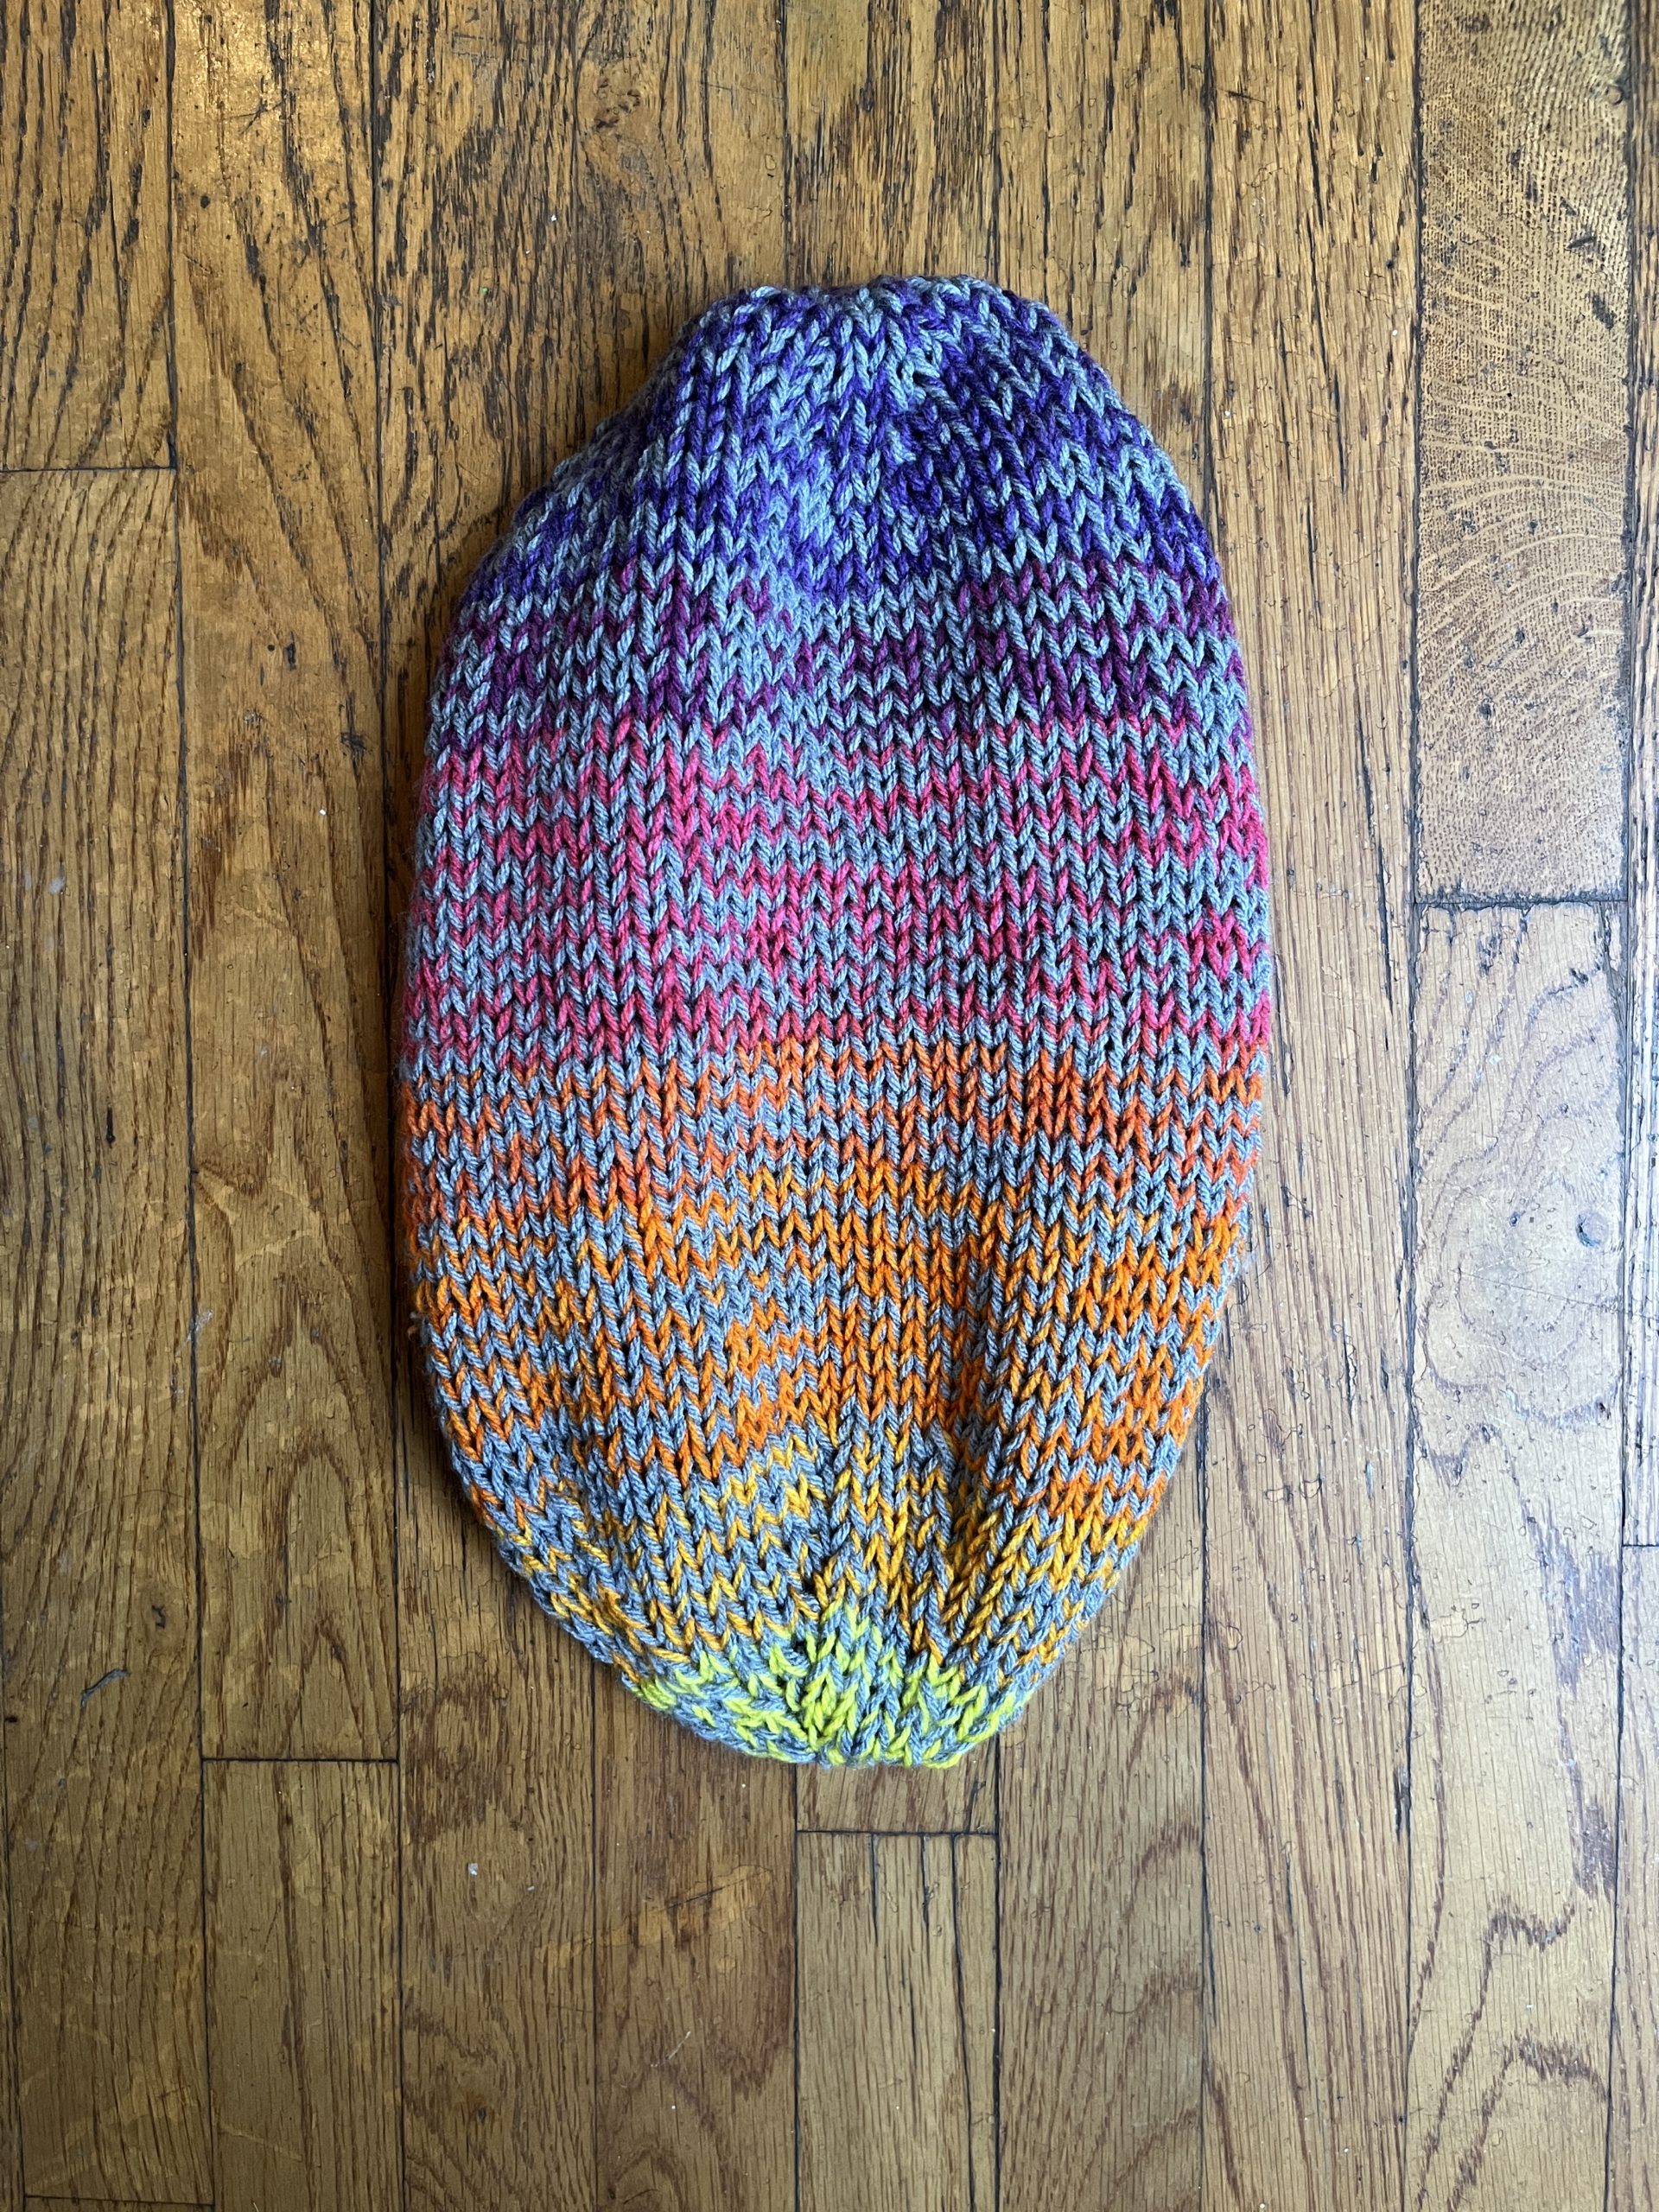

The Jumbo Musselburgh Hat
Yarn: Caron Skinny Cakes in Rainbow (100% acrylic) and Lion Brand Yarn Pound of Love in Oxford Grey (100% acrylic) [held together]
Needles: US #13/9.00 mm
I’ll be completely honest — this one was my least favorite. I used two yarns held together and it worked up incredibly quickly. The colorway was beautiful and the fit was on point, but the result just wasn’t as slouchy or tidy as the other versions.
I think that using a smaller gauge is the way to go.
Knit Your Own
The Musselburgh Hat pattern by Ysolda Teague is available for purchase on Ravelry.


6 Comments
Pingback:
Pingback:
Sharon
I must be the only one having trouble with the musselburgh hat. I got half way thru one and realized it was way too big to be worn. I am using size 6 (4mm) My gauge is about 5.5 this time. Do I have a total of 26 stitches in each quadrant and then just knit straight?
thanks
Sharon
Holly
Yes, 26 per section would be correct for the 24″ circumference (next to largest) size. Is it still too big?
Laura
I added bead work to the brim of some of the cuffs of my hats and then did a pattern on the body of one of my hats as well.
Holly
That sounds beautiful! I don’t usually work with beads. Do you have a photo?