
15 Tips for New Knitters
I’m always happy to share my tips for new knitters. When I first started knitting, YouTube didn’t exist. I didn’t know any knitters. I learned from library books and tearaway pamphlets in big box craft stores. This was not the best way to learn. I took a lot of deep breaths. I set aside projects many times.
Frankly, it was overwhelming. Every single step was something new that I had to learn. Every pattern abbreviation had to be translated… and then I had to figure out what the translation meant! Every stitch seemed like such a herculean effort. Hopefully these techniques and tips can help new knitters avoid some of my pitfalls.
Tips for Knitters
1. Read Ahead
Remember when your teachers told you to read the directions before beginning your work? The same thing applies to knitting patterns… and the entire pattern is the instructions! Reading through the entire pattern gives you an understanding of the construction, sure, but it also gives you a feel for the designer’s style.
Reading ahead also helps you learn to imagine how projects come together, giving you a basic understanding of design and construction.
2. Grab Your Highlighter
When you’re reading through a pattern, take the time to highlight the parts that pertain to you. Usually this pertains to the size, but sometimes it’s also preferred color or other custom instructions. Highlighting the essentials means you’re less likely to make mistakes as you go, such as casting on the number of stitches for the smallest size provided when you wear a larger size.
Don’t worry about marking up or damaging a hard copy of your pattern. Use erasable highlighters or highlighter tape in case you make a mistake! You can also make copies — even of purchased patterns, if it’s for personal use — and mark one up each time you work the project.
3. Write It Out
If you’re still learning what CO and k2tog mean, take the time to rewrite your pattern in full text. Whether by hand or typing, rewrite the pattern dropping all of the abbreviations. When you do this, CO 10 sts becomes cast on 10 stitches and k2tog becomes knit 2 stitches together. You’ll benefit from doing the translation yourself and the rapid repetition means you’ll learn the abbreviations quicker.
You will also have a useful pattern rewrite and you’ll be able to knit straight through the project without stopping to look up what SK2P means!
4. Learn to Read Charts
While we’re at it, you can learn to read charts by writing them out, too! Understanding charts opens up a world of patterns to you that aren’t otherwise available since not every designer provides written instructions.
When learning to read charts, write out what each symbol means, either in full words or using knitting abbreviations. Work out the whole chart before you start knitting. Soon you’ll discover you’re able to decipher even the most complicated lace!
A good starter chart can be found in the Falling Hearts Kitchen Towel knitting pattern, which contains only color changes. Understanding color is intuitive and working color charts will prepare you for charts with symbols, like the one found in the Mulberry Shawl knitting pattern.
5. Keep It Light
One of the best tips for new knitters isn’t about technique, but yarn selection! If even a small bit of frustration can be spared in the beginning, it will make the learning process that much easier. That’s why I advocate for using yarn that is light in shade. It makes it easier for you to see your work.
A common joke in yarnie circles is that knit or crochet for pay should cost double if the project requires black yarn. I think that’s totally fair. Dark yarns make stitches difficult to see. Not only will you be more likely to make mistakes, you’ll be less likely to notice them until you’re several rows past.
Until you’re a bit more confident and can read the stitches, stick to brighter, lighter colors.
6. Toss Grandma’s Needles
No, don’t literally ditch your heirlooms! But knitting needles have come a long way in recent years. Most notably, those long, clunky needles you see grandmas knitting with on movies aren’t the way most of us knit anymore.
Circular needles put far less strain on your hands and wrists, especially with larger projects. There’s less worry your stitches will slide off the needle with circulars, too. And, of course, you have the added advantage of being able to work in the round.
Try a few different types of needles and see what works best for you!
7. Loosen Things Up
Not all needles are created equal. While more upscale brands have new technology built into their cords, most shelf brands from big box stores are still struggling with a way to work out the kinks.
If your circular needles get do a kink in them, hold them over a boiling pot of water or under a running faucet on the hottest temperature. Gently smooth the cord back into the proper shape, taking care to avoid the ends. Also avoid pulling on the ends while heating the cord. In some cases, the needles may pop off of the cord completely!
8. Find Your Center
You may run the risk of drawing out a huge wad of yarn barf, but a center-pull skein doesn’t roll around the floor. Instead of grabbing the tail of yarn from the outside of a skein, tuck the tail under the label and fish around in the center hole till you find the other end. Start there!
I promise you’ll get the hang of it.
And while you’re at it, learn how to wind your own skeins with a winder and swift and you can start working with hanks from hand-dyers! Leave the tail poking out from the start and you’ll never have to dig for it.
9. Cast On Big
Casting on is NOT the same as knitting. Most of us don’t have great tension control with casting on, especially if we’re unpracticed. New knitters can end up with a cast on that’s far too tight. To avoid this, cast on with a needle a size larger than the recommended size. While the cast-on edge will still seem tight, it will take its proper shape when you knit through the first row.
If you’re a crochet convert, you can also crochet your cast on!
10. Make Your Mark
Stitch markers aren’t just for complex lace. Place a stitch marker every 5 or 10 stitches while you’re casting on a large number and you’ll be able to easily recount when you lose track. This is especially helpful with afghans, sweaters, or other projects with a cast on in the double (or triple) digits.
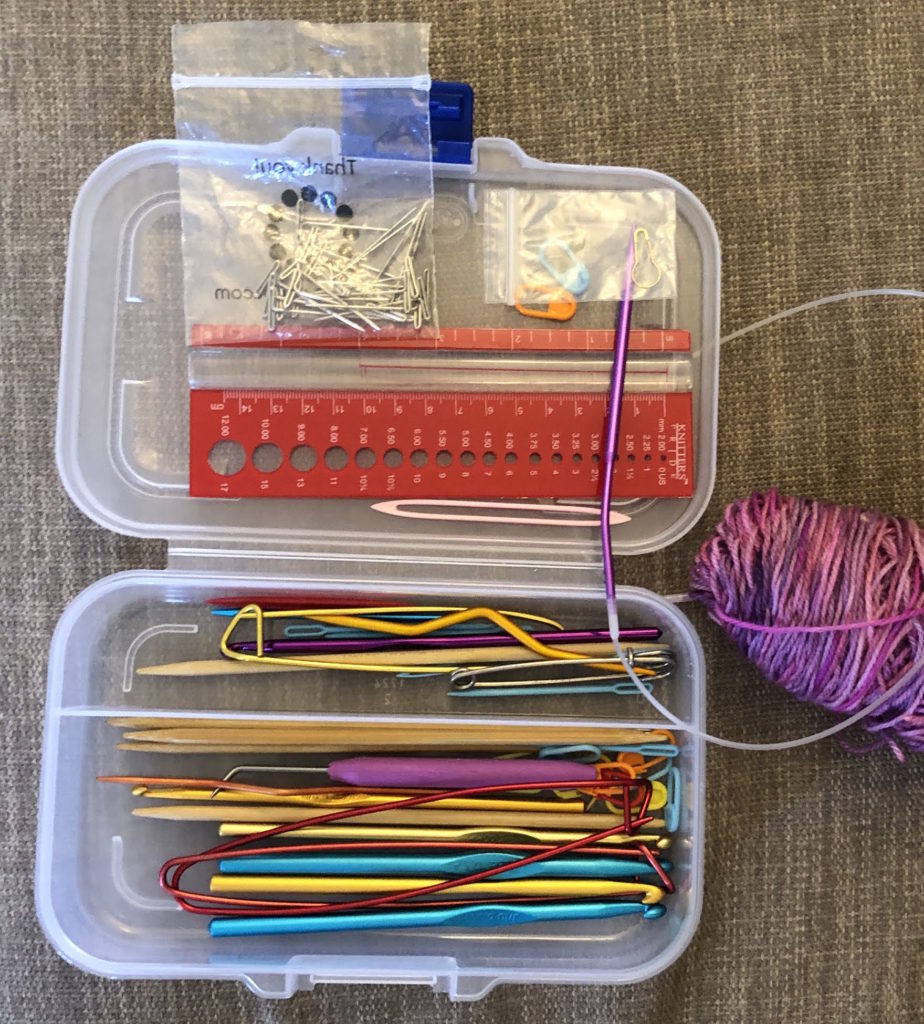
If you don’t have any stitch markers, you can use scraps of yarn tied in a loop, rubber bands, paper clips, tiny hair bands, or anything else you have on hand.
11. Clean As You Go
Whether from your Home Ec teacher or a reality TV chef, you’ve probably heard the term, “Clean as you go.” Simply put, it means that while you’re cooking, you should clean up your messes as you make them. Toss the ends of the carrots once its cut, place the dishes in the sink once they’re used, and wipe the countertops as you finish with them. Following this principle ensures you aren’t left with an overwhelming mess at the end. The same tip applies to knitting!
Especially if you’re using multiple colors, weave in your ends as you go. Nothing is more frustrating than finishing a project that you’ve put tens or hundreds of hours into and then realizing it isn’t actually finished because there are 20 ends to weave in. Before you put your project down for the day, weave in the tail from the cast on or the last time you changed colors.
12. Never Knot Knitting
Seriously, never tie knots. Inevitably they will end up on the right side of your work and will be an eyesore. They’re actually less secure than weaves, too!
An easy way to weave in a tail is to use duplicate stitch. That is, thread a needle with your end and follow the path of your previous stitches. Finishing needles make the job much faster and simpler.
A great method for changing skeins mid-project is to simply knit with both yarns (new skein and old skein) held together for a few stitches. This is the same as weaving, but it’s done as you knit. Snip the ends short on the wrong side of your work a few rows later. Note that this method can be bulky, so it’s best to do it on a place that isn’t noticeable.
Of course, there are many, many other ways to weave in ends and change colors. Find what works for you, but never one with knots!
13. Fix Your Mistakes
There seem to be two types of knitters: those who can live with a mistake in their work and those who cannot. If you’re the former, this section may not be for you.
If you’re the latter, invest in a set of small (size 0/2.00 mm) circular needles. When you have to pick up dropped stitches, these needles will be a godsend. They won’t disturb the tension and cause surrounding stitches to pop out of place.
Also invest in a small (B/2.25 mm) crochet hook. You can use this to pull up dropped stitches row by row and, much like smaller needles, it won’t pull so tightly that you can’t work through the last few rows of the run. And don’t worry — you can even out that tension later!
14. You Can Go Your Own Way
I’m a firm believer in one basic principle with regard to all knitting techniques:
The best way to to it is the way that feels the best to you.
Whether you were taught by a seasoned knitter, a YouTuber, or a book, you likely learned one way to cast on, one way to hold your needles, and one way to knit a stitch. If you’re constantly correcting because your hands are slipping into a position that’s more comfortable than the one you learned, then you’re in the wrong position!
There are as many ways to purl and cast on as there are knitters. Take some time to explore your options and don’t worry if you aren’t doing it exactly the way they are. Your way is perfect.
15. You Are Already a Designer
Does something in that pattern not seem quite right to you? You should change it.
Yes, I know you just started knitting. Take baby steps if you need to. Are you comfortable enough to knit it in a different color? Why not pick a different yarn? You could also make it just a little bit longer or change up that stitch you really hate working through.
When you start adjusting patterns, you start to really grow as a knitter. Yes, you’ll make mistakes, but most will be happy mistakes.
For the rest, there’s frogging.