
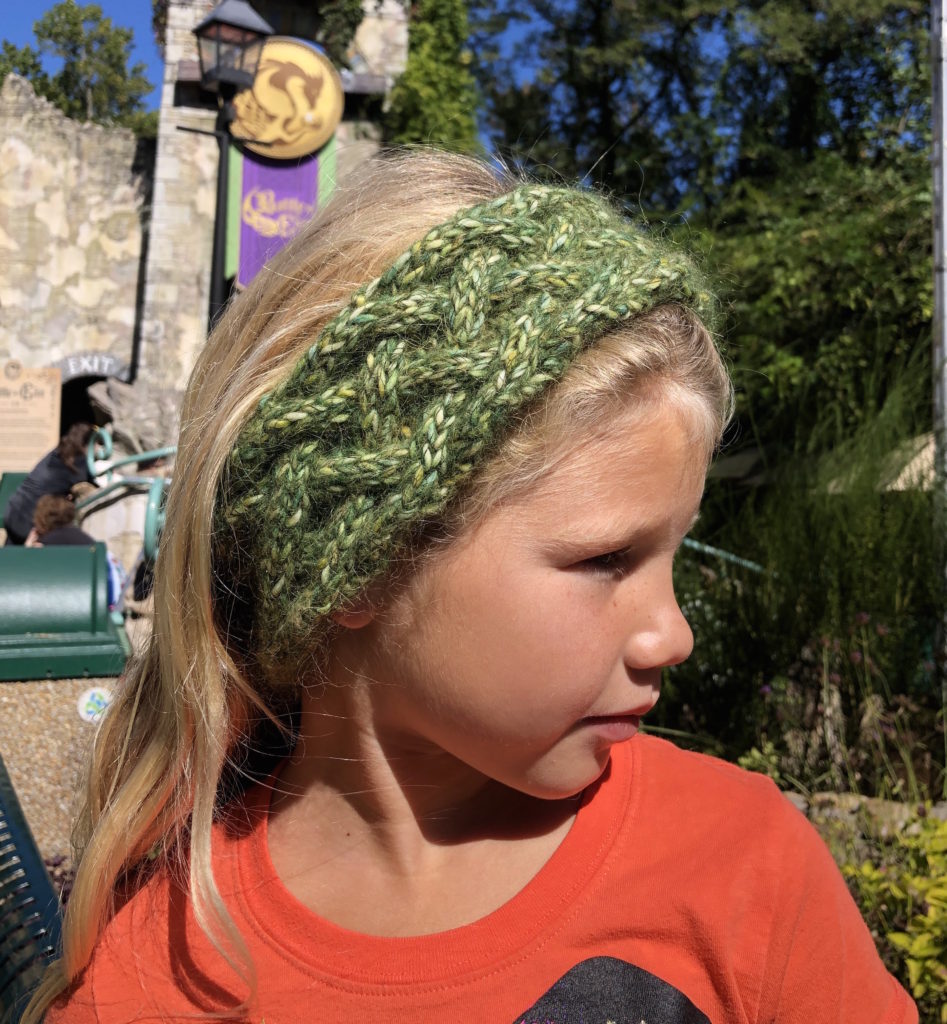
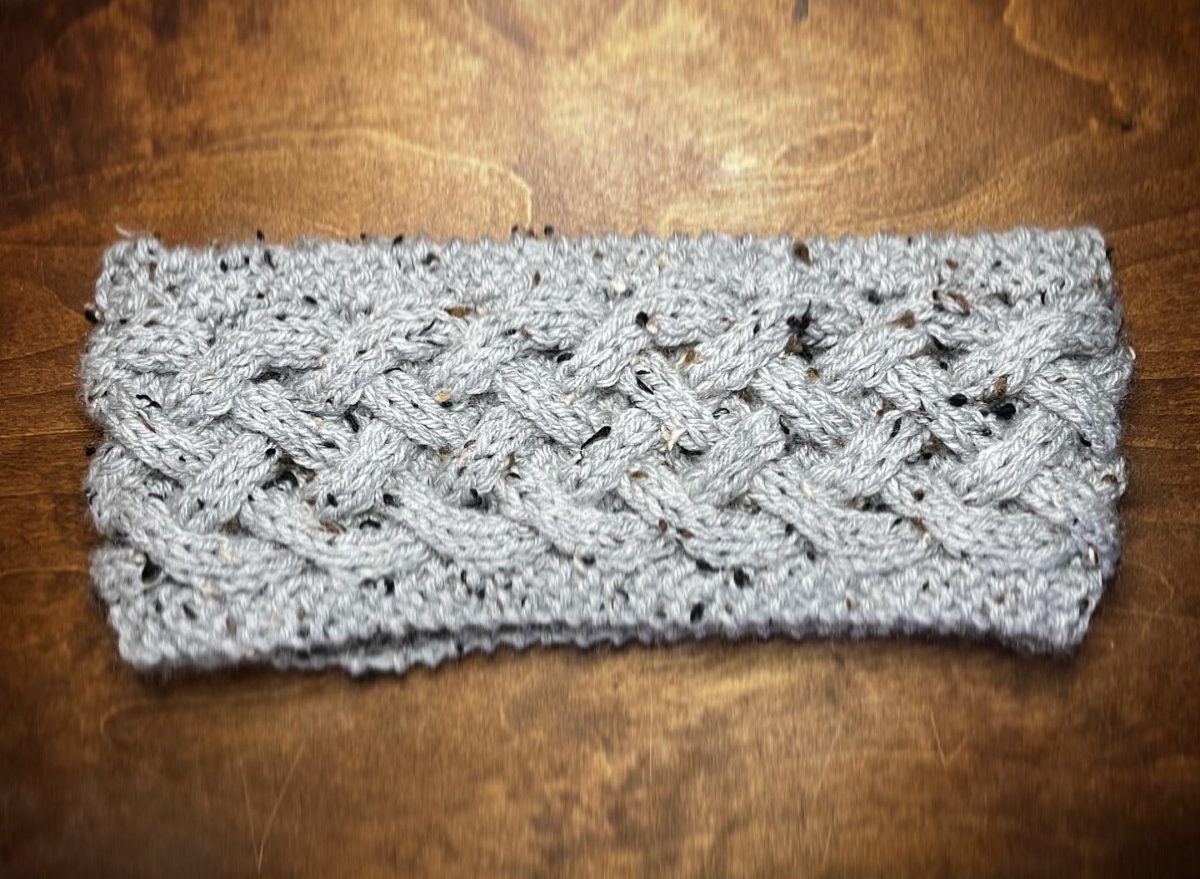
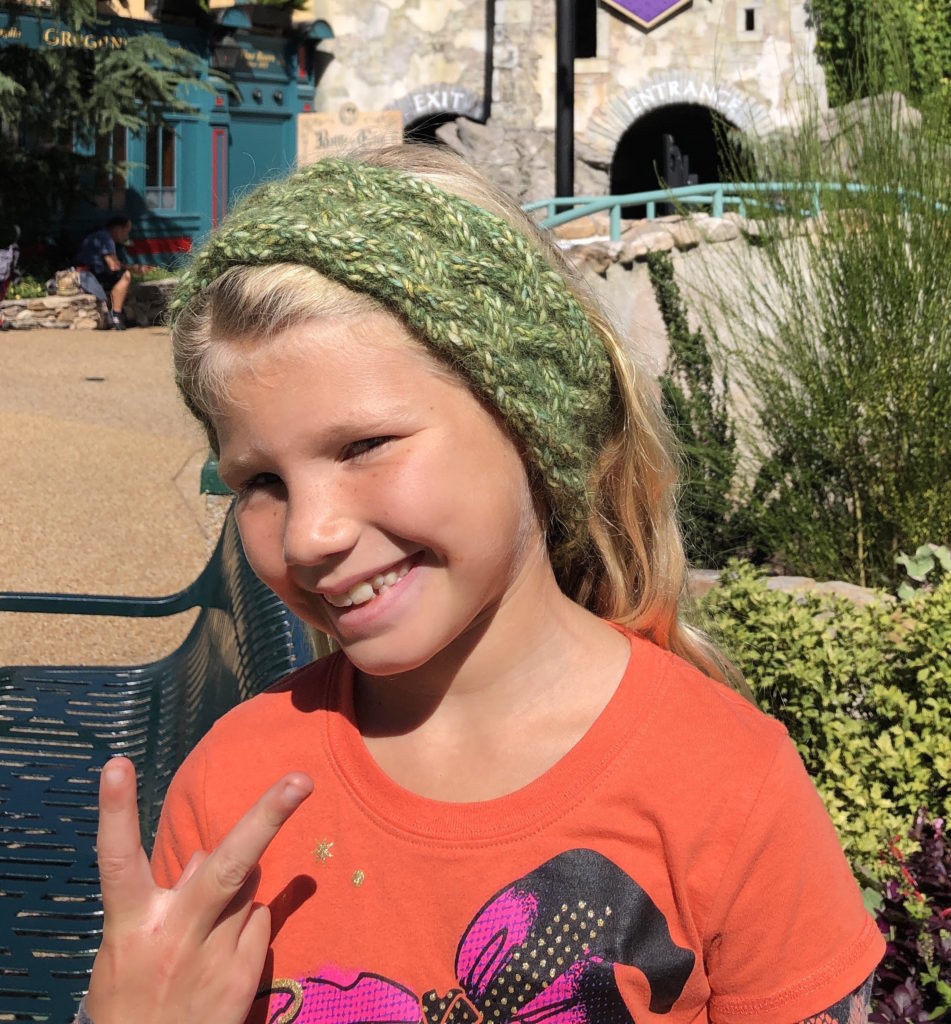
Celtic Braid Headband [Knitting Pattern]
Simple cables and haloed yarn are what make the Celtic Braid Headband special. This single-skein project can be worked up in an afternoon.
Download Pattern PDF | Add to Ravelry Queue | Pin on Pinterest
The updated version of this pattern includes this version plus a version with a border, seen below.
Note that the updated version is worked on US #8/5.00 mm needles.
Celtic Braid Headband
Knitting Pattern
The Celtic Braid Headband Knitting Pattern looks complex, but simple directions make the cable stitches easy to master. It’s also a one-skein wonder!
To view our terms of use for all knitting and crochet patterns, see our Terms of Service.
Materials
Yarn:
1 ball (76 yards) of Rowan Fazed Tweed in Elm
Needles:
US #10/6.00 mm
Notions:
cable needle (or spare dpn)
finishing needle
Notes
Gauge:
16 sts x 22 rows = 4″ x 4″ in Stockinette stitch
Sizing:
24″ circumference (adult)

Abbreviations
BO – bind off
CN – cable needle
CO – cast on
k – knit
p – purl
st(s) – stitch(es)
k – knit
p – purl
C6B (cable 6 back) – slip 3 sts onto CN, hold in back, k3, k3 from CN; creates right-sloping cable
C6F (cable 6 front) – slip 3 sts onto CN, hold in front, k3, k3 from CN; creates left-sloping cable
C5L (cable 5 left) – slip 3 onto CN, hold in front, p2, k3 from CN; creates a left-sloping cable
C5R (cable 5 right) -slip 2 onto CN, hold in back, k3, p2 from CN; creates a right-sloping cable

Pattern
This headband is worked back and forth and seamed when the correct length is reached.
Setup
CO 25 sts and work 2 setup rows as follows:
Row 1 – k3, p4, k6, p4, k6, p2
Row 2 – work stitches as they present (knit the knit sts and purl the purl sts)
Body
Row 1 – k3, p4, C6F, p4, C6F, p2
Row 2 and all even rows: work stitches as they present
3 – C5L, C5R, C5L, C5R, C5L
5 – p2, C6B, p4, C6B, p4, k3
7 – C5R, C5L, C5R, C5L, C5R
Repeat these 8 pattern rows until desired length. With correct gauge, this is approximately 13 repeats for adults with a head circumference of 21″-22″.
Finishing
BO, leaving a long tail. Use tail to seam ends together.
Block lightly if desired.
Download Pattern PDF | Add to Ravelry Queue | Pin on Pinterest


6 Comments
Monique
Was wondering why in c5l and c5r there’s a difference in the amount of stitches passed on cn …
Must the c5l be pass 2 as well?
Holly
Hi Monique,
That is a classic fat-finger error. Thank you for catching it!
In both C5R and C5L, you should be placing 3 stitches on (and working 3 stitches from) the cable needle.
I’ve updated the pattern to reflect the correction.
Thanks again!
Holly
Stacey
Where is the corrected pattern posted. I still don’t get what you mean with your reply above for rows 3 and 7.
Thanks
Stacey
Holly
Hi Stacey –
The corrected pattern is posted above. The typo that Monique mentioned had “2 sts” in place of “3 sts” for one of the cable instructions.
What are you having trouble with on rows 3 and 7?
For all four cables (C5L, C5R, C6F, C6B), you’ll place the same number of stitches (3) on the cable needle. The difference is in the number of stitches worked before you work the stitches off of the needle.
C5L and C5R both require 2 stitches to be purled before working the stitches off of the cable needle. (This creates the reverse stockinette “background” that the cables braid across.)
C6F and C6B both require 3 stitches to be knitted before working the stitches off of the cable needle. This continues the look of the cable stitches you made two rows prior.
I hope this helps! If you have more questions, don’t hesitate to ask!
Thanks,
Holly
bitcoin
PZ
Susan Setzer
I just discovered the error with the pattern. The pattern states:
C5R (cable 5 right) -slip 3 onto CN, hold in back, p2, k3 from CN; creates a right-sloping cable
however, it should state the following instead:
C5R (cable 5 right) -slip 2 onto CN, hold in back, k3, p2 from CN; creates a right-sloping cable