
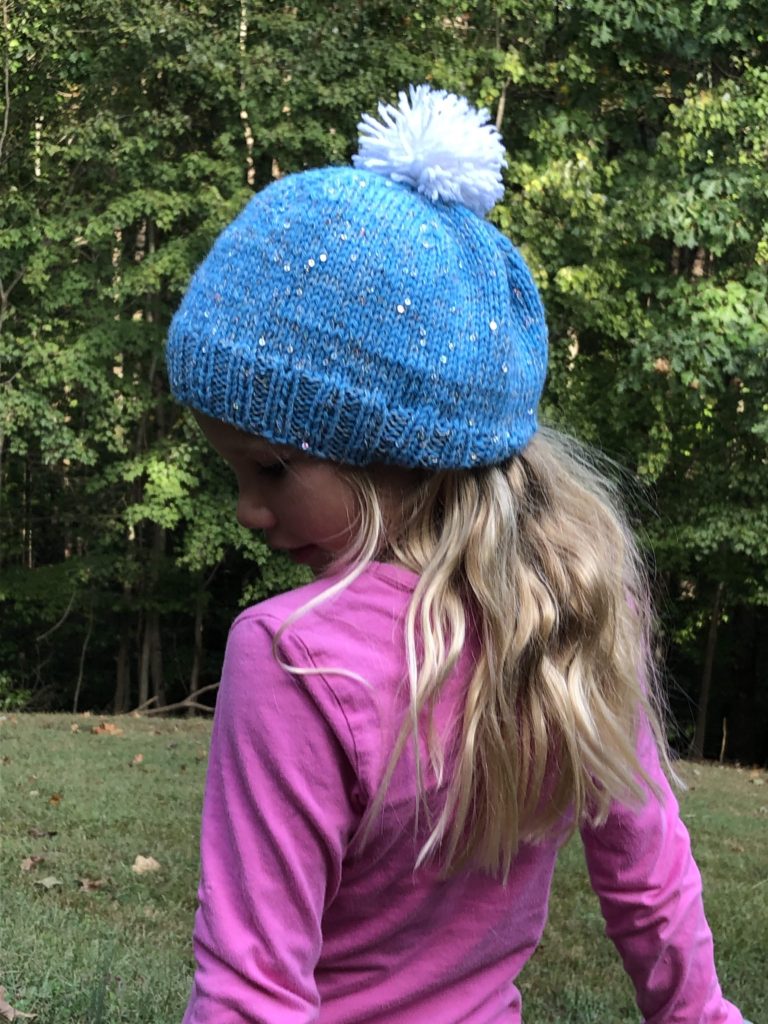
Ice Queen Cap [Knitting Pattern]
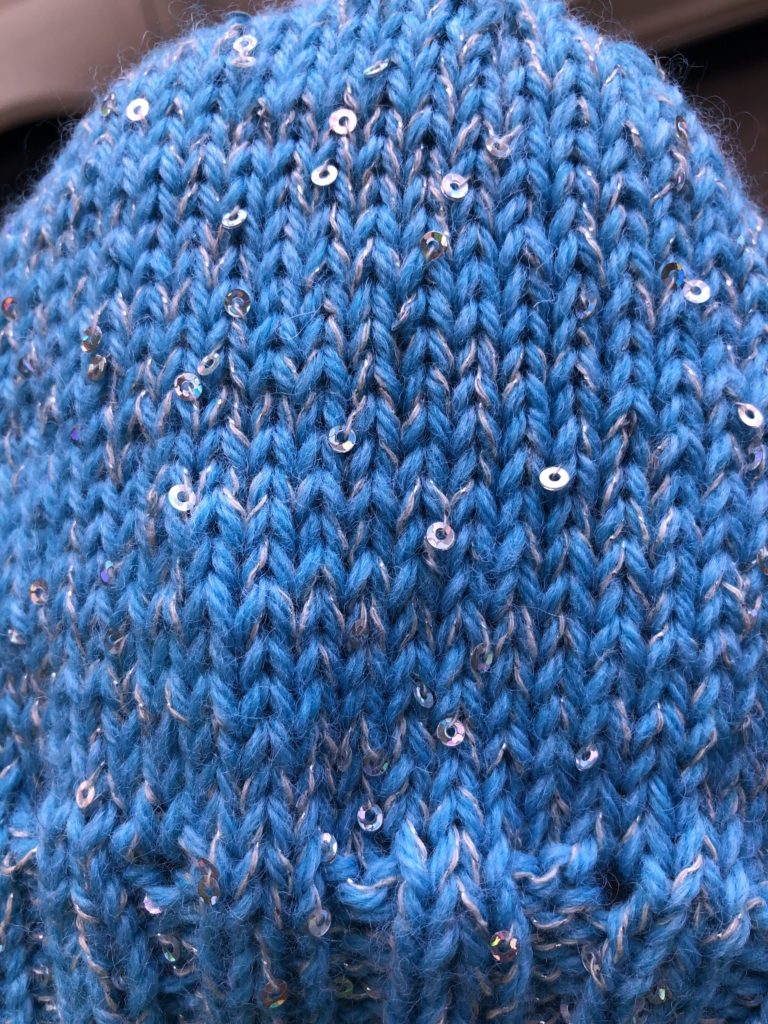
Whether you call it a beanie, toboggan, or hat, the Ice Queen Cap is made of sparkling simplicity!
Download Pattern PDF | Add to Ravelry Queue | Pin on Pinterest
Ice Queen
Knitting Pattern
The Ice Queen Cap Knitting Pattern pairs sparkles and simplicity! If you are new to knitting hats, this is the perfect pattern to knit first.
To view our terms of use for all knitting and crochet patterns, see our Terms of Service.
Materials
Yarn:
185 yards of Plymouth Galway Worsted in Lapis Heather
185 yards of King Cole Glitter Knitting Yarn in Cosmos
Needles:
US #8/5.00 mm
dpn (or long circulars, if using magic loop method)
Notions:
scrap contrast yarn or faux fur pompom
finishing needle
stitch markers (6)
Notes
Gauge:
17 sts x 24 rows = 4″ x 4″ in Stockinette stitch
Gauge is obtained by holding both yarns together as one.
Sizing:
one size (approximately 22″)
Abbreviations
BO – bind off
CO – cast on
dec – decrease
k – knit
k2tog – knit 2 stitches together; single right-leaning decrease
m – marker
M1 – make one stitch knitwise; single stitch increase
p – purl
PM – place marker
ssk – slip 2 stitches knitwise, knit these 2 stitches together through back loops; single left-leaning decrease
st(s) – stitch(es)
St st – stockinette stitch
Pattern
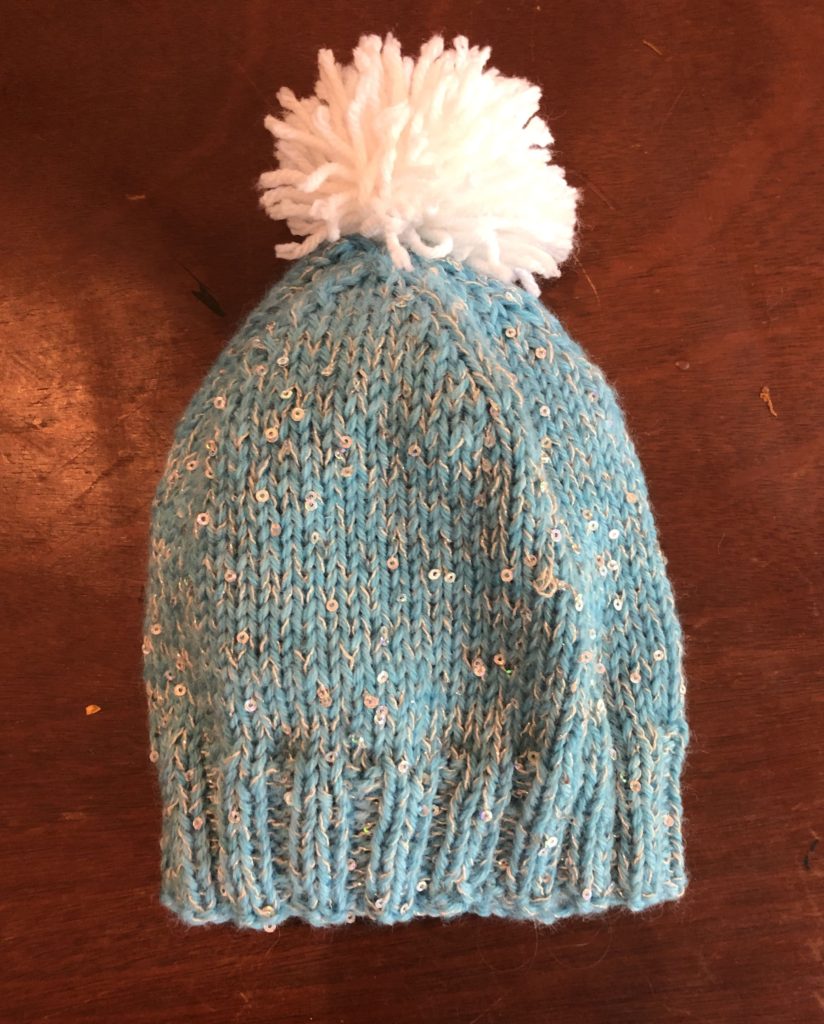
The cap is worked in the round from the bottom brim up.
Setup
CO 92 sts.
Join for working in the round, being careful not to twist.
Brim
Work in 2×2 rib for 12 rounds (*k2, p2*).
Body
Increase 10 sts over the next round as follows:
k3, M1, (k9, M1) 4 times, k6, M1, (k9, M1) 4 times, k3 [102 sts]
Work in St st until cap measures 5″ (2.5″ from desired length).
Work one more round, dividing as follows:
*PM, K17*
Decreasing
1 – (dec round) *k1, k2tog, k to 3 stitches before m, ssk, k1*
2 – k all
Repeat these two rounds six times [30 sts].
Crown Shaping
1 – *k1, k3tog, k1* [18 sts]
2 – k all
3 – k2tog around [9 sts]
Cut both yarns, leaving a long tail. Draw through the remaining 9 stitches and secure.
Finishing
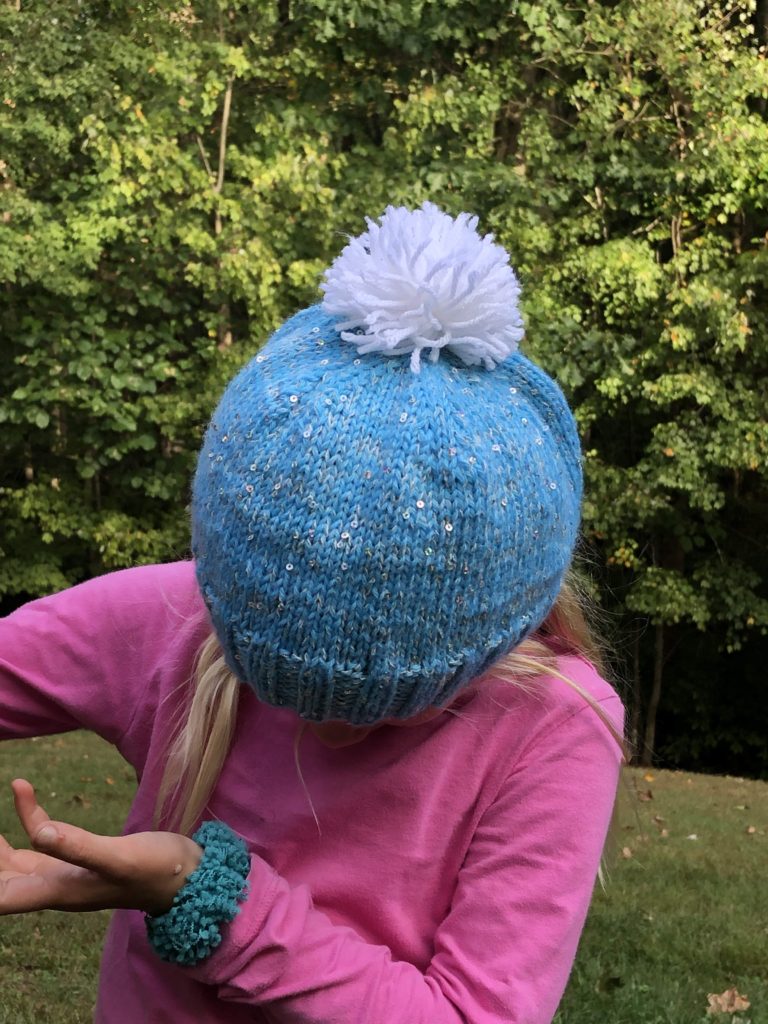
Secure pompom to crown.
Weave in loose ends.
Stay warm in style!
Download Pattern PDF | Add to Ravelry Queue | Pin on Pinterest